CONCRETE POOL RENOVATION, REPAIR, & RESURFACING

For almost 80 years, Browning Pools & Spas has been trusted for pool renovation, repair, and resurfacing in the DC Metropolitan area. From cracked tile and coping replacement to full pool replastering, our team has the experience to restore beauty and extend the life of your pool — whether the project is large or small. We believe education is a part of the renovation process. You’ll know exactly what’s required to get your pool back in top shape, with no surprises. Our skilled craftsmen prioritize quality above all else, a commitment that has sustained us since 1942.
Your satisfaction is our priority through every step of the renovation journey. Take advantage of our no-obligation, free pool renovation consultation today and meet with one of our repair experts.
From a simple tile repair to a complete re-design of your swimming pool and outdoor living space, we are able to assist you with all of your renovation needs.
CONCRETE POOL REPAIR & RENOVATION SERVICES
Waterline Tile Replacement
Cracked or missing waterline tile can make even the best pool look worn. We replace damaged tile with modern, durable options that restore beauty and protect your pool’s finish.
Pool Coping Replacement
Your coping is more than trim — it’s a safety and structural feature. We repair or replace coping in stone, brick, or concrete to give your pool a secure and stylish edge.
Pool Replastering & Resurfacing
Over time, plaster wears thin and stains appear. Our replastering services restore a smooth surface, with durable options in plaster, quartz, or pebble finishes.
Beam & Skimmer Repair
Structural cracks and leaking skimmers can shorten the life of your pool. Our technicians repair beams and replace skimmers to restore structural integrity.
Finish Options
Choose from classic white plaster, durable quartz, or premium pebble finishes. Each brings a different look, texture, and lifespan to your renovation.
Upgrades During Renovation
Renovations are the perfect time to add features like a spa, tanning ledge, or automation. These upgrades increase enjoyment and long-term value.

Proudly serving Montgomery, Howard, Frederick & Carroll Counties, including Bethesda, Potomac, Rockville, Germantown, Columbia, and Frederick.

CHECK OUT A FEW OF OUR CONCRETE RENOVATION PROJECTS
Below you’ll see a few slideshow galleries of the common problems that we often find in older concrete pools as well as the solutions to get them back in tip-top shape.
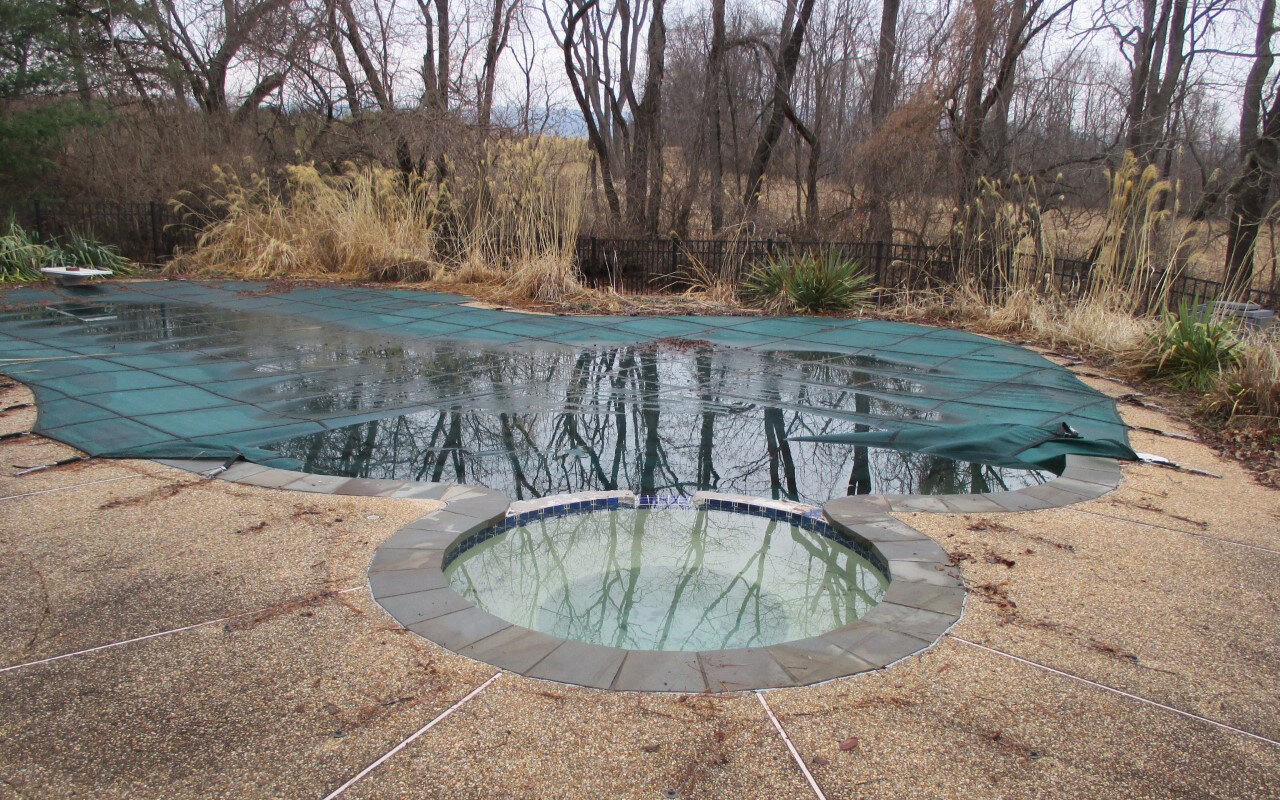
Here is a concrete swimming pool that is ready for a complete update.
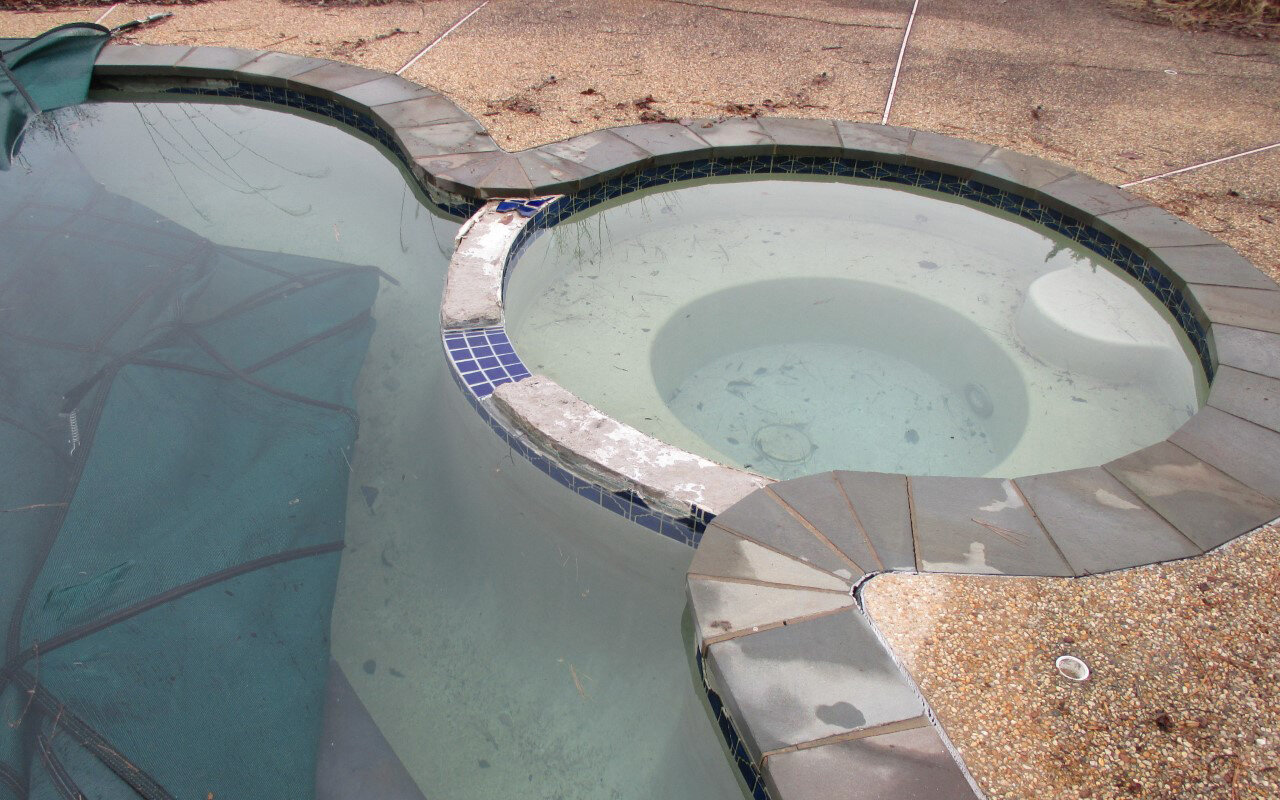
In this case, the client indicated that they do not use the spa and asked if we could make recommendations. We recommended turning the spa into a gathering spot that could easily be used with the swimming pool such as a cozy cove.
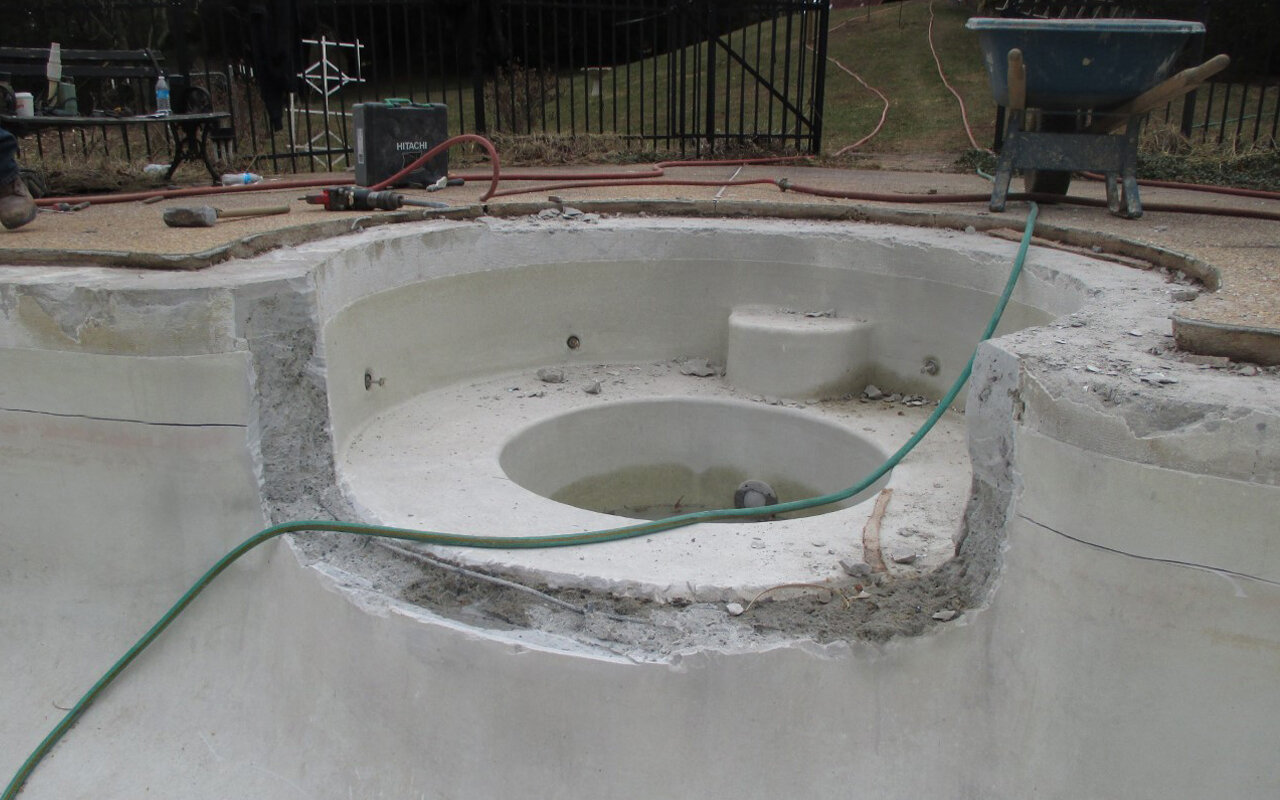
The spa wall has been removed to make way for the new “cozy cove”.
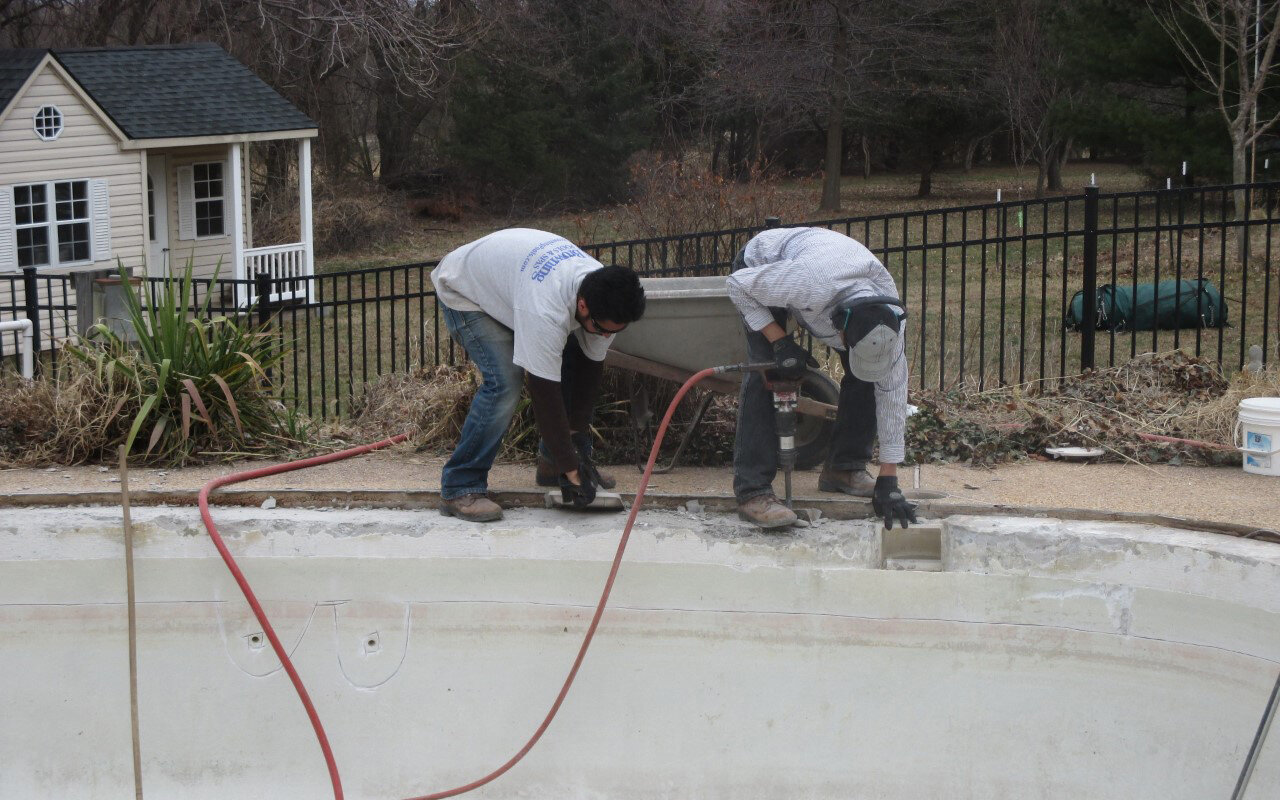
Our team is preparing the bond beam for new life which entails removing all stale concrete to exposing structurally sound concrete. This step is often overlooked in an effort to cut time and material. However, it is the most important step in completing a renovation that will endure.
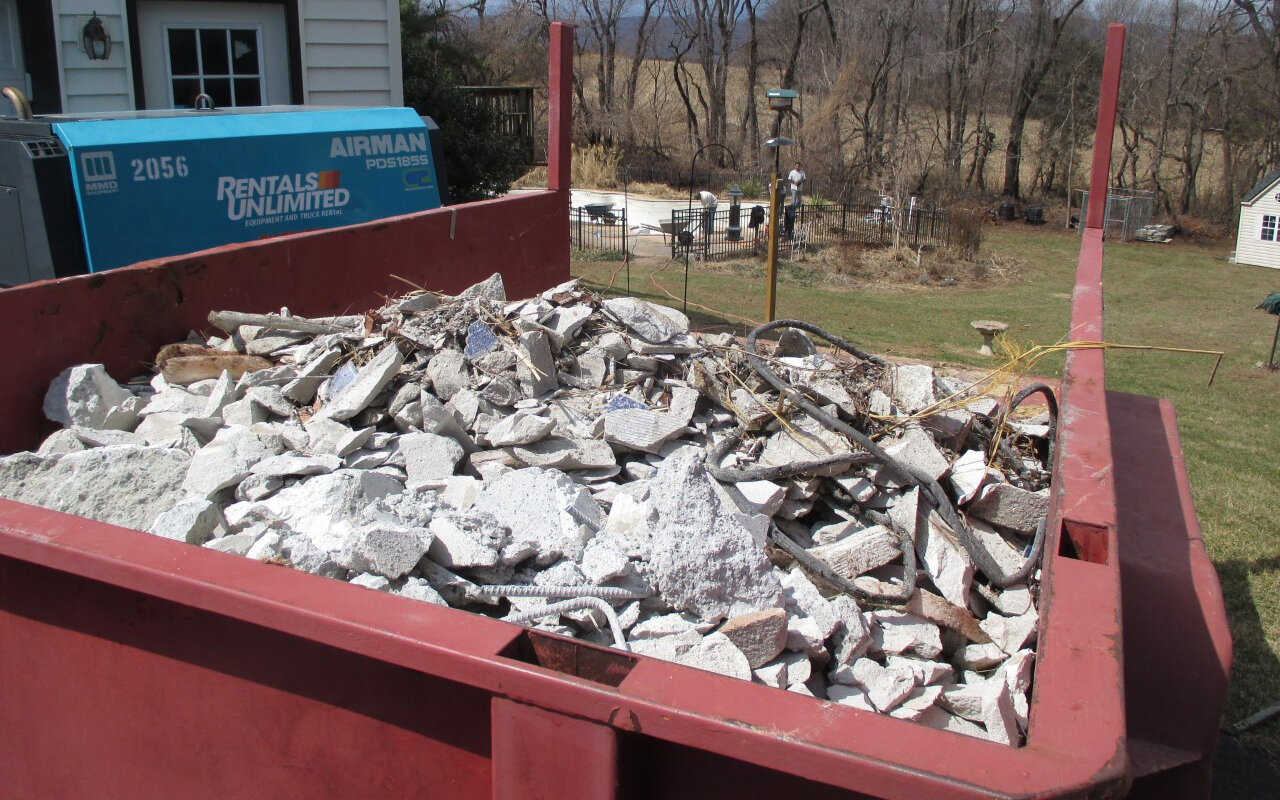
Wow, this project had a lot of stale concrete.
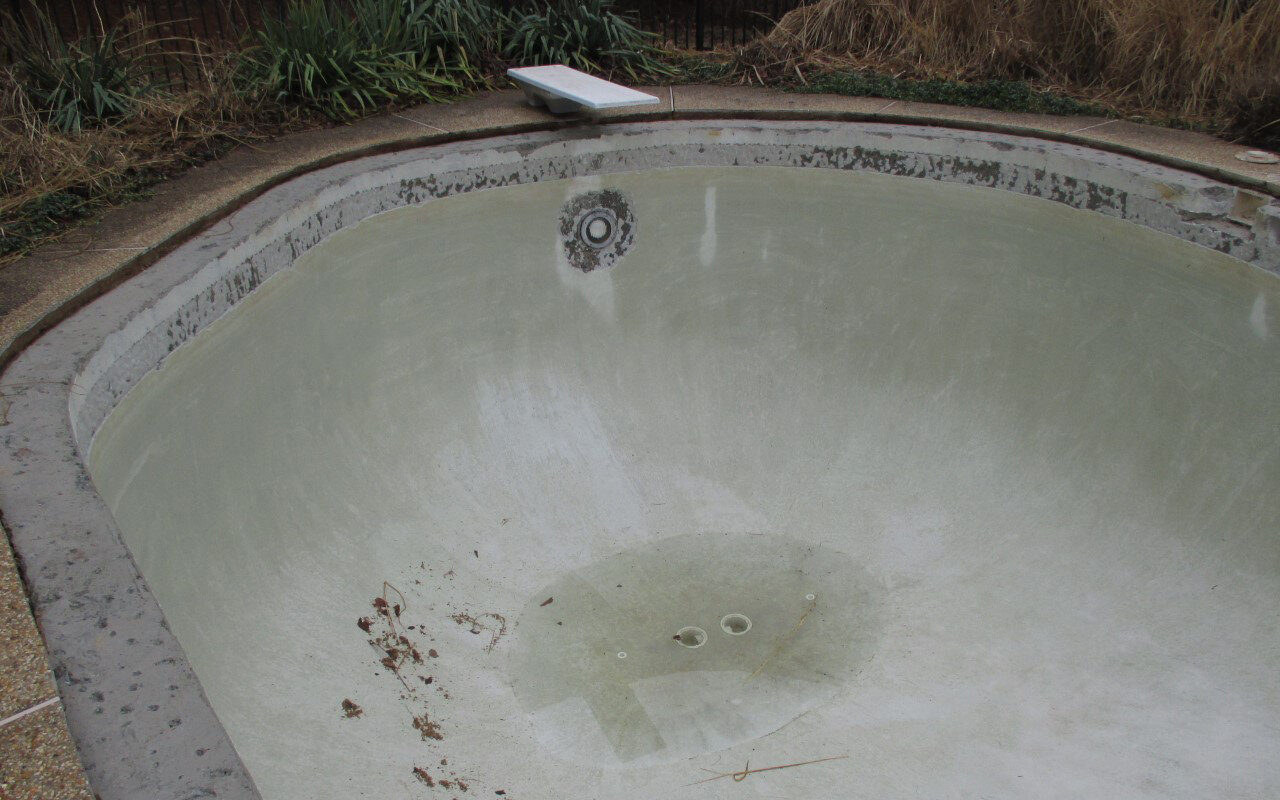
The bond beam of the pool is the top rim of the pool that supports the coping or capstones. In most cases, after several years of winter/summer cycles, there is deterioration of the bond beam. We expect to find up to 1.5" of bond beam deterioration. This project is a good example of normal bond beam deterioration and repair.
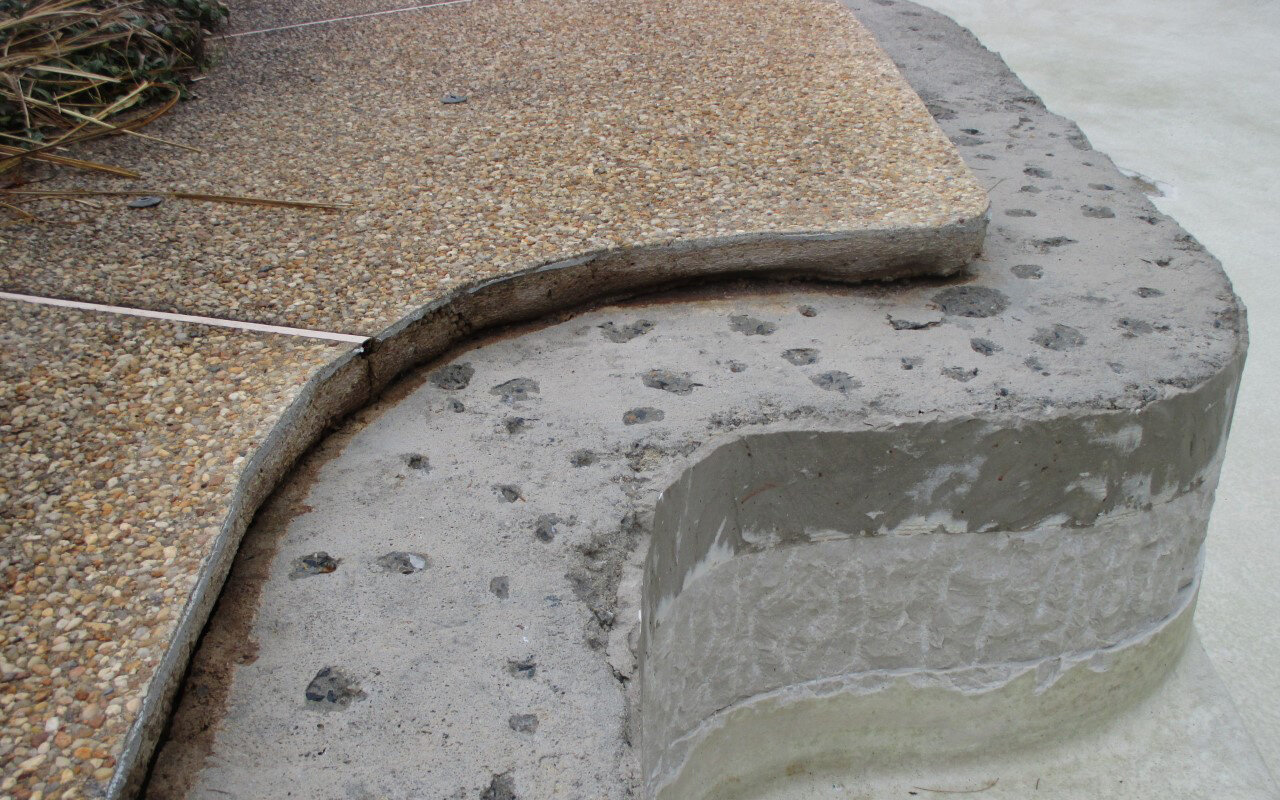
Here we have an example of an area of repair that is beyond the typical 1.5" expected deterioration. The corner of the love seat displays repair down to approximately 3".
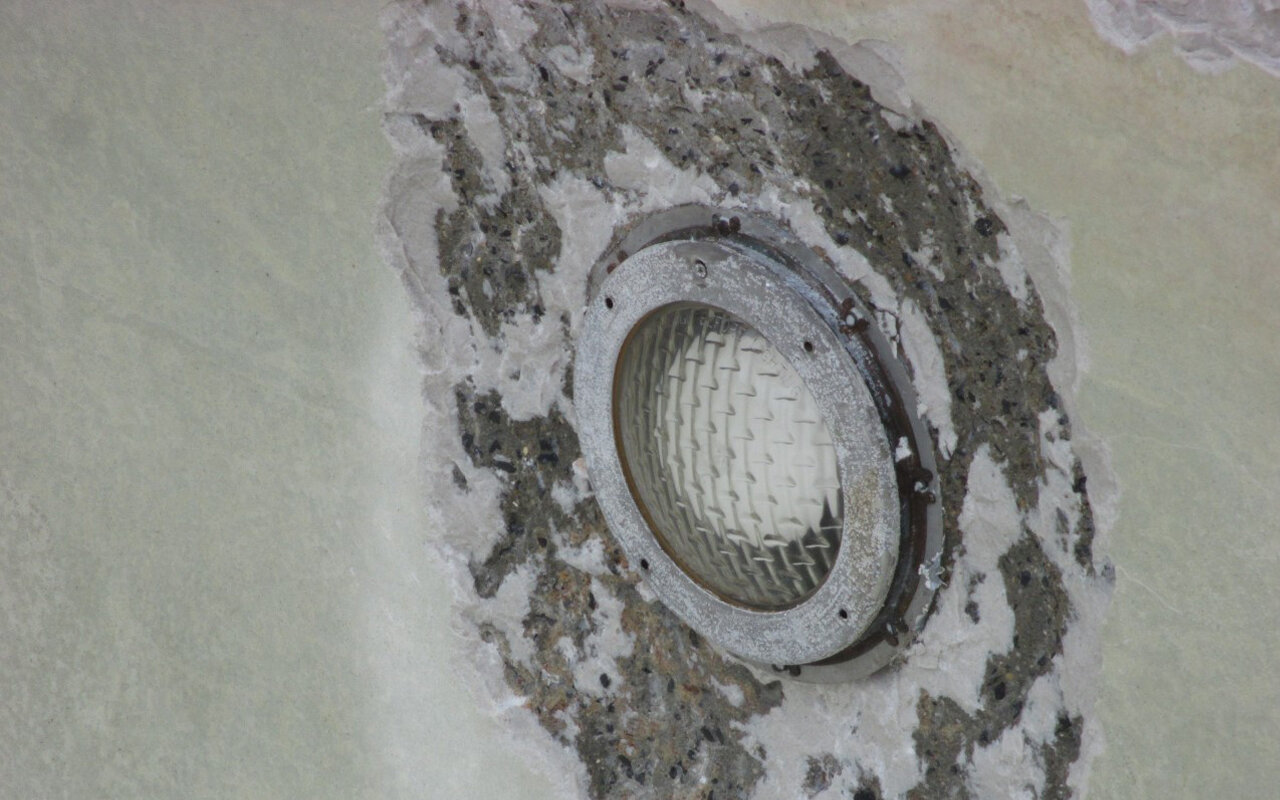
Existing pool fittings, such as this light are properly prepared for the new interior finish. Our goal is to install a thick layer of interior material around each fitting similar to when it was first installed. This will provide the best opportunity to ensure that the fitting is waterproof.
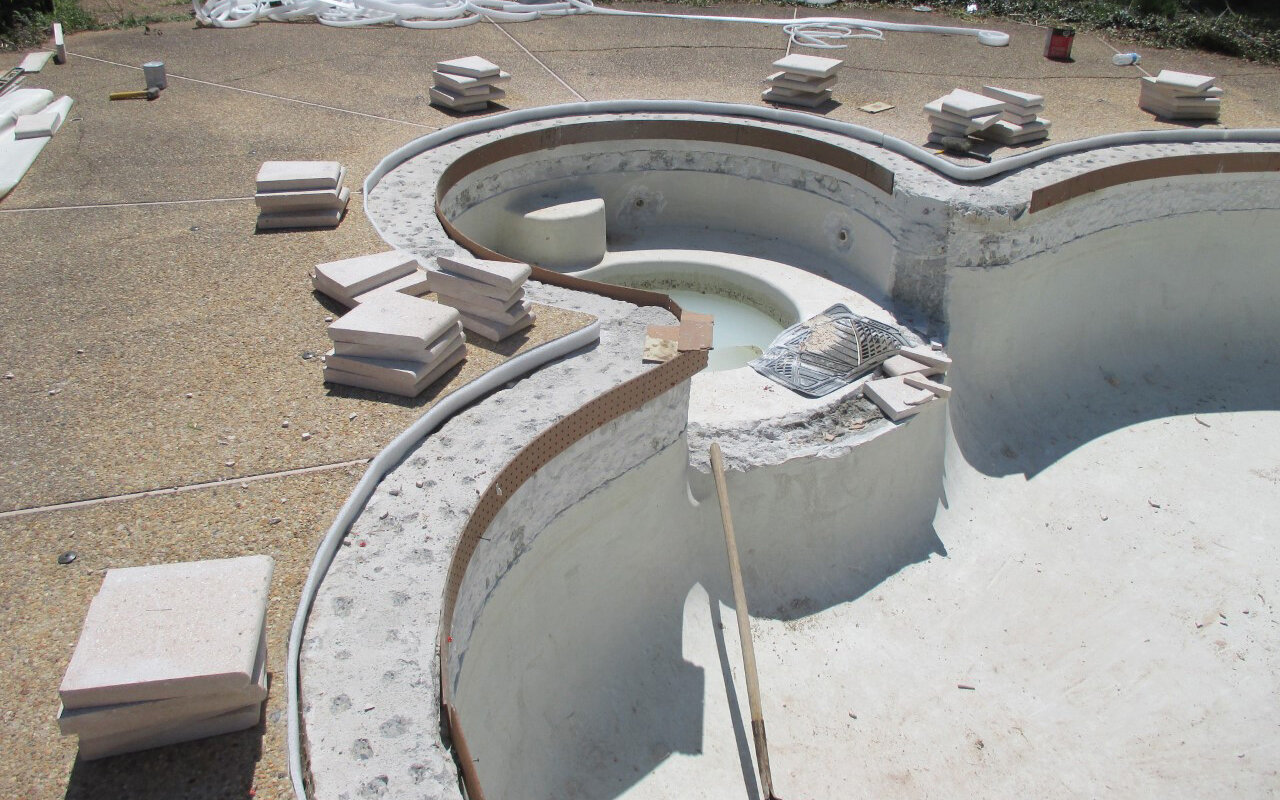
The beam is ready for coping and the coping has been miter cut and is ready for installation. Notice the foam protection placed at the edge of the patio.
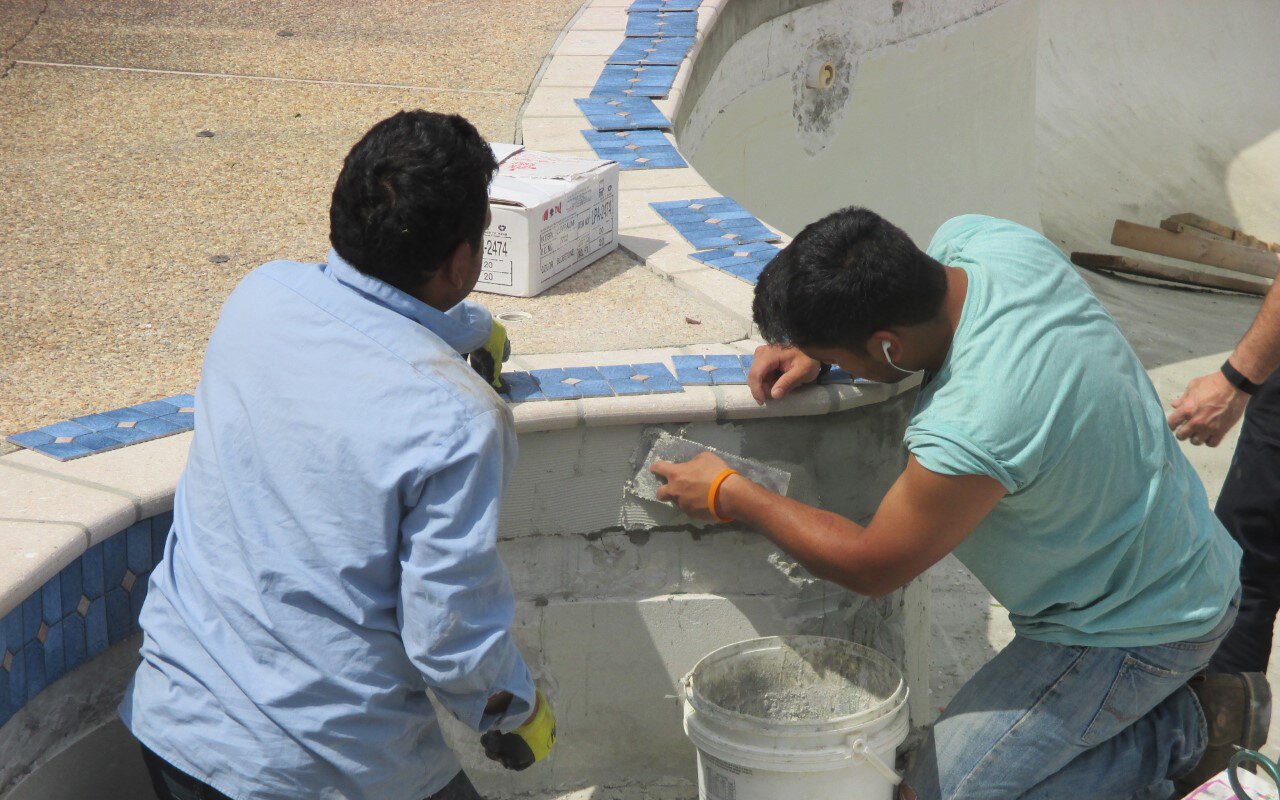
Browning’s in-house trained tile and coping crew are beginning to place the new porcelain tile. This process is completed per manufacturer recommendation. The tile installation is divided into three tasks: leveling and build-out of the beam to allow a good thick interface of the tile to the interior, installation of the tile with the adequate time given for the tile to properly bond to the beam, and lastly grouting of the tile.
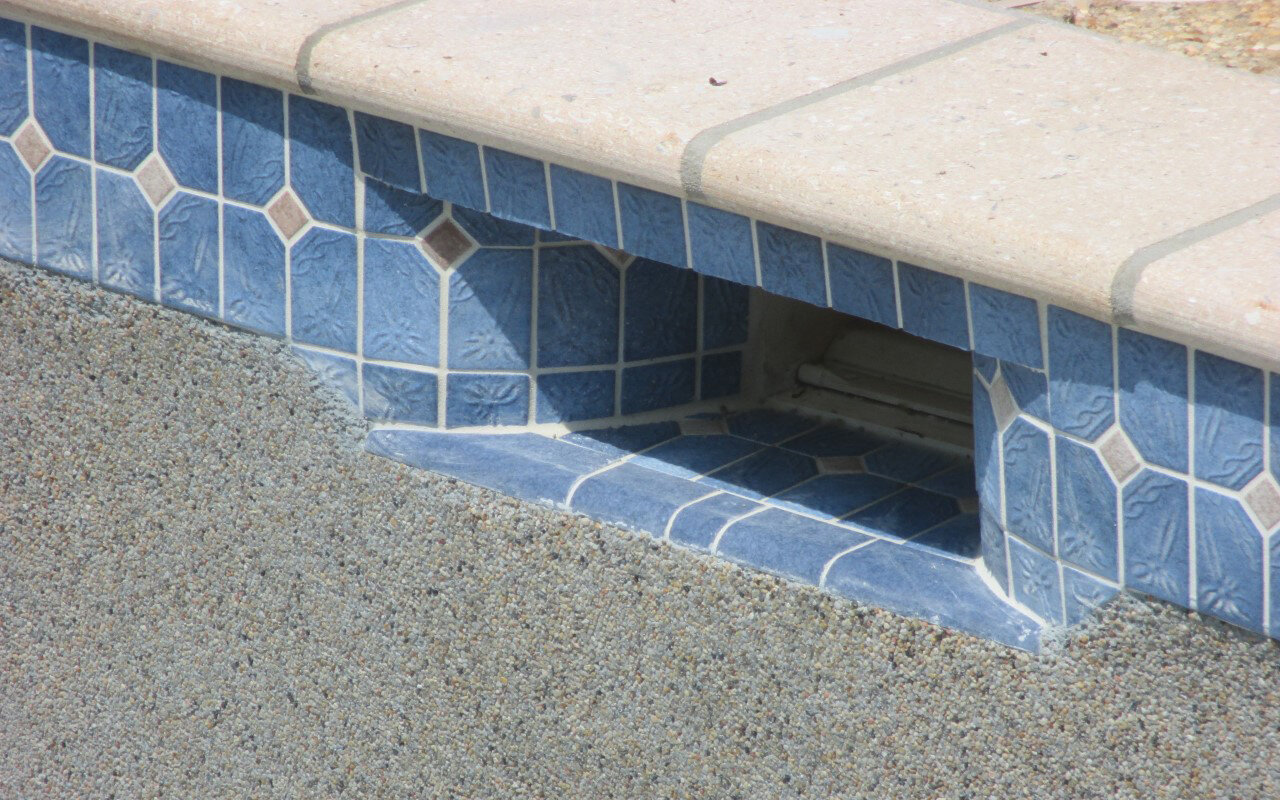
Our team pays special attention to the skimmer of the pool. Notice the trim tile hiding the coping grout across the top. Also, notice the quarter round tile used at the base of the skimmer along with the transition tile from the waterline down to the floor of the skimmer. Better than before!
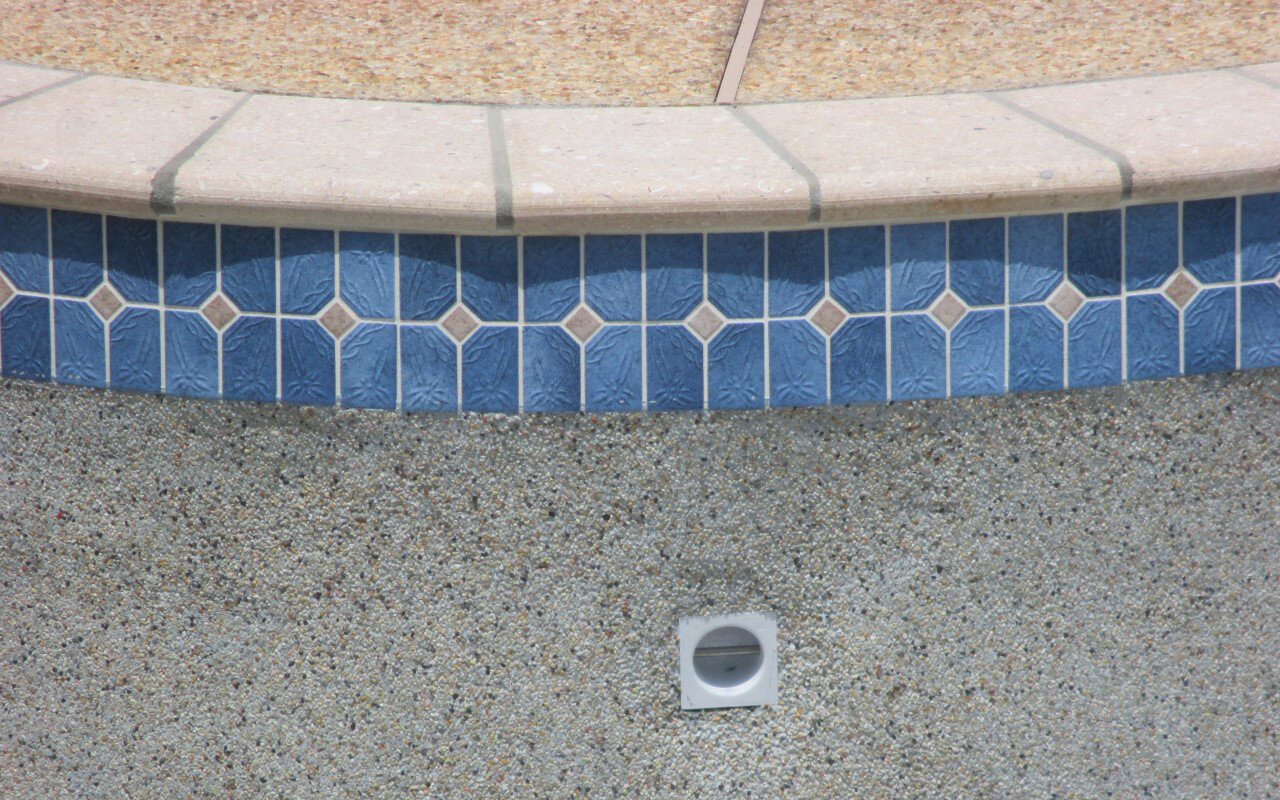
It’s all in the details! The coping miter joints are even. Correctly selected tile to round the corners. Trim detailing of the skimmers, and a natural aggregate interior. Fun Stuff.
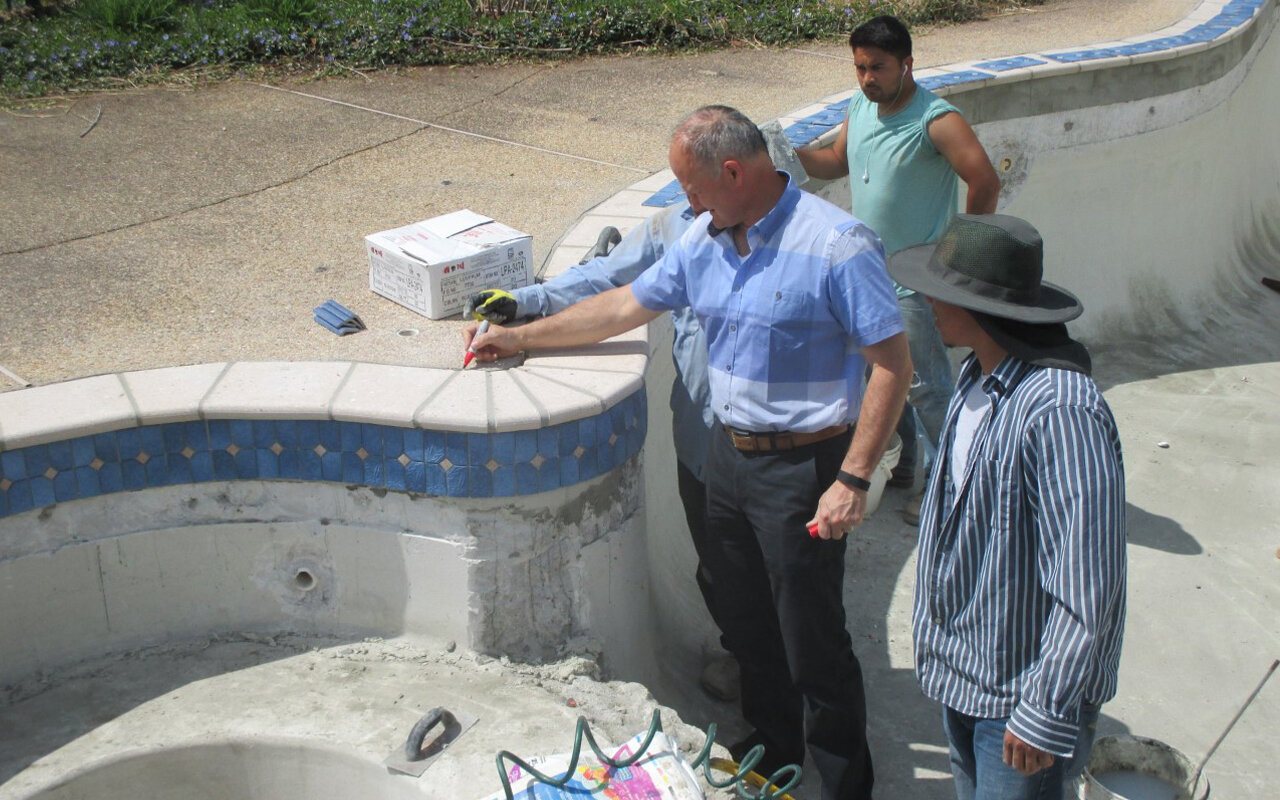
Supervision, education, and guidance are cornerstones of the Browning Pool & Spa process. Here Chuck Browning is discussing why we place the foam joint behind the coping and how important it is that no grout material remains between the coping and patio. Chuck trained under a mason as an apprentice for a year learning the specialty trade of swimming pool masonry and has worked directly with our crew teams training each team for the past 14 years. The tradition of quality tile and coping installation is a long-standing tradition at Browning going back three generations.
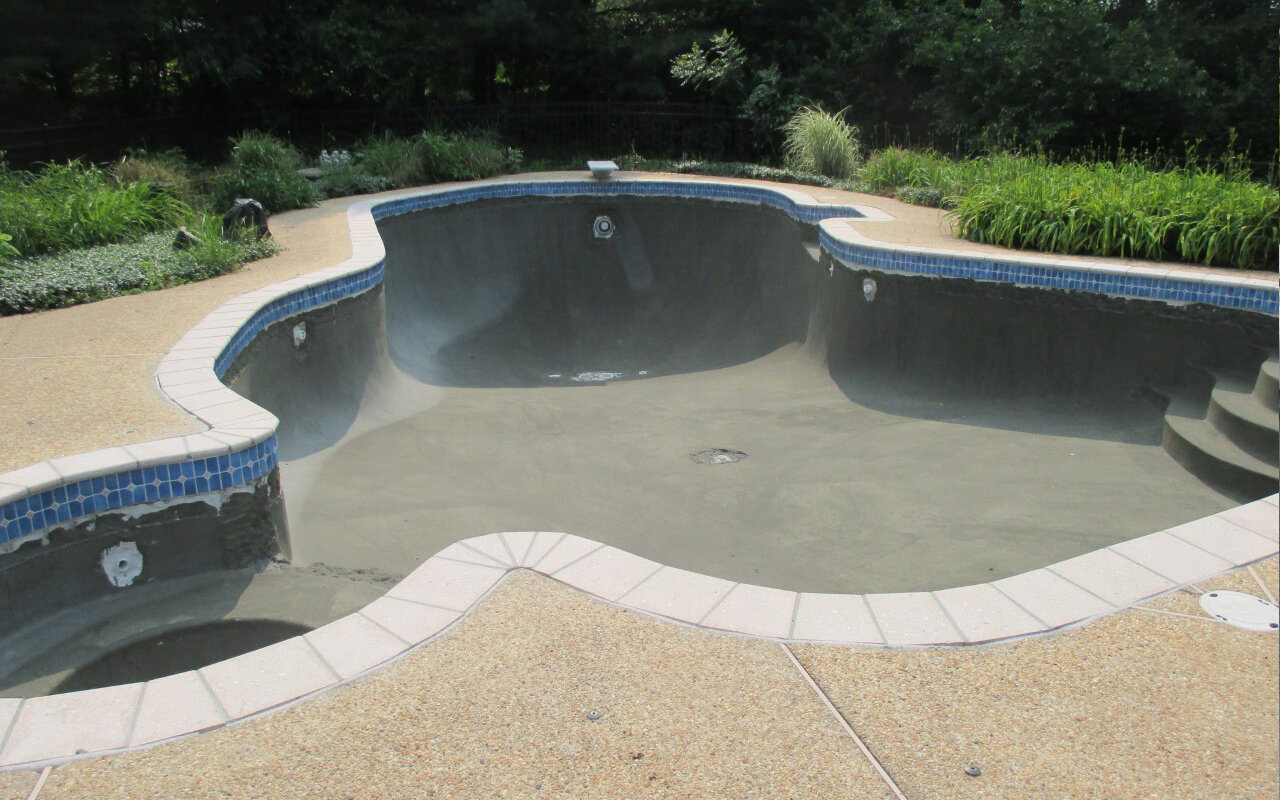
Preparing a pool for the interior is critical in providing a long-lasting interior. The bond coat is a coating placed over the existing interior designed to create a mechanical bond between the new and old interiors. In the pool renovation industry, this step is often overlooked to speed up the process and lower the initial price. The importance of the bond coat cannot be overemphasized, it is designed to bond with the old chemically incrusted interior and also with the decorative new interior. Without it, hollow areas will form shortening the potential life of the new interior.
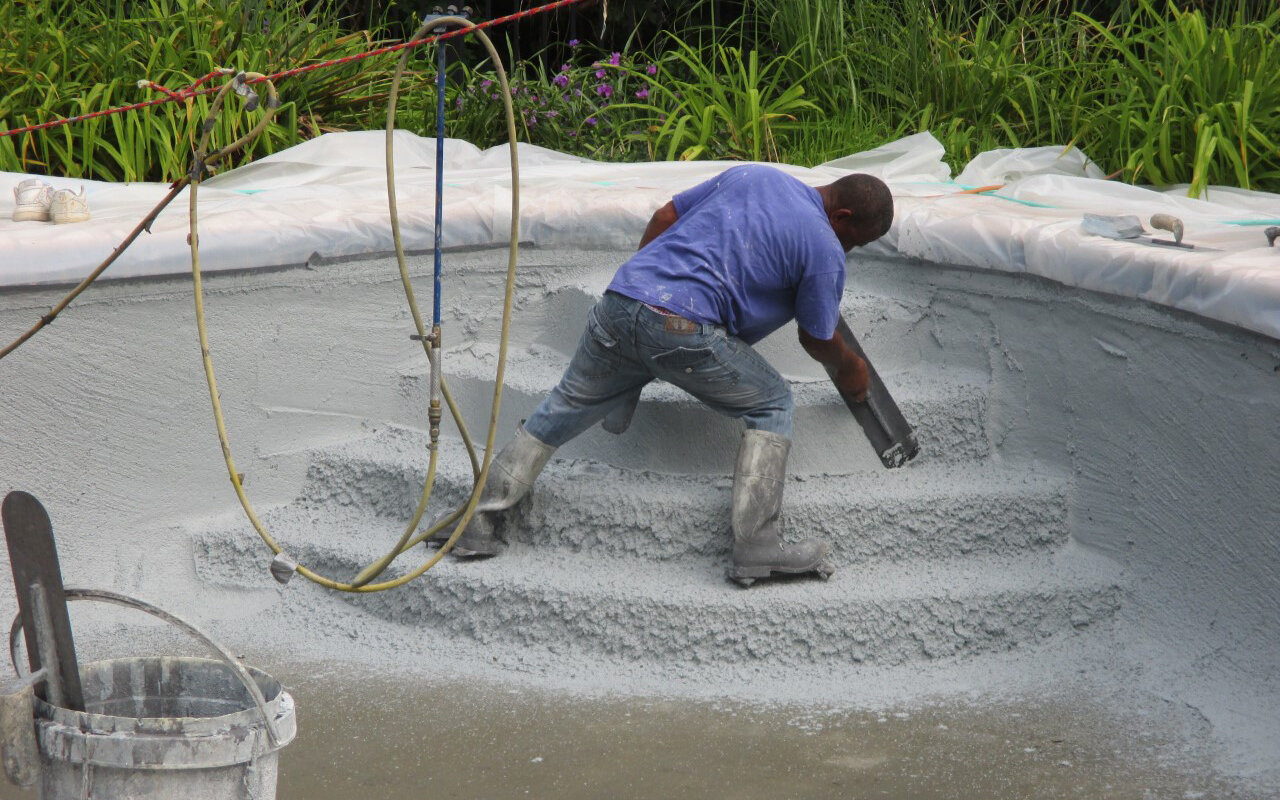
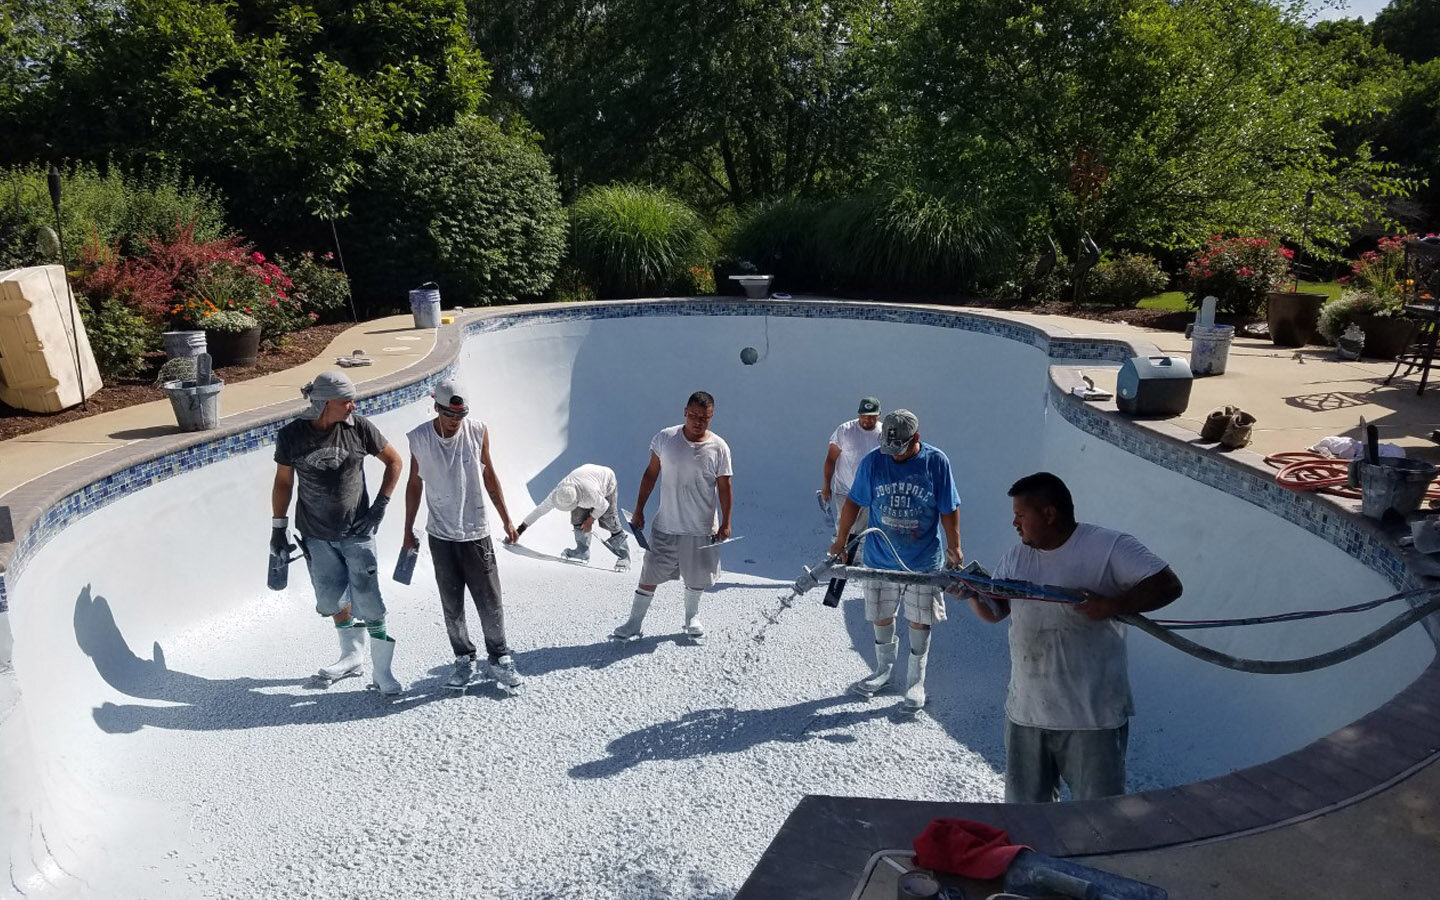
Interior application has begun!
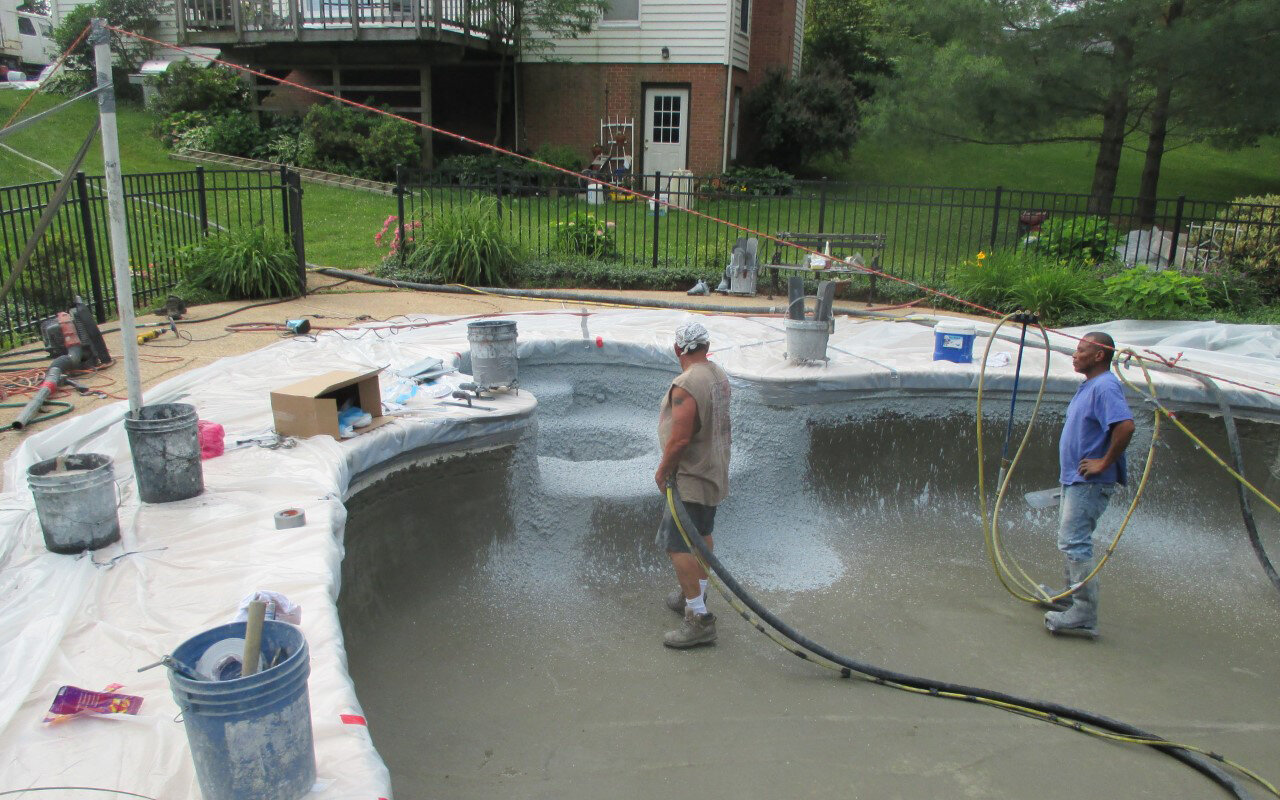
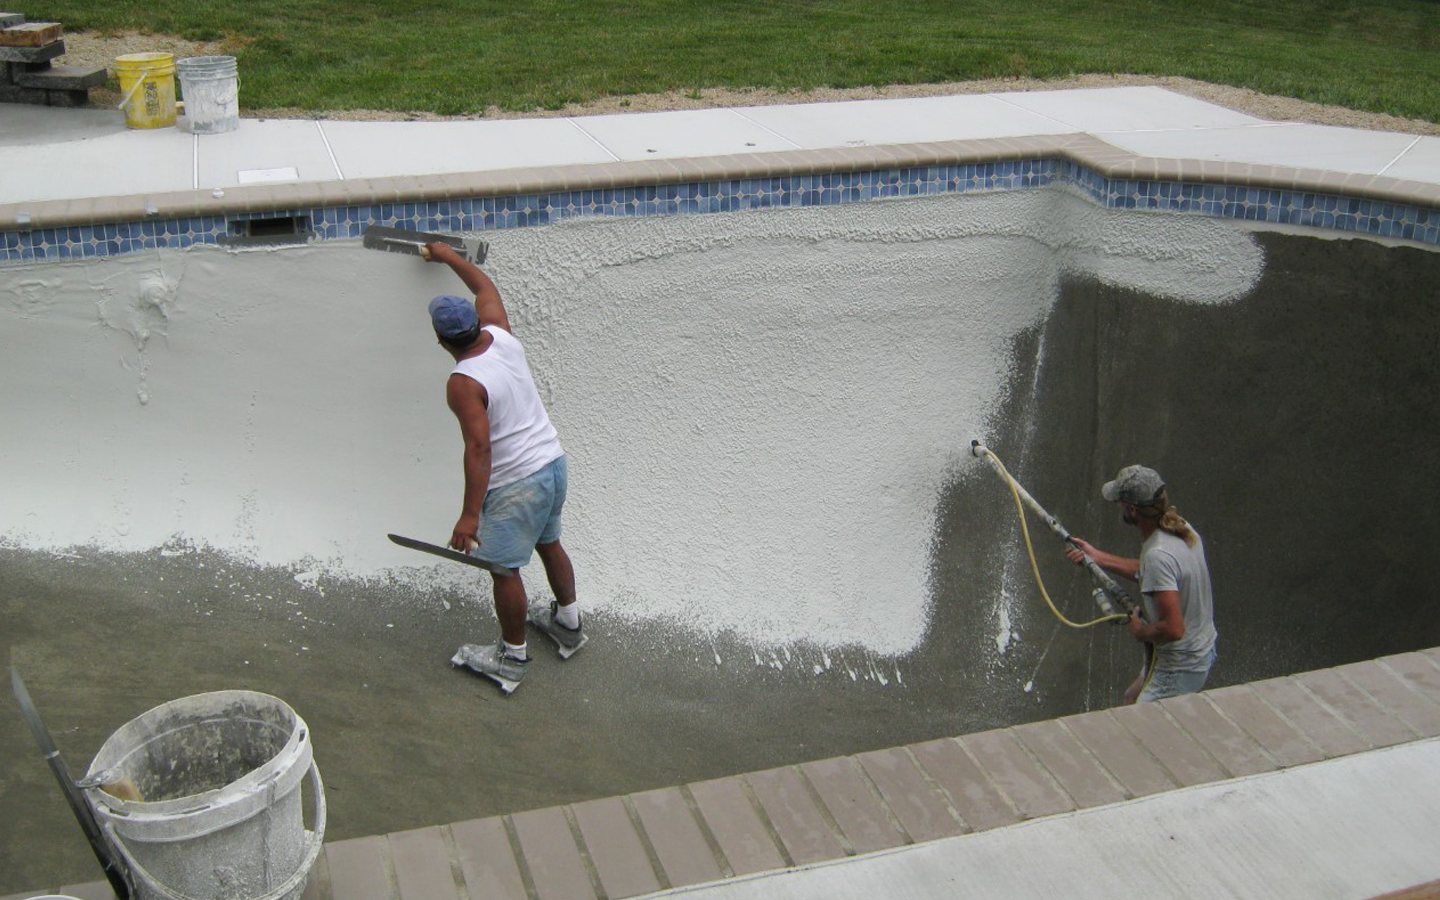
Interior application is a two coat process. The first coat being applied here is the base coat. The base coat is a gritty coat to build up the surface. The final coat is creamy and allows for a smooth hand-troweled finish.
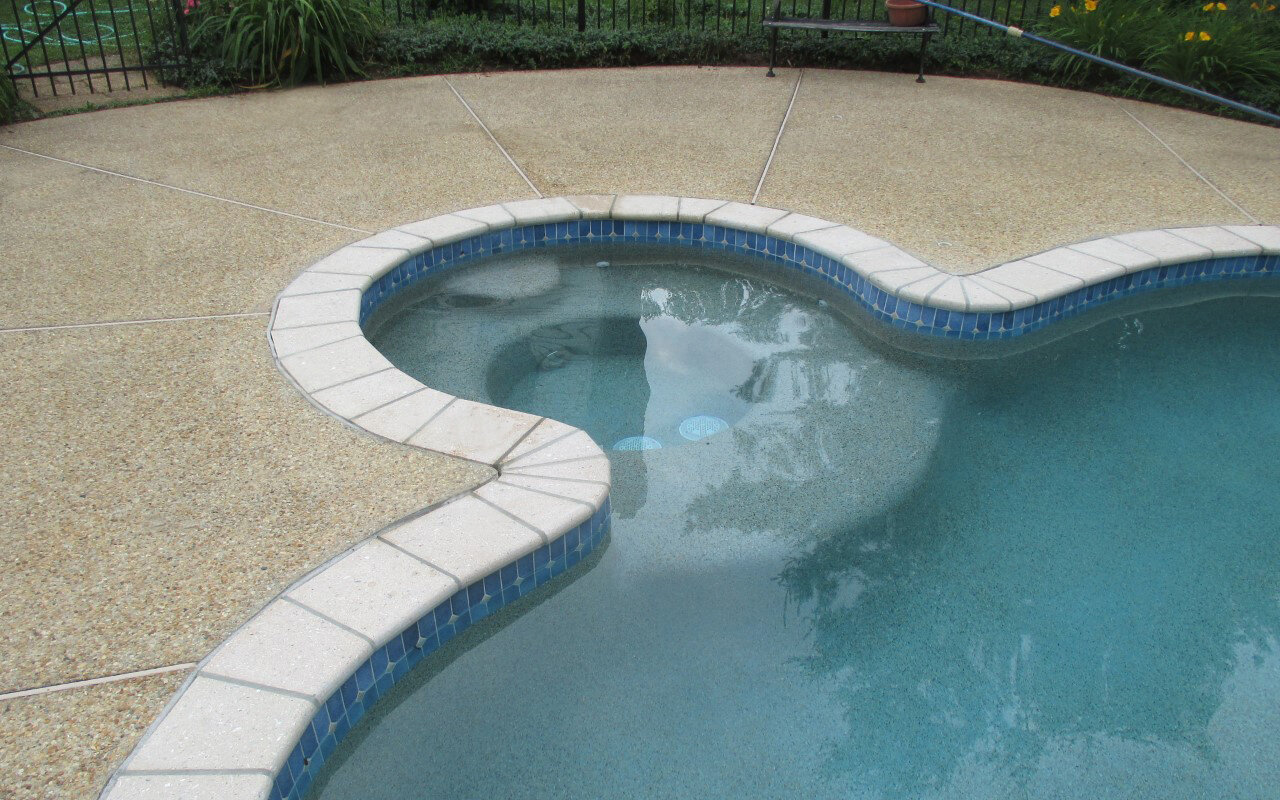
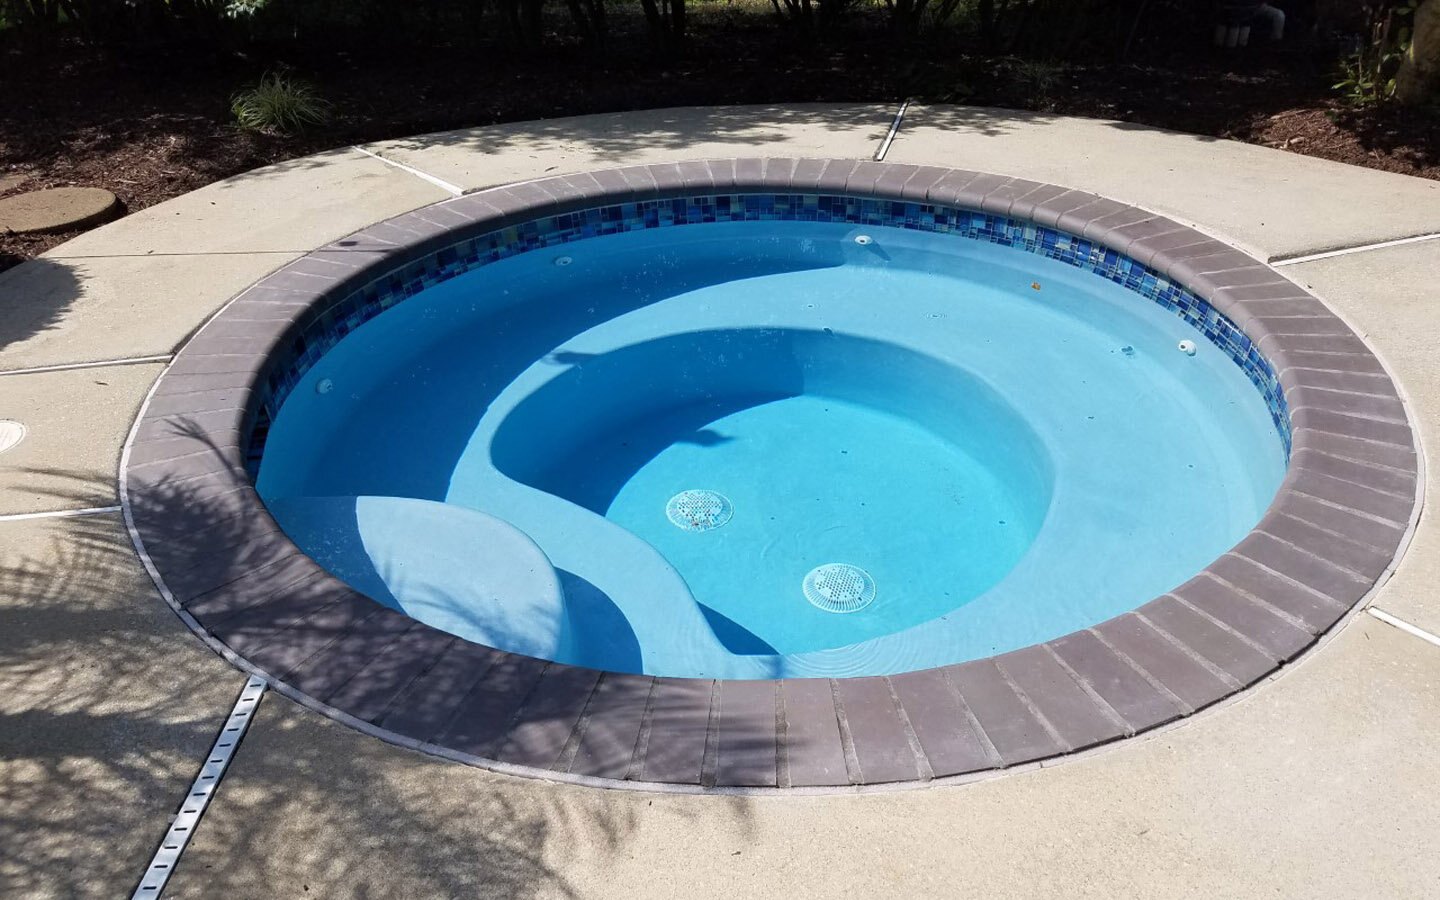
From unused spa to cozy cove!
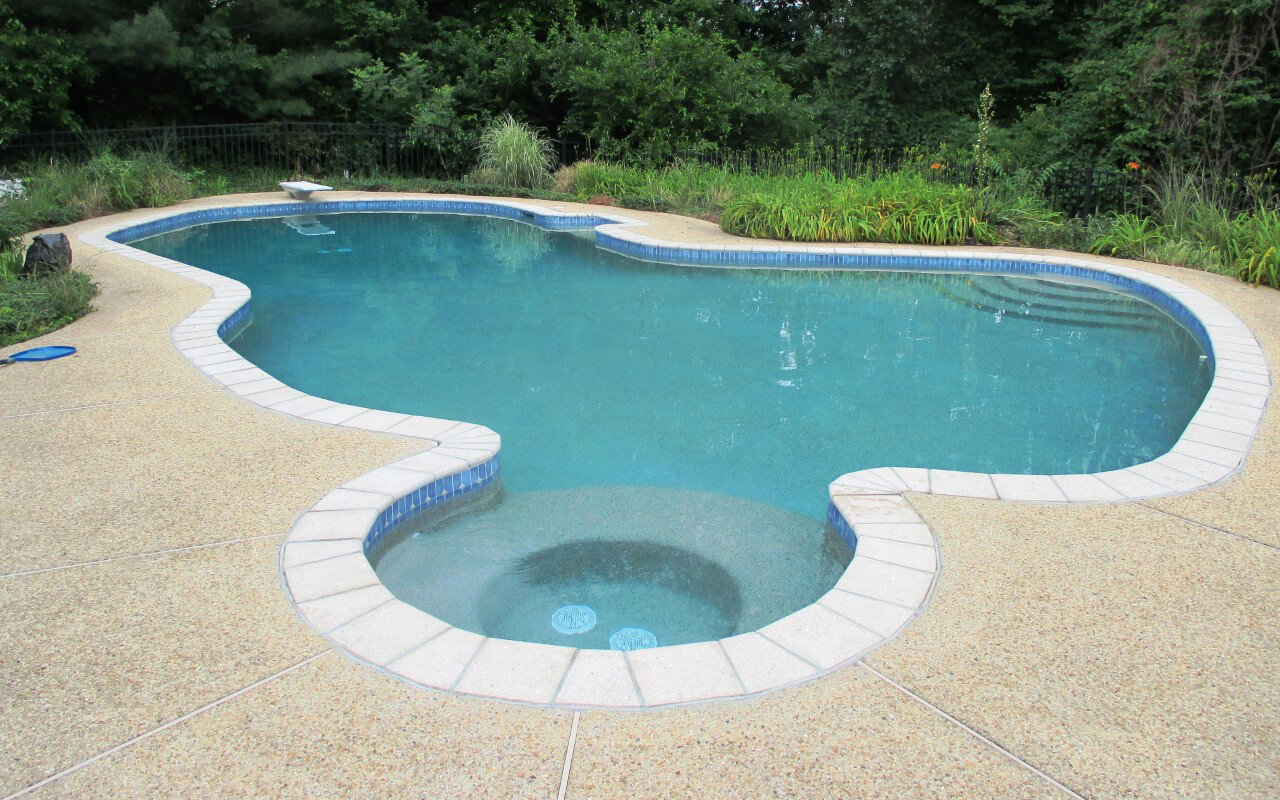
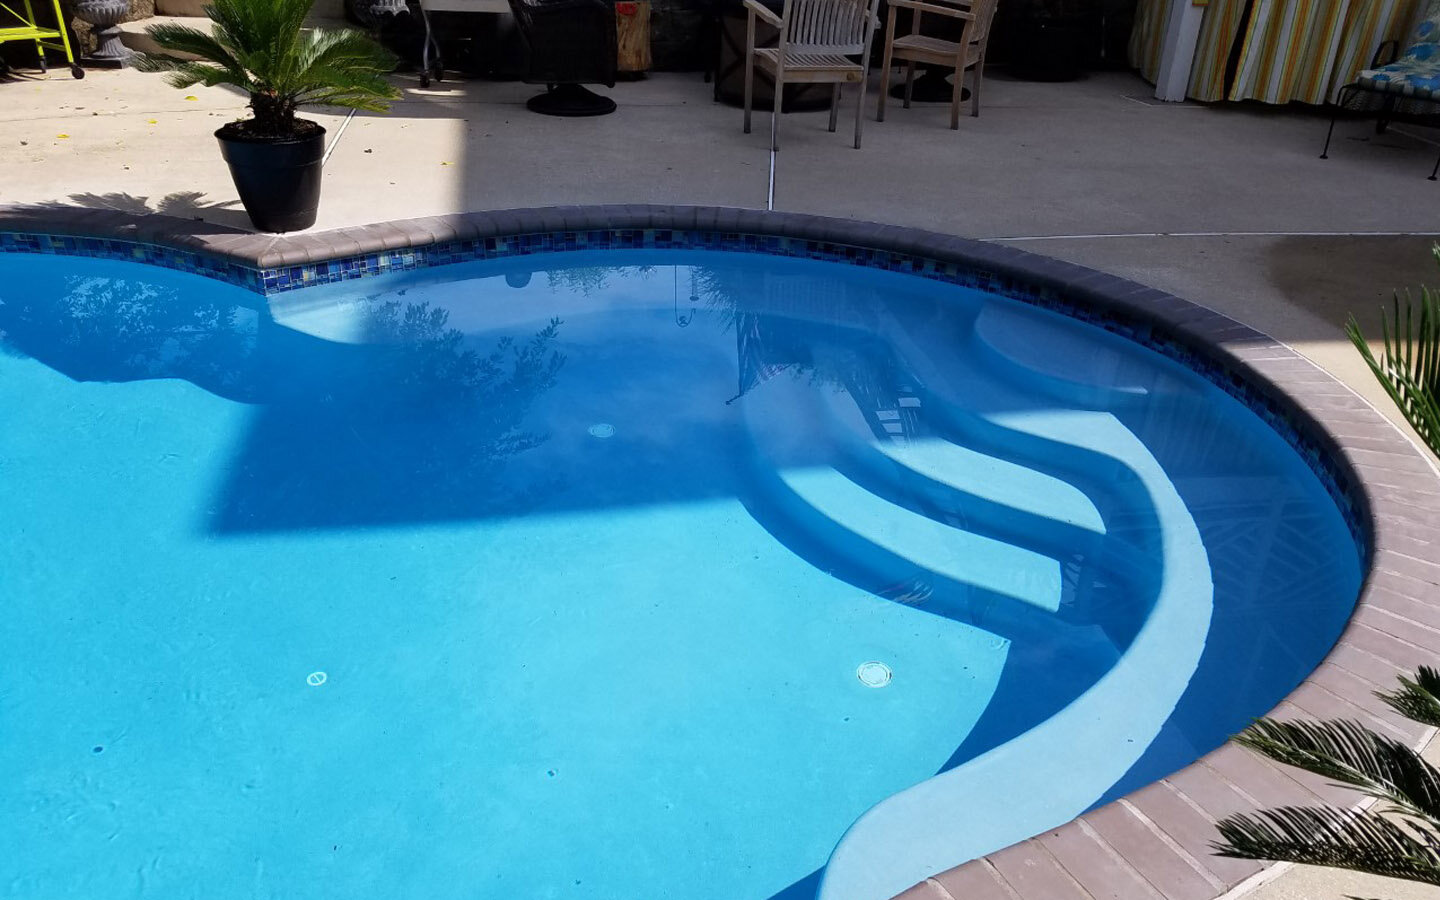
Ready to swim!
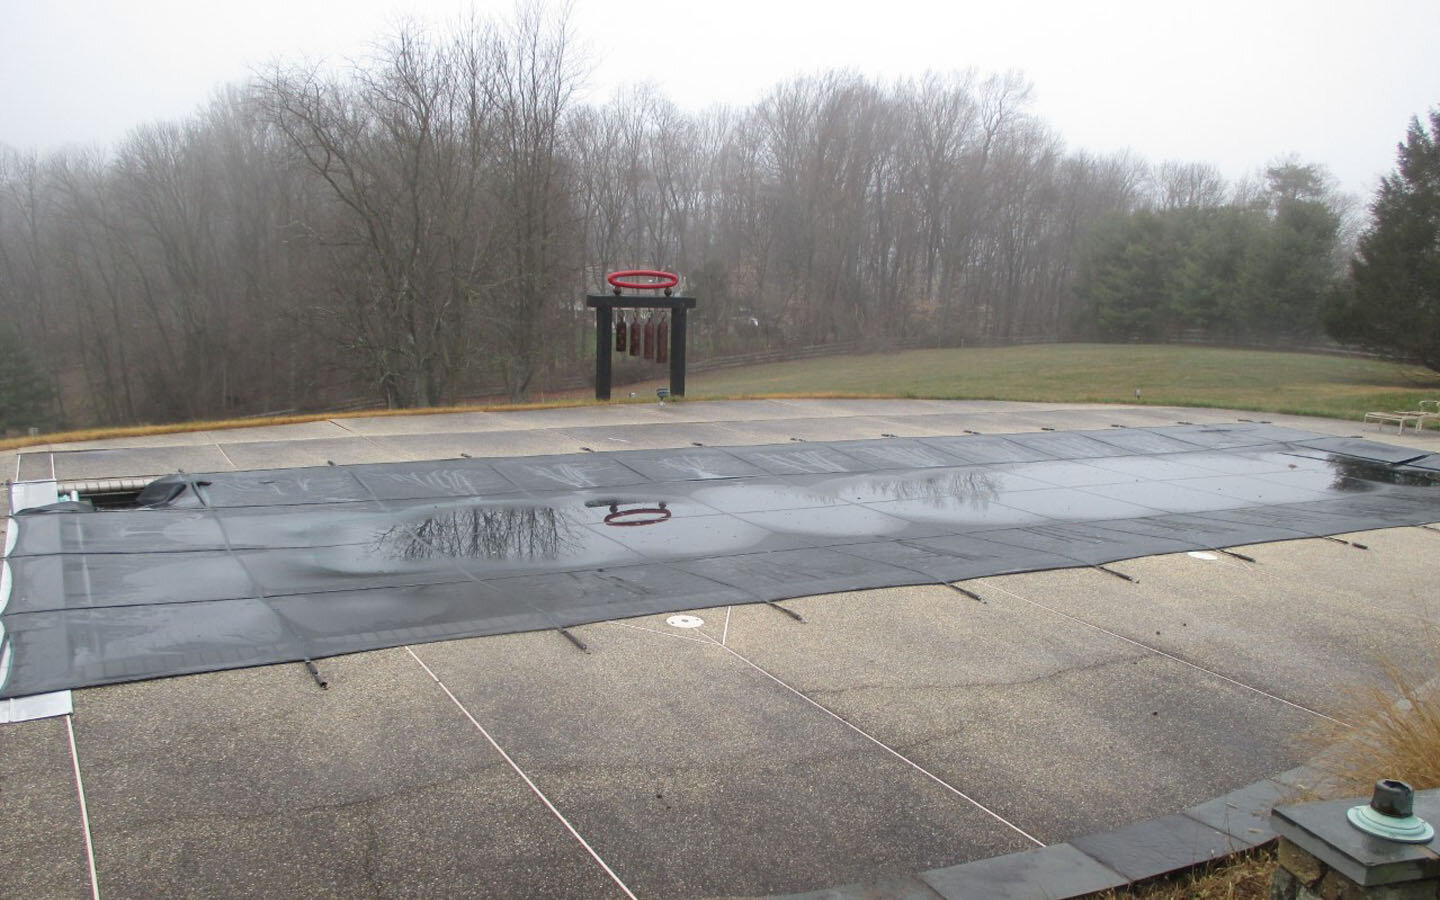
Overview of the pool before renovation.
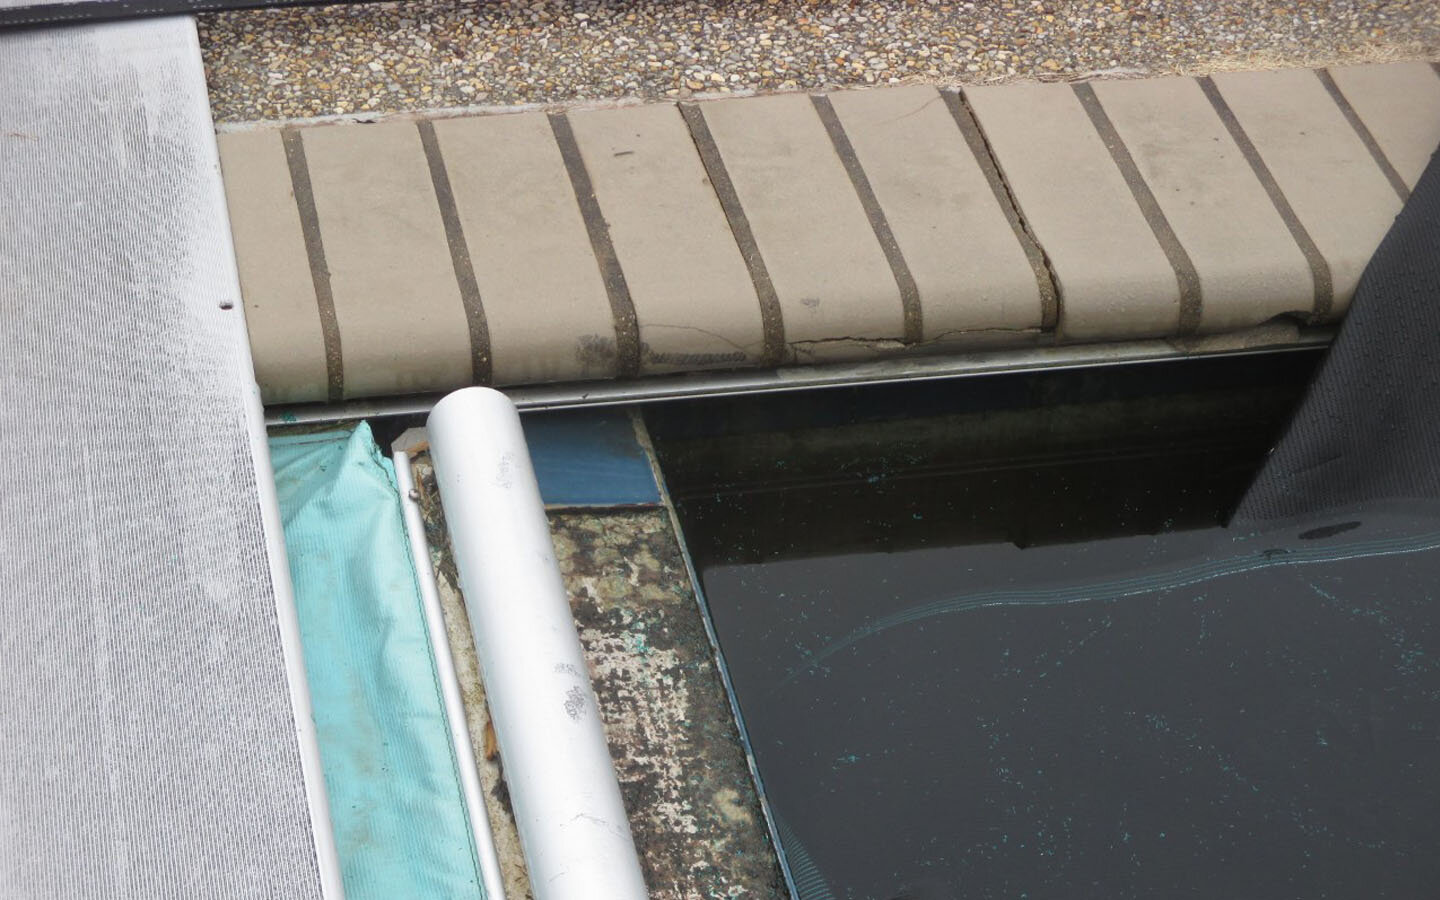
A closeup of the damaged coping and tile.
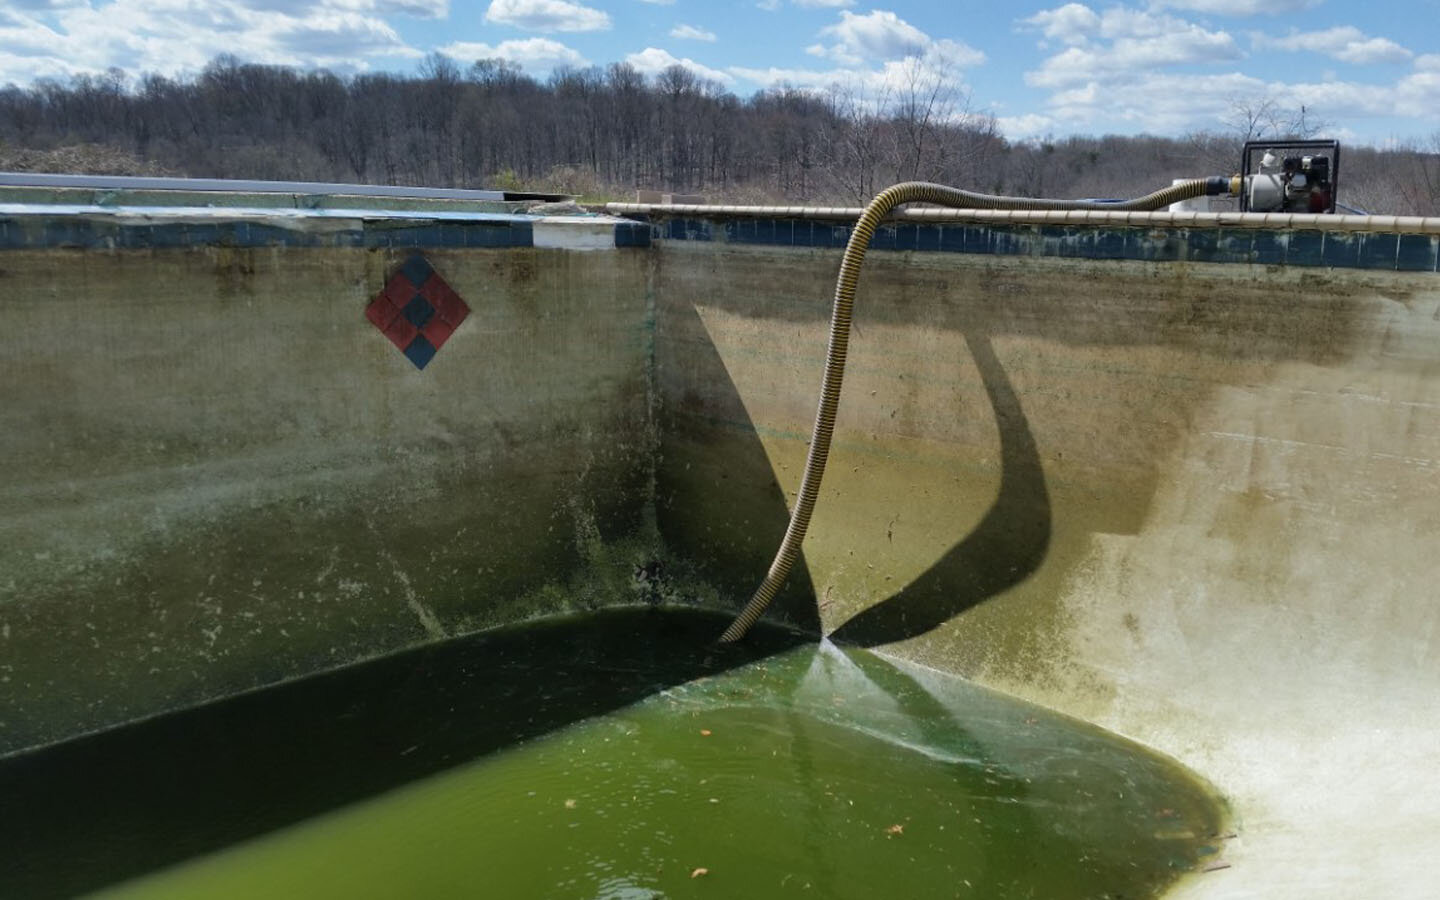
Pumping out the old water.
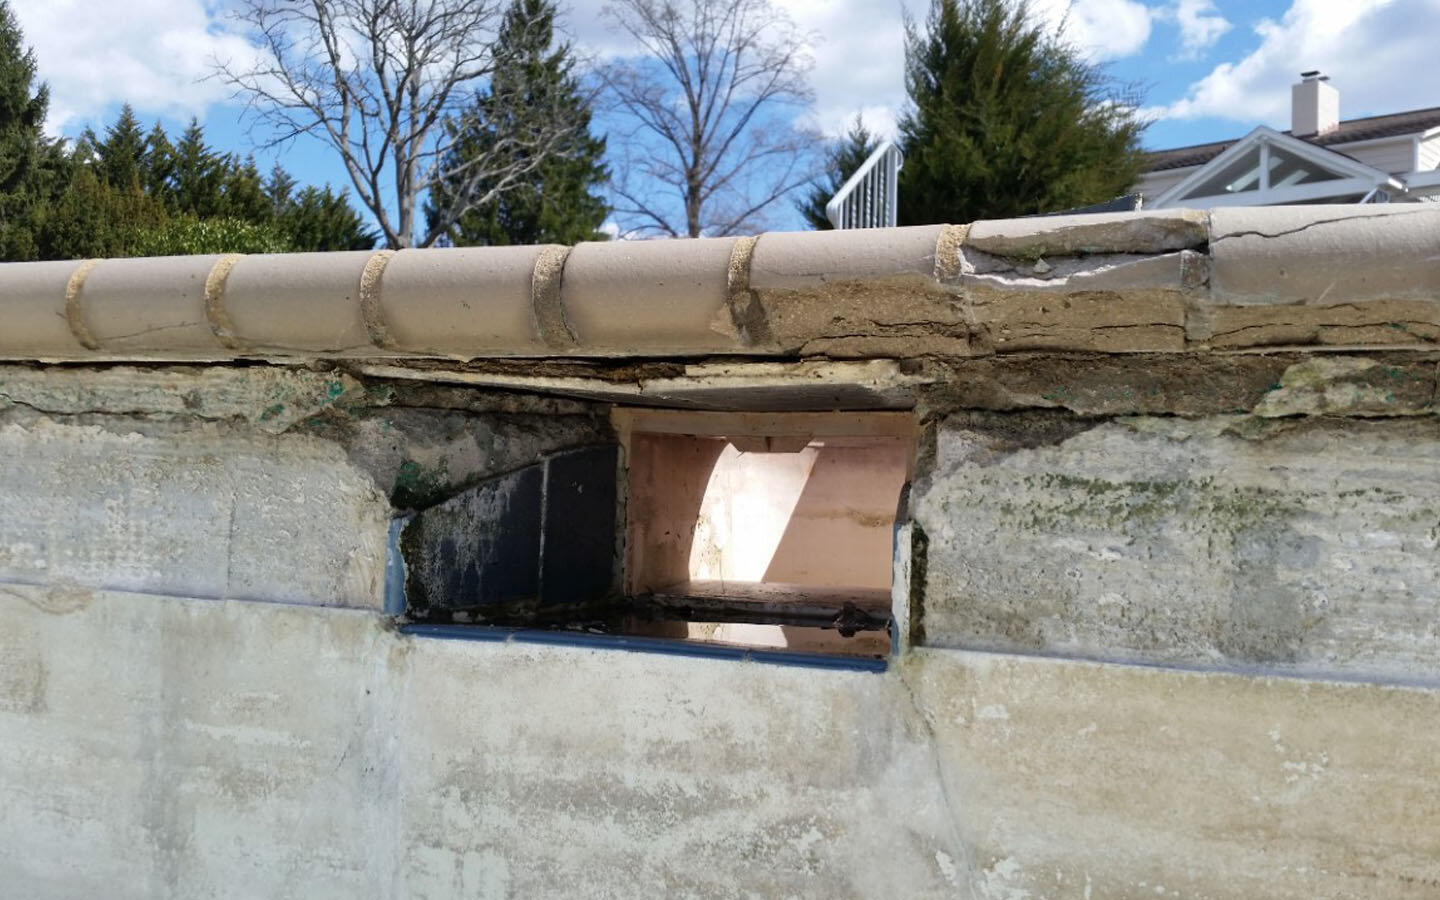
Ice damage. In this case, the water level during the winter was allowed to rise well above the normal winter level. Frigid temperatures caused the water to freeze, lifting and cracking the coping.
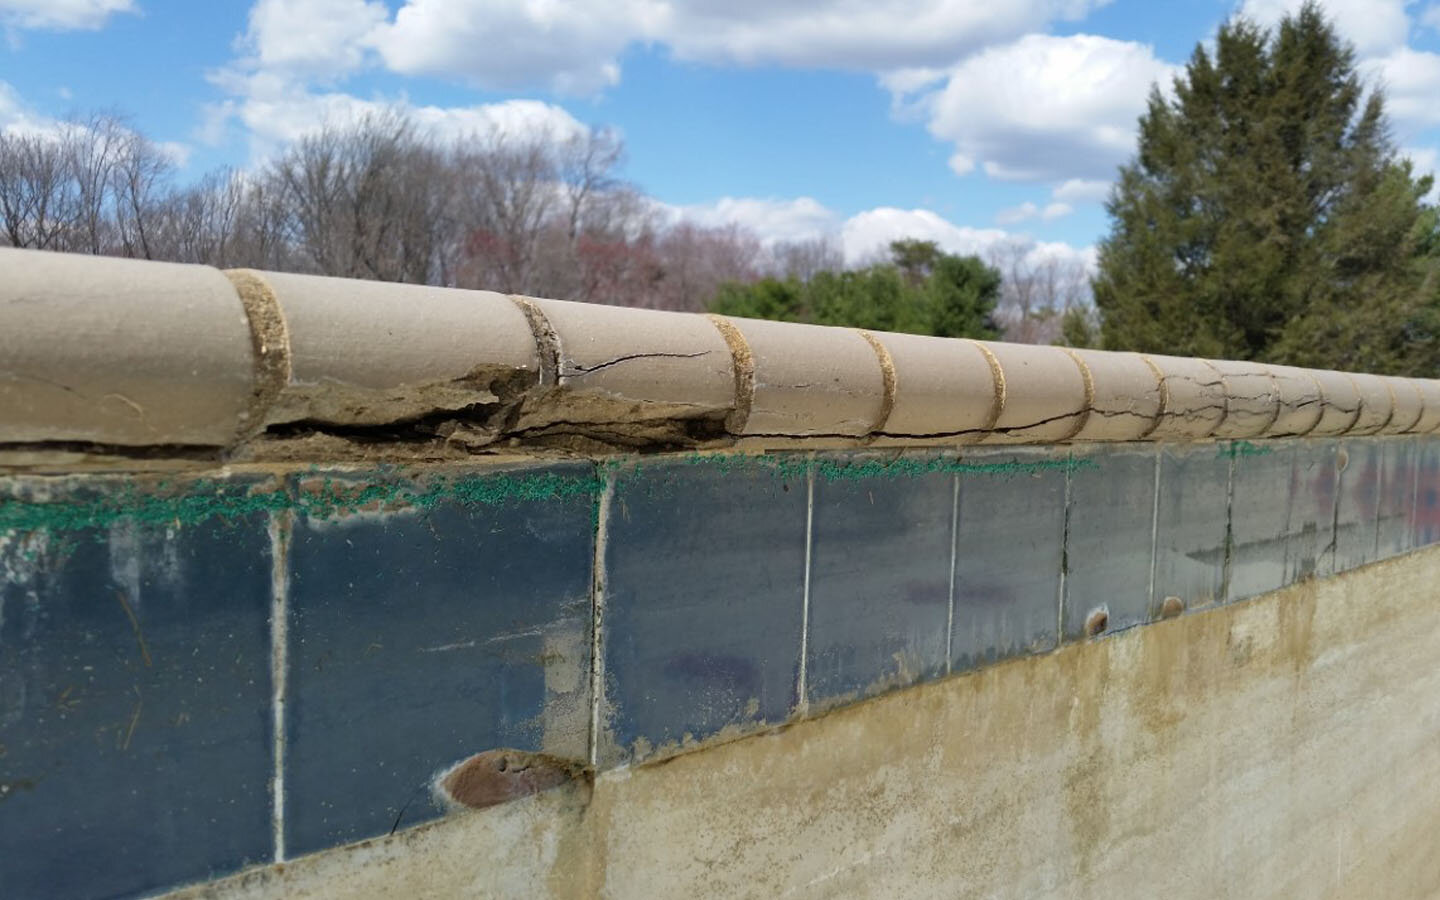
Again, overly high water levels coupled with freezing temperatures has damaged the tile in several locations evident by the chips in the tile line.
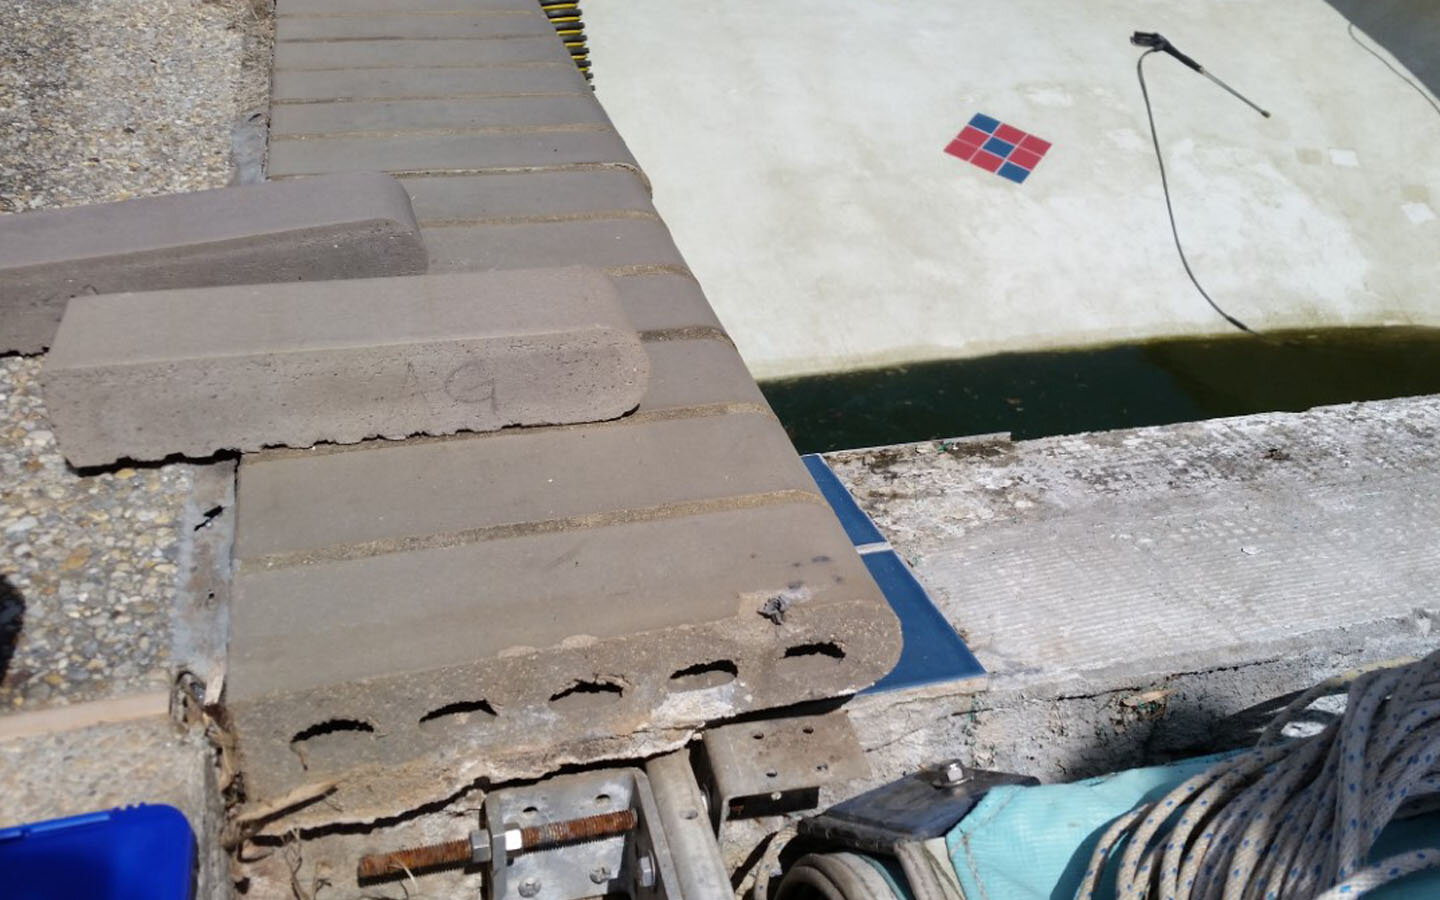
The coping was found to be a hollow variety. We have found that this type of coping does not do well in our winter environment. Our client liked the original color but we replaced the coping with a solid variety.
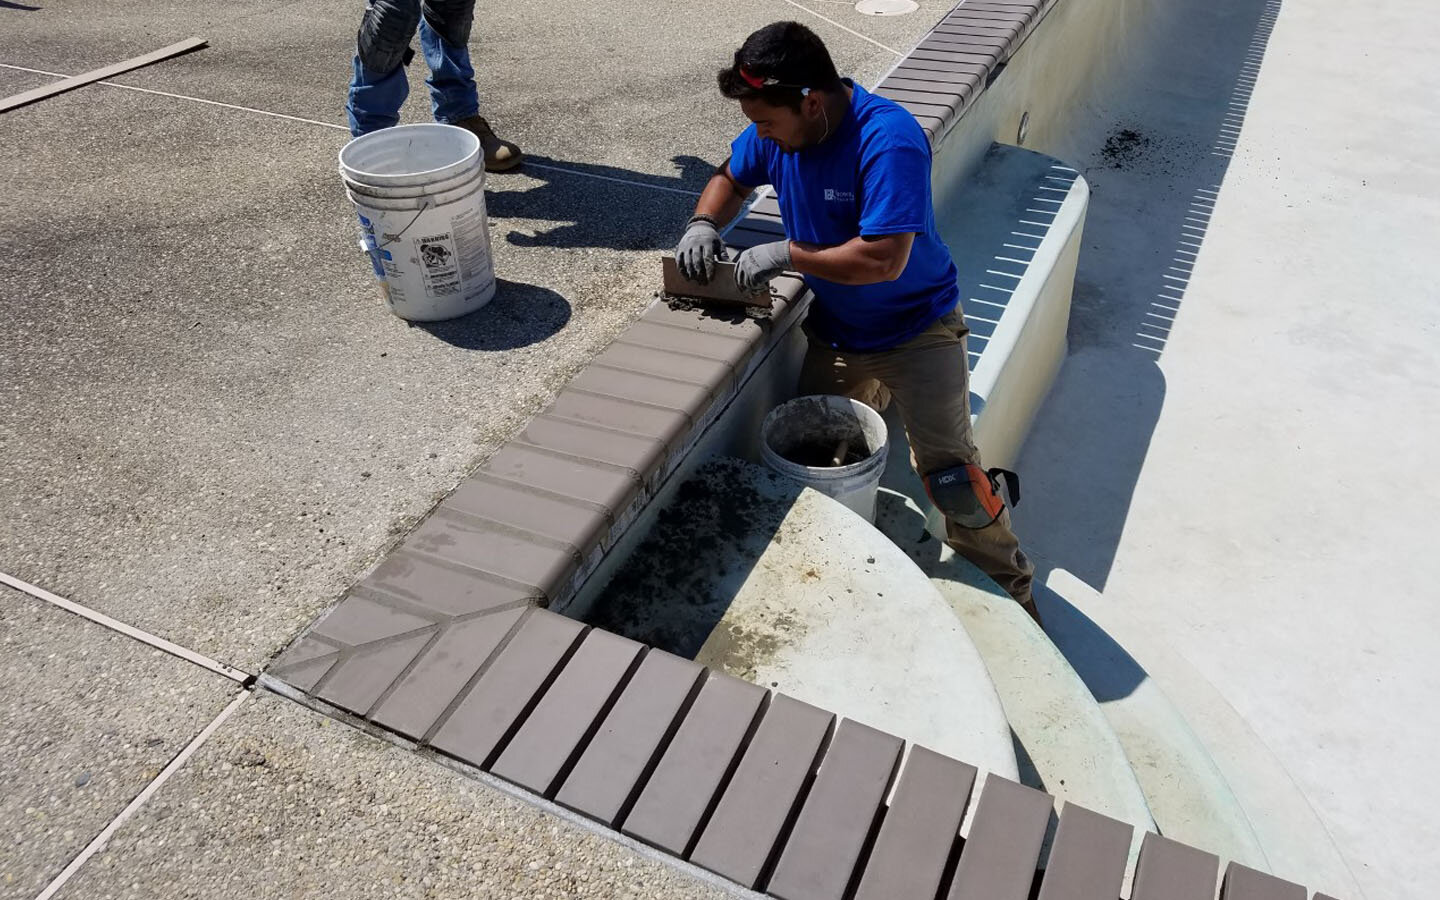
Grouting the new coping.
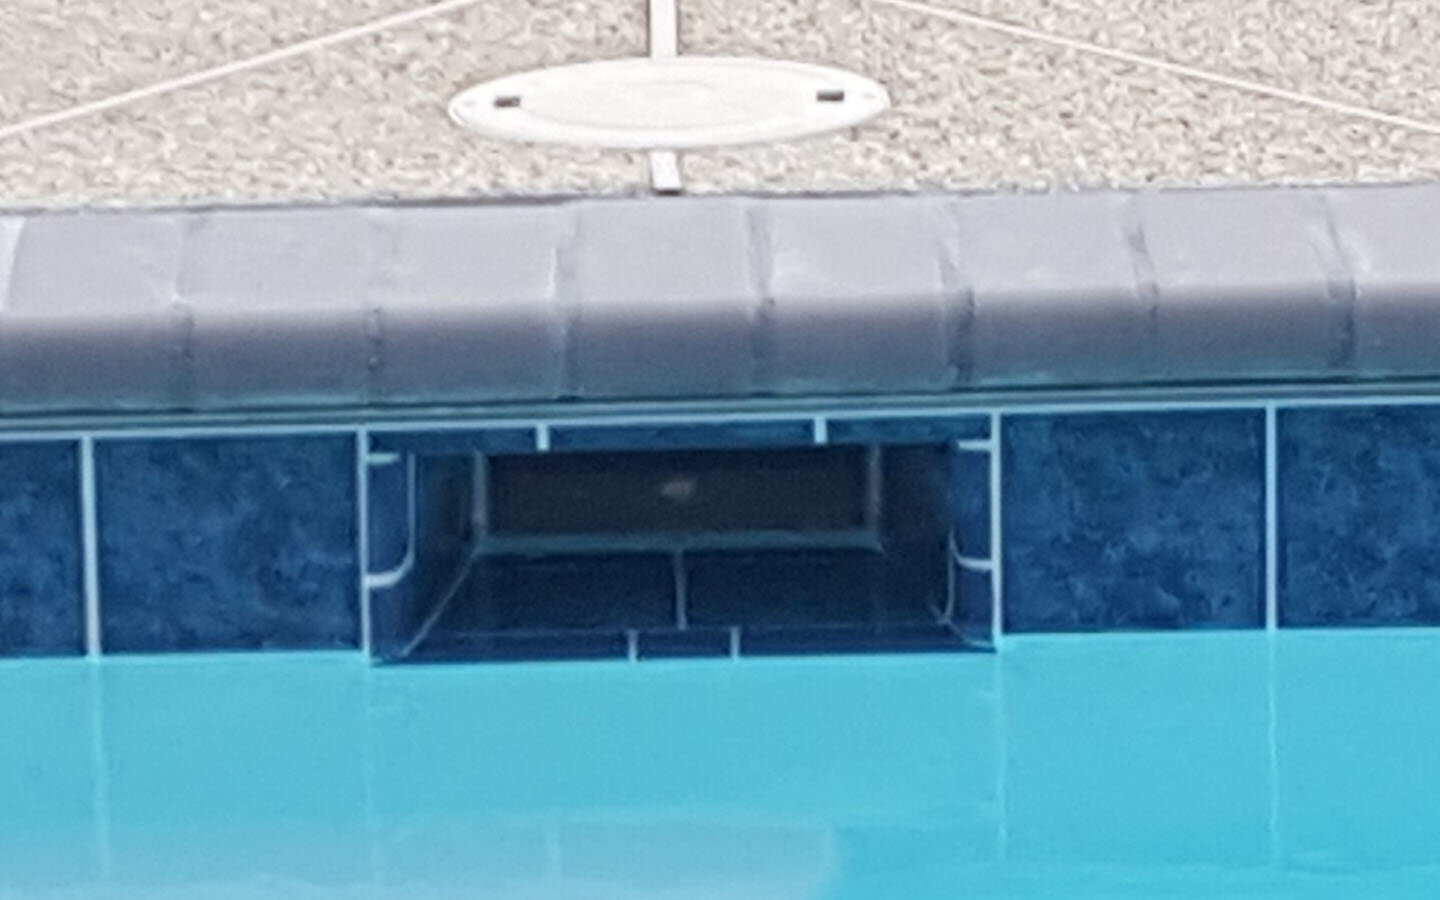
Decorative detailing of the tile around the skimmer opening. Notice the use of quarter round tile on the sides and base of skimmer.
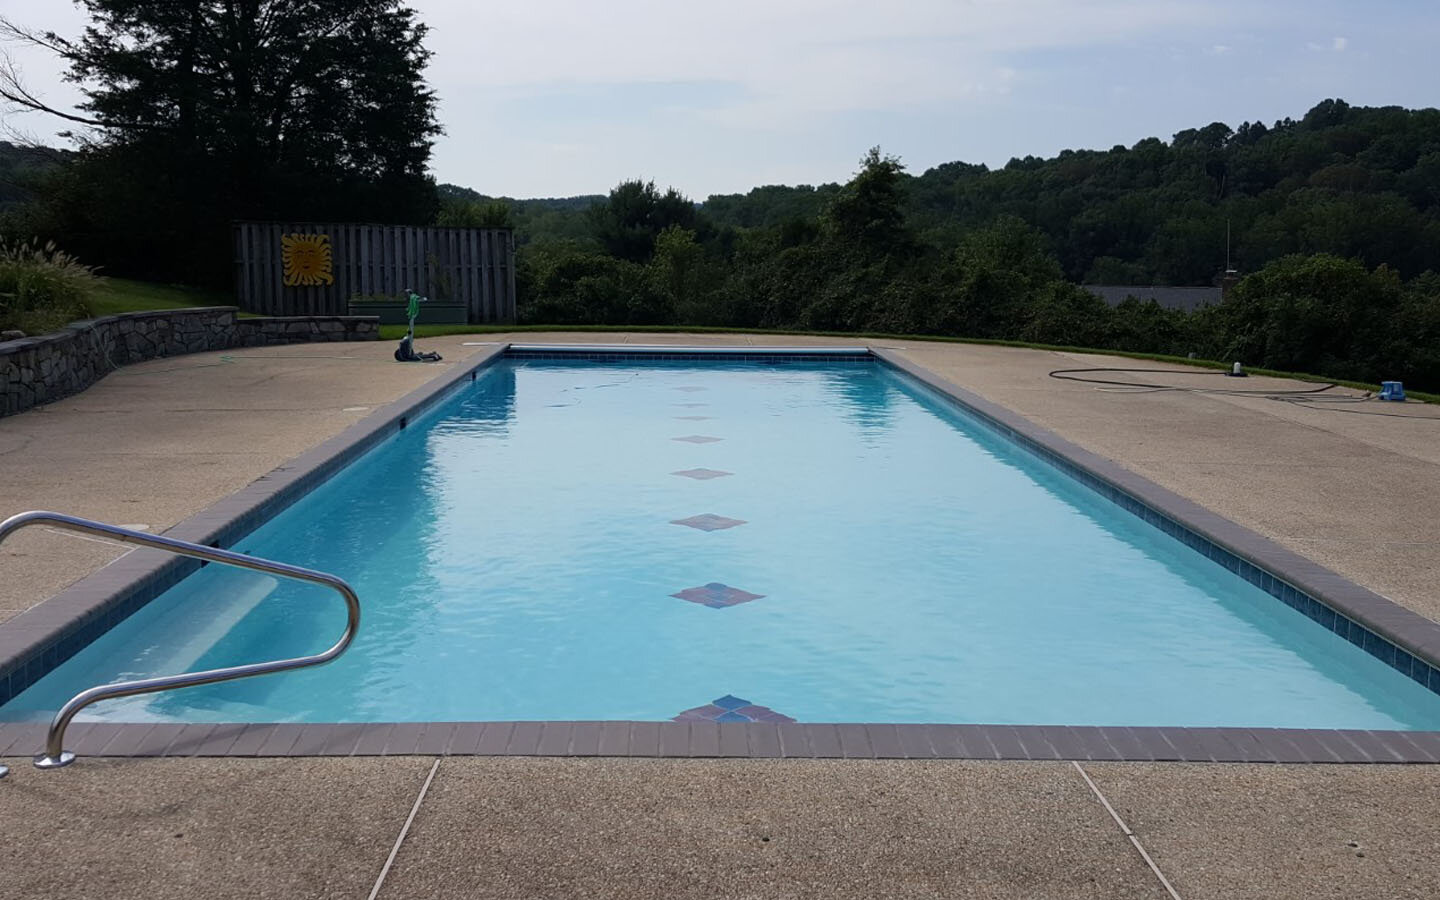
New life to an old pool! This pool was brought around with new coping, tile, and a bleach cleaning of the existing interior to preserve the mosaic tile inlays.
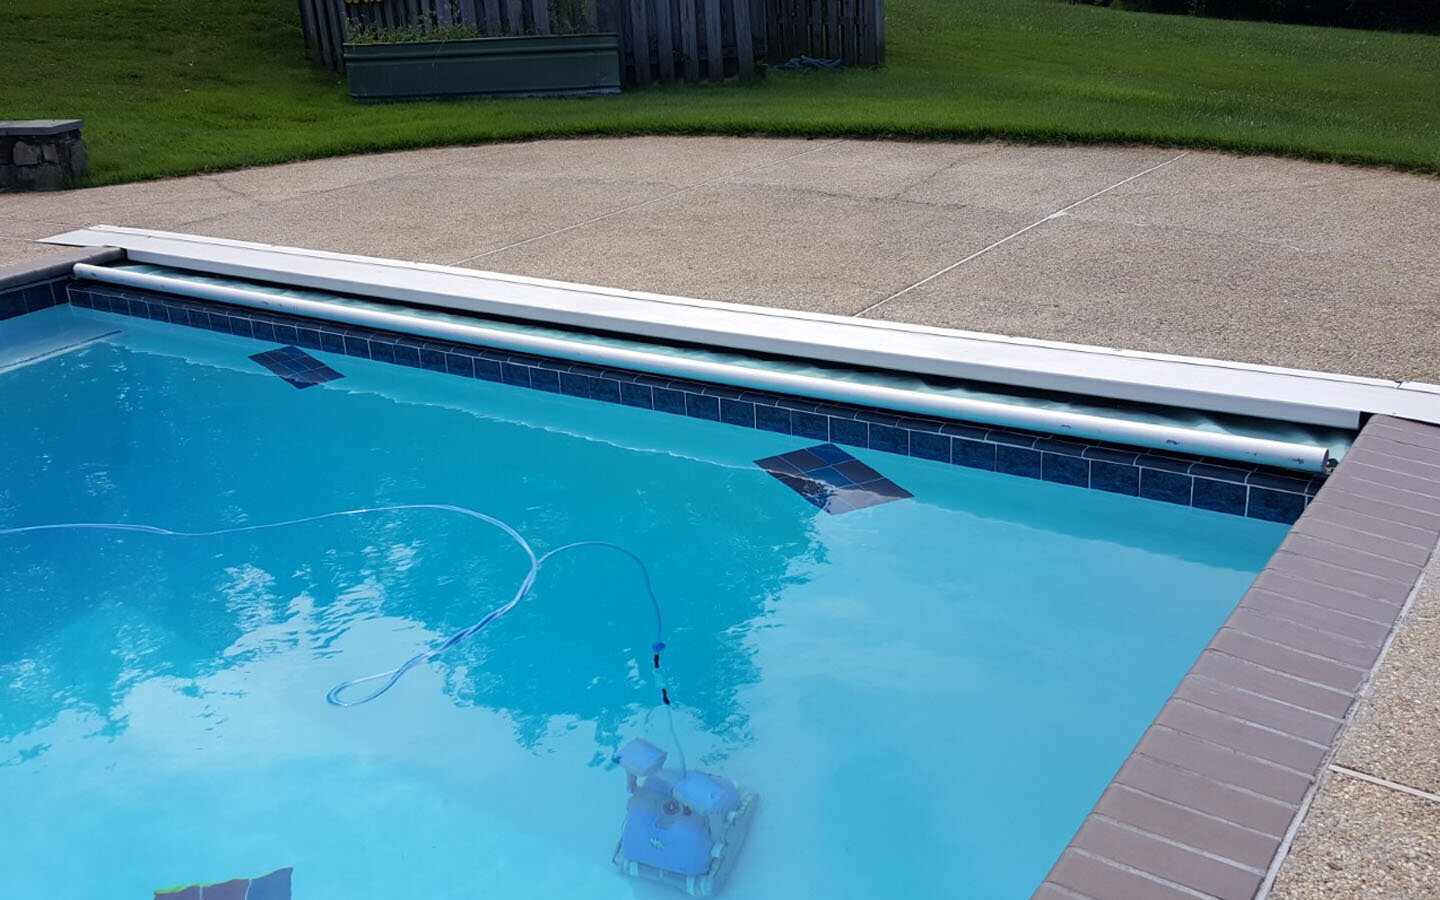
In addition, we updated the filtration system and added a robotic cleaning system to help with the day to day cleaning.
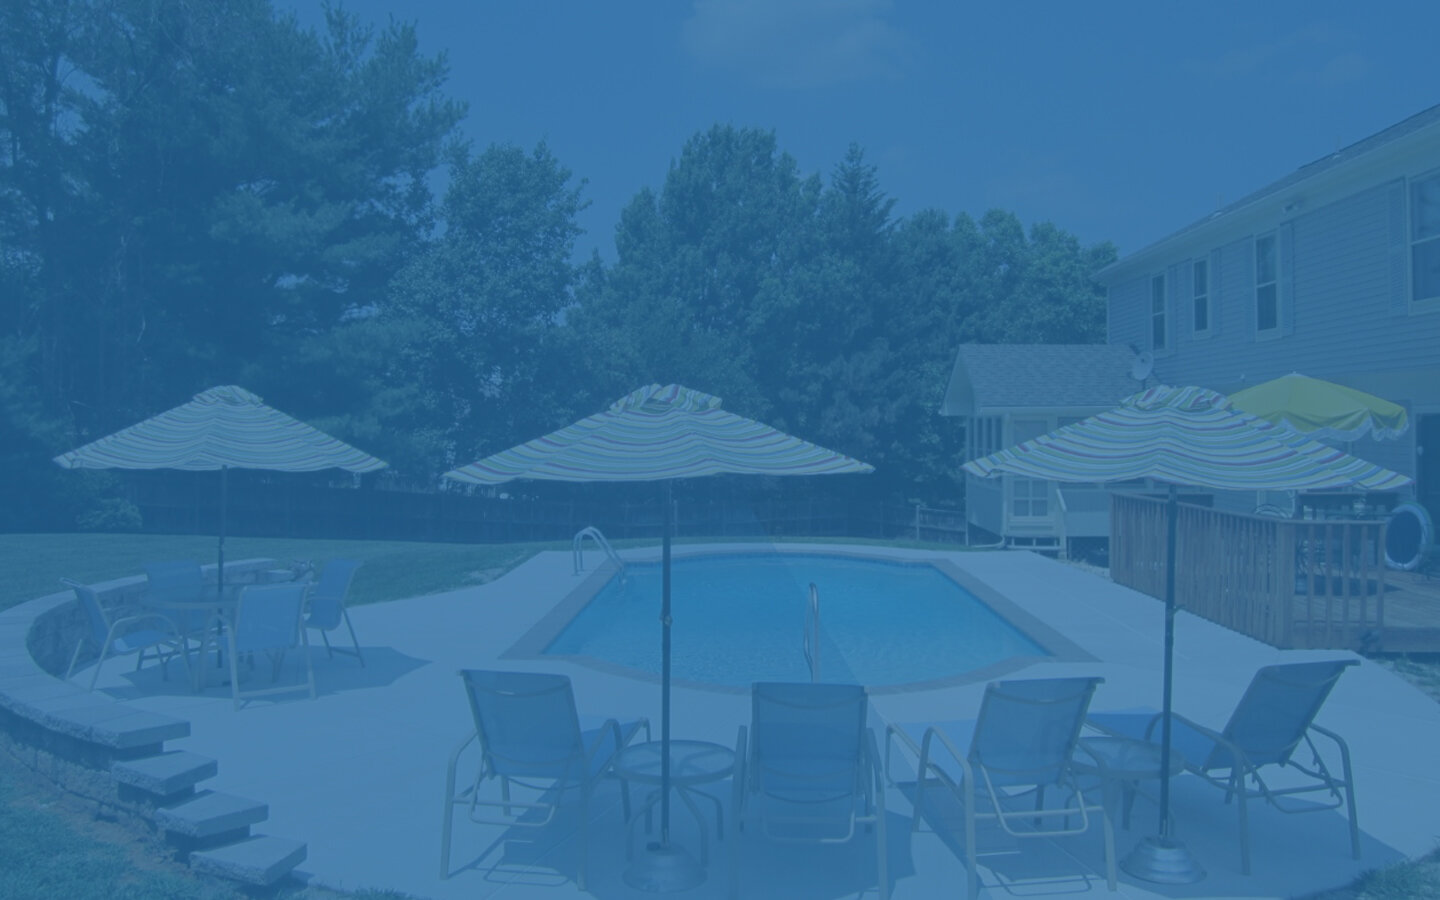
The backstory of this project: the pool was 20+ years old with original coping, tile, interior, patio, and caulk. Unfortunately, the tile had timed out many years before the renovation. The failure of the tile allowed the concrete structure behind the tile to saturate during the summer swim season. The saturated structure of the pool froze during the winter season, creating structure damage each winter after the failure of the tile line. At the time of the renovation, the damage in the shallow end had reached the center of the step entry. Beyond this, the caulk had not been kept up with either, which allowed moisture under the patio creating a significant amount of frost movement during the winter seasons. Over time the winter movement of the patio took its toll as sections cracked and became unleveled.
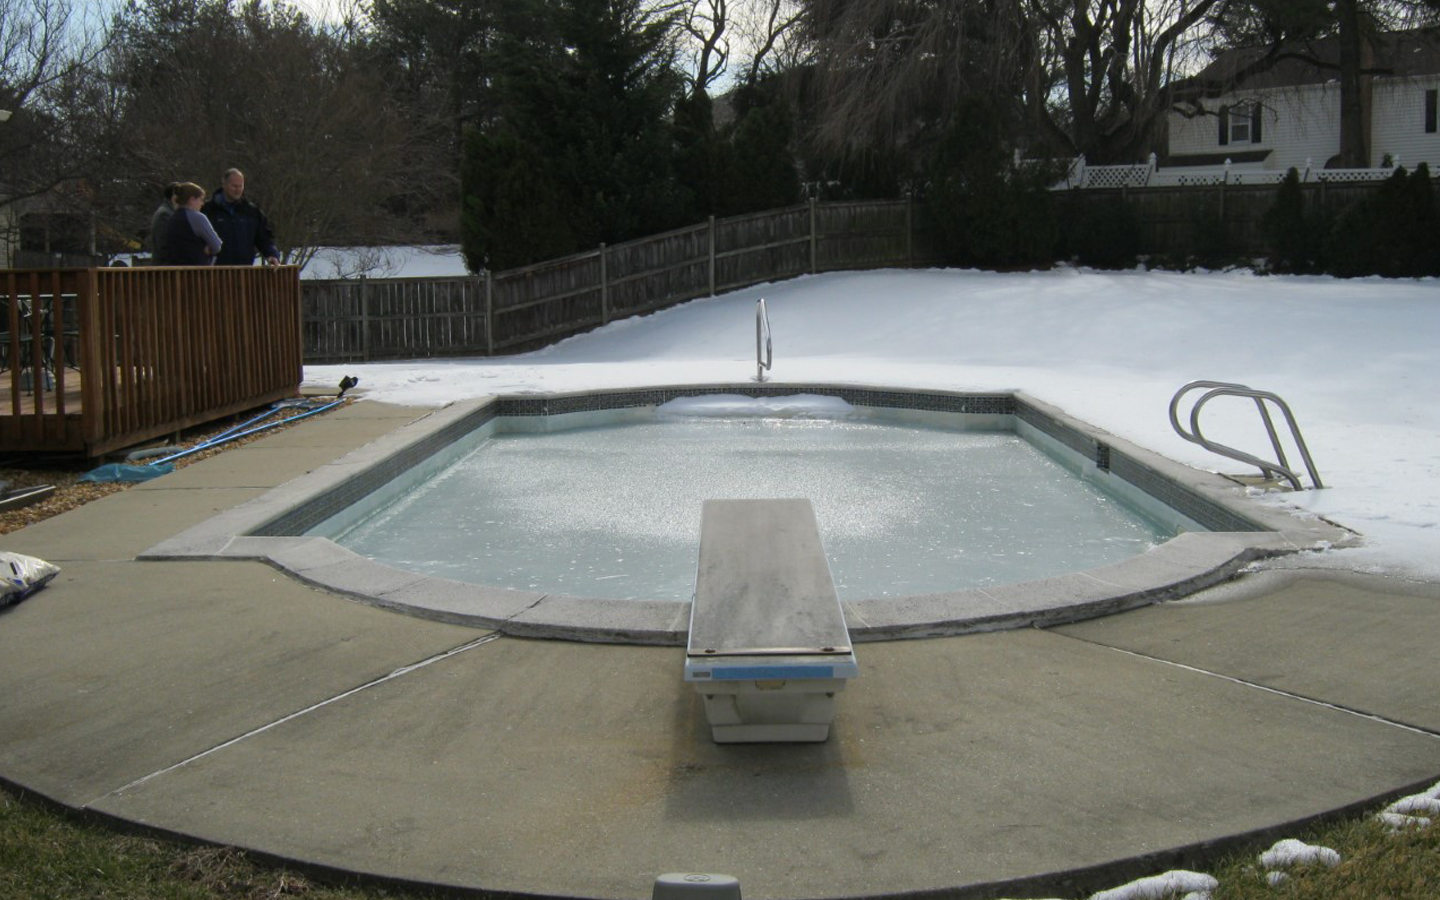
This pool, beyond the noticeable missing tile, sunken patio, and cracked coping, also shows signs of beam damage around the shallow end entrance. The client wanted to bring this pool up to speed. Our design team came up with an excellent update plan along with a recommendation to bring the pool up to code, most noticeably a dual main drain.
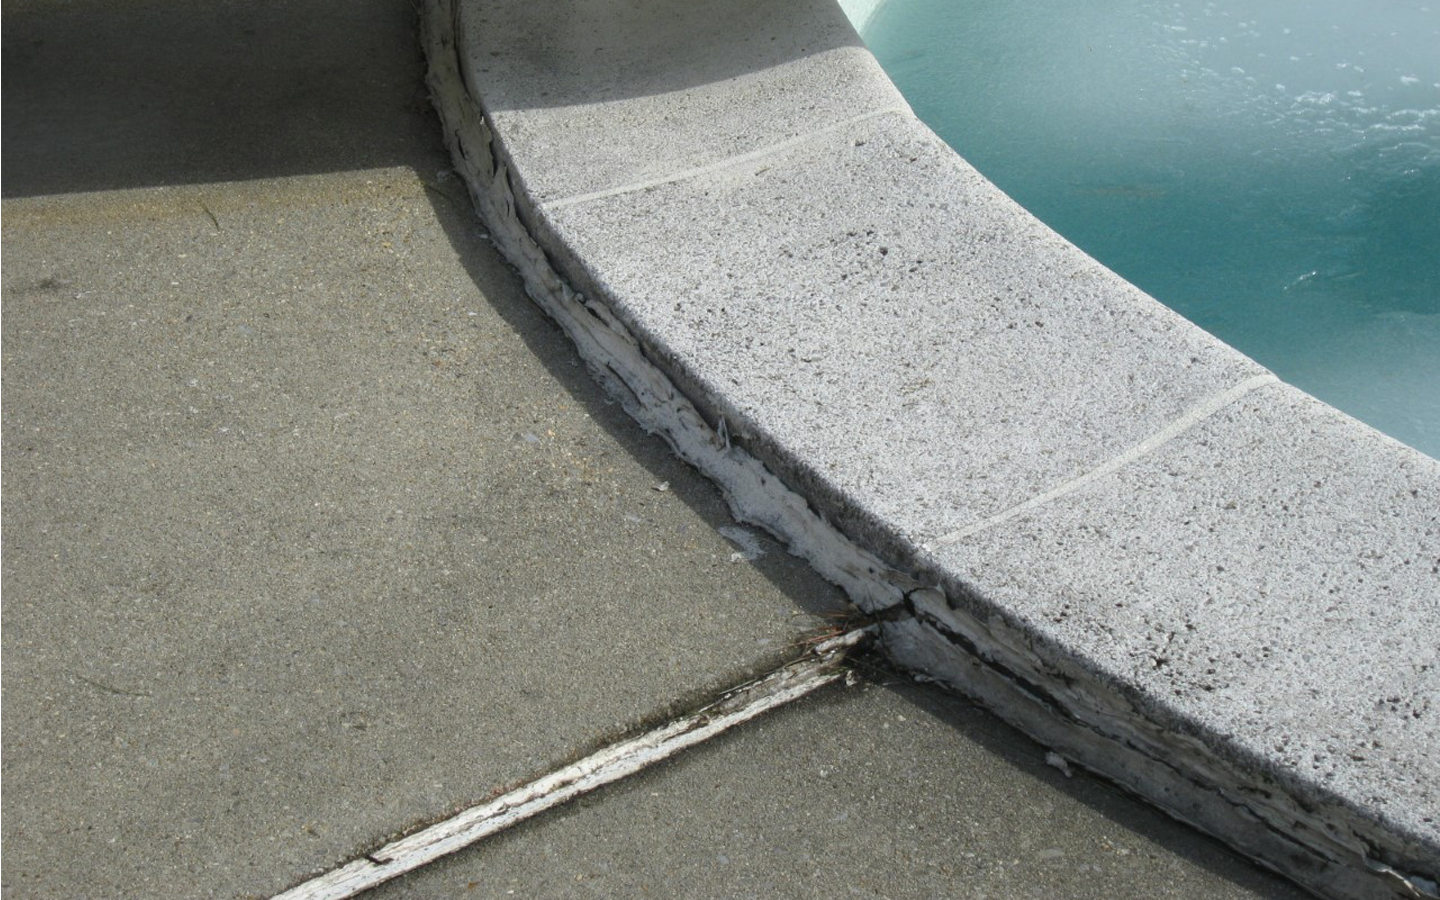
Detail of the sunken patio.
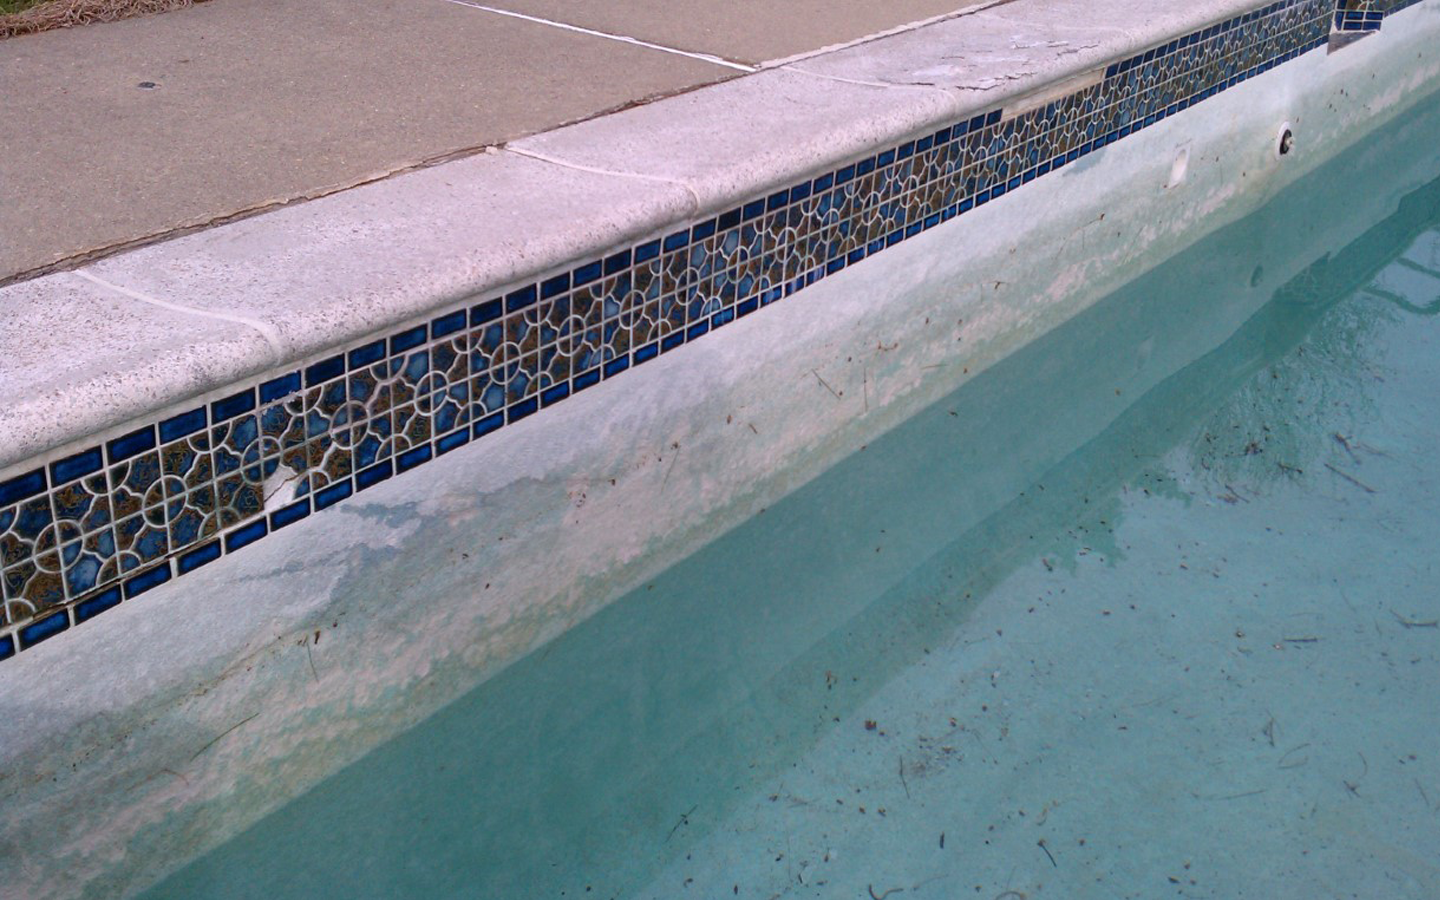
Detail of missing tiles and notice the crack in the bond beam.
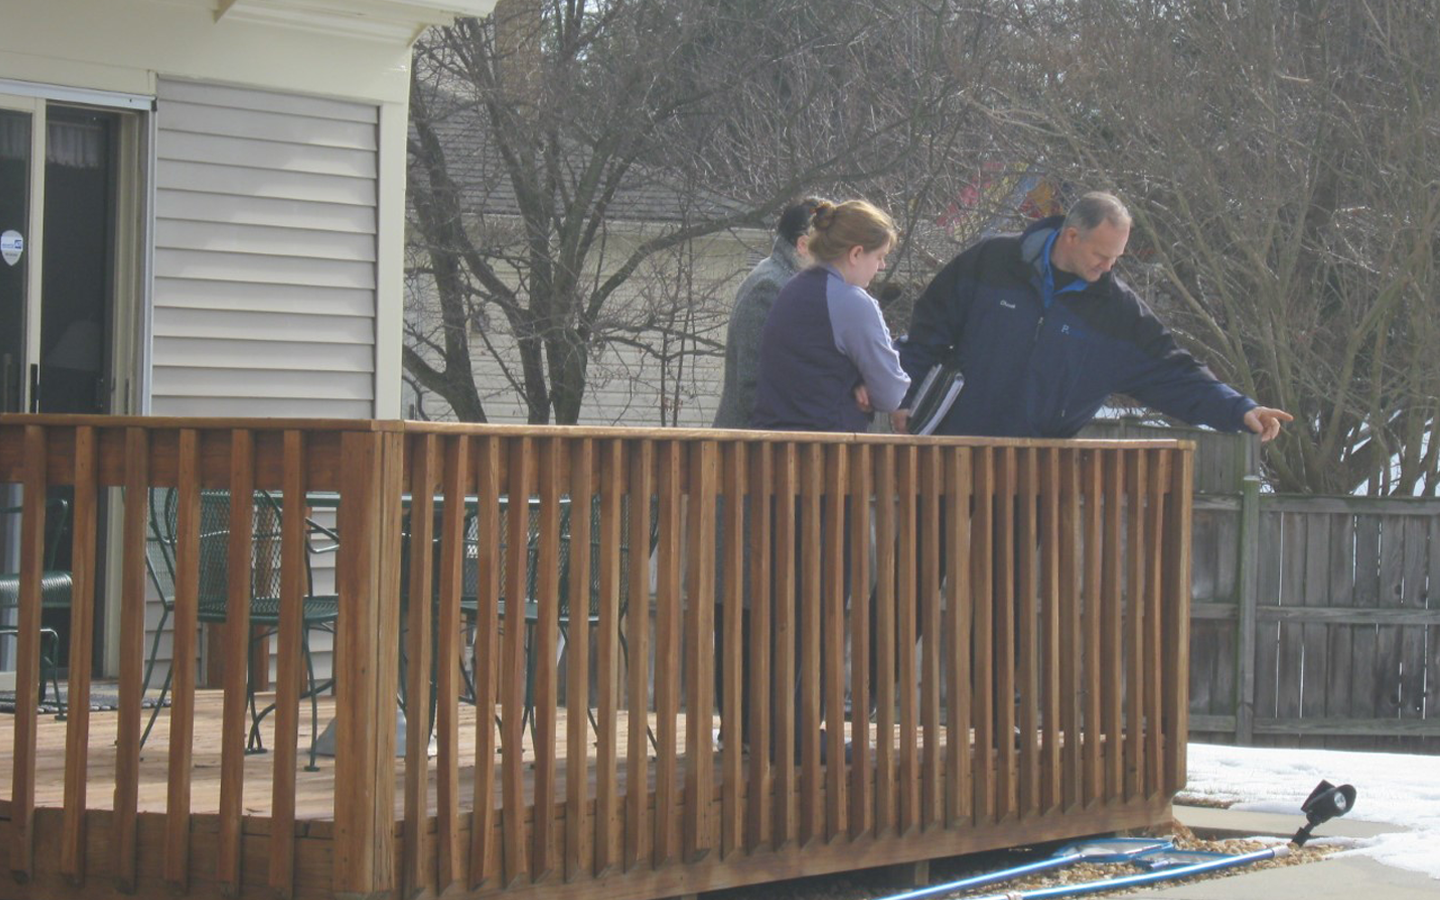
Chuck Browning reviews with the client the exciting changes proposed and renovation begins.
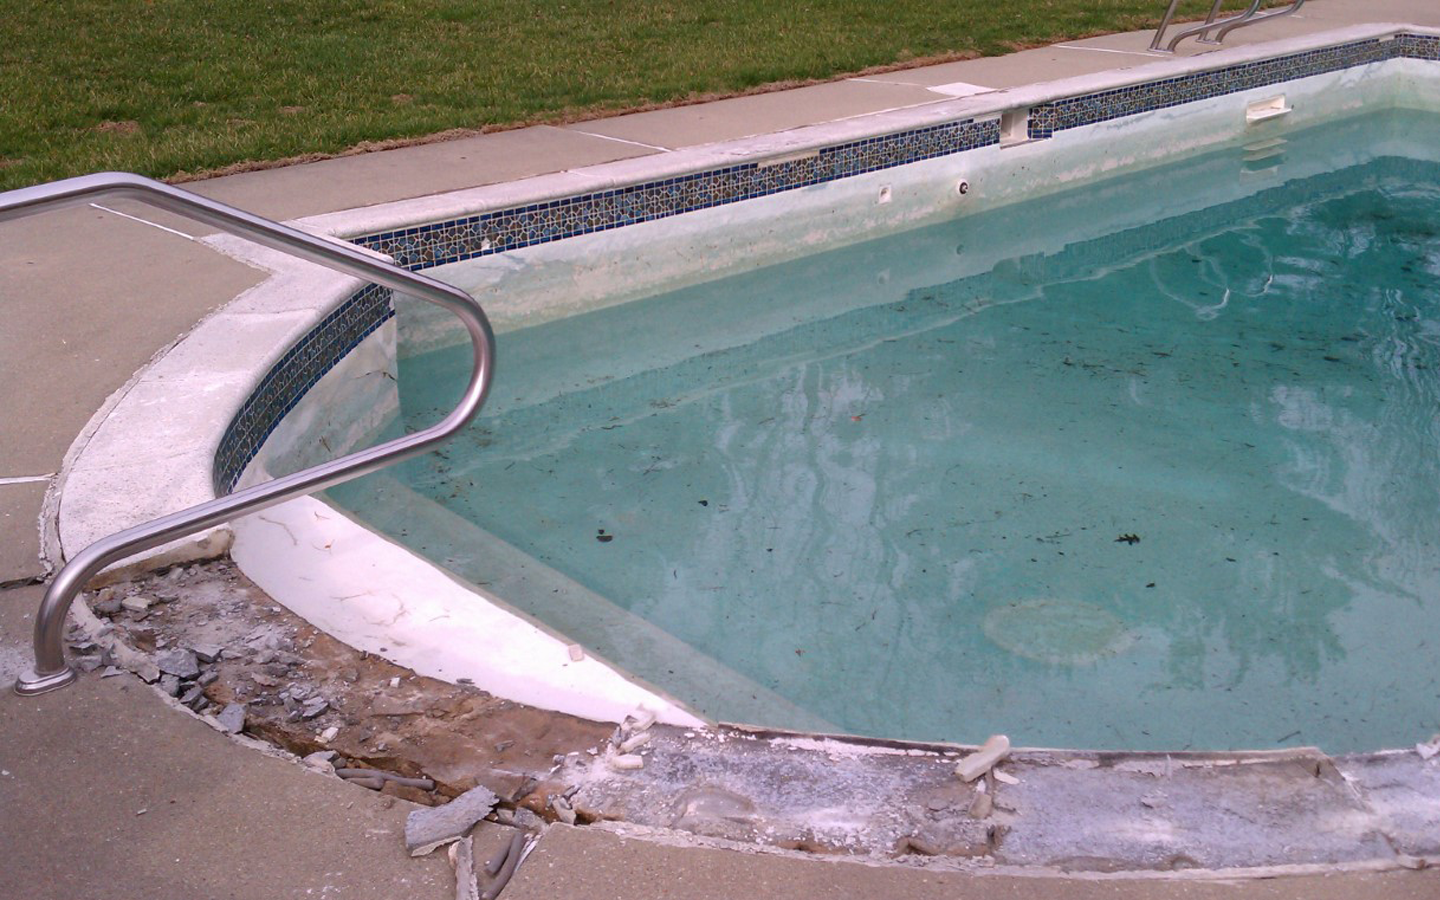
The rotted concrete areas of the pool structure are removed.
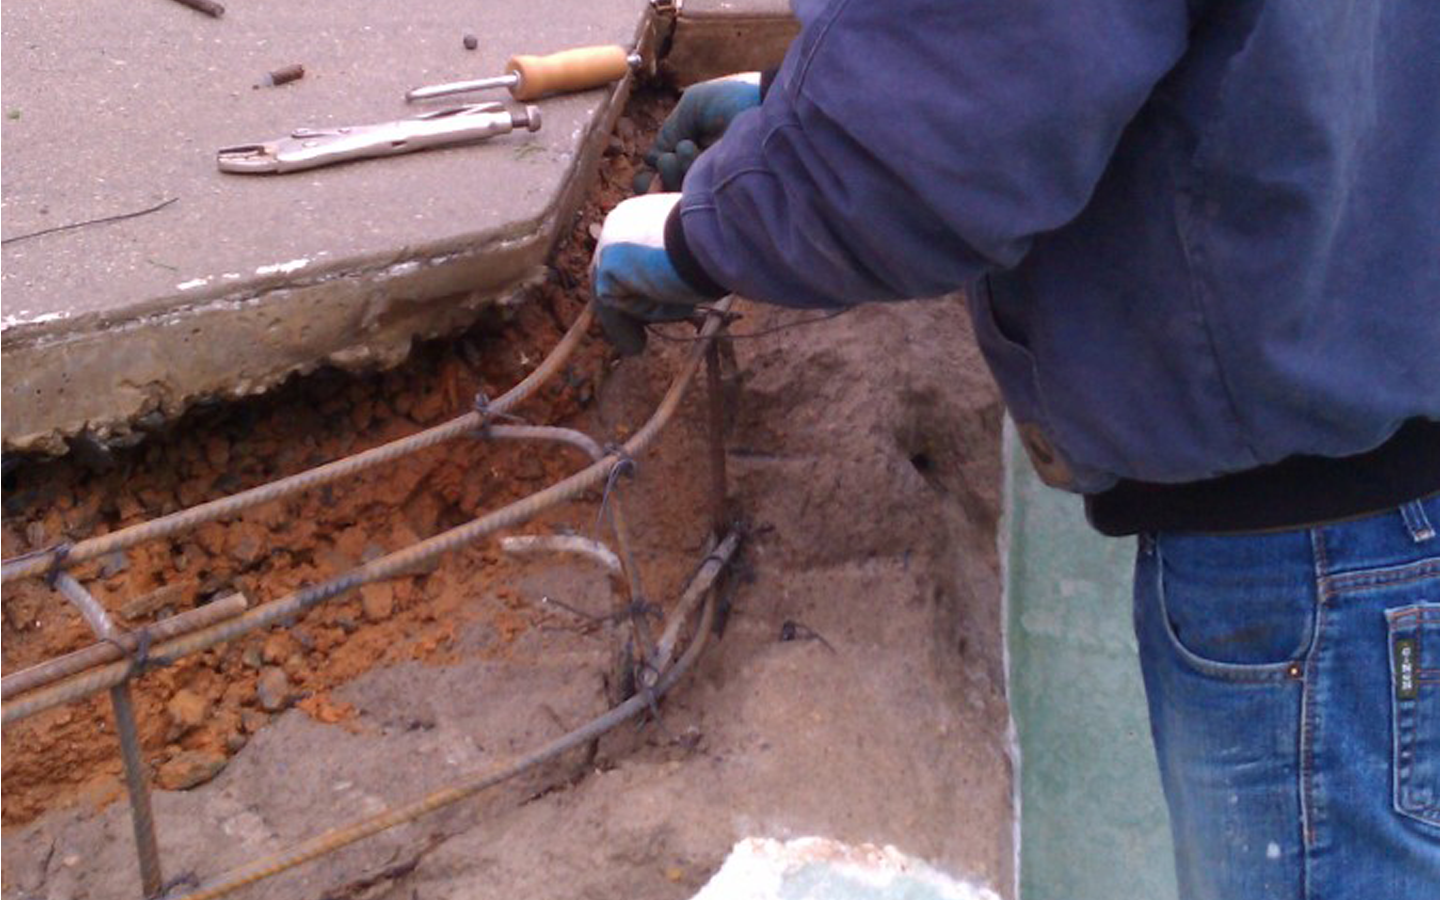
Here steel reinforcement is being added.
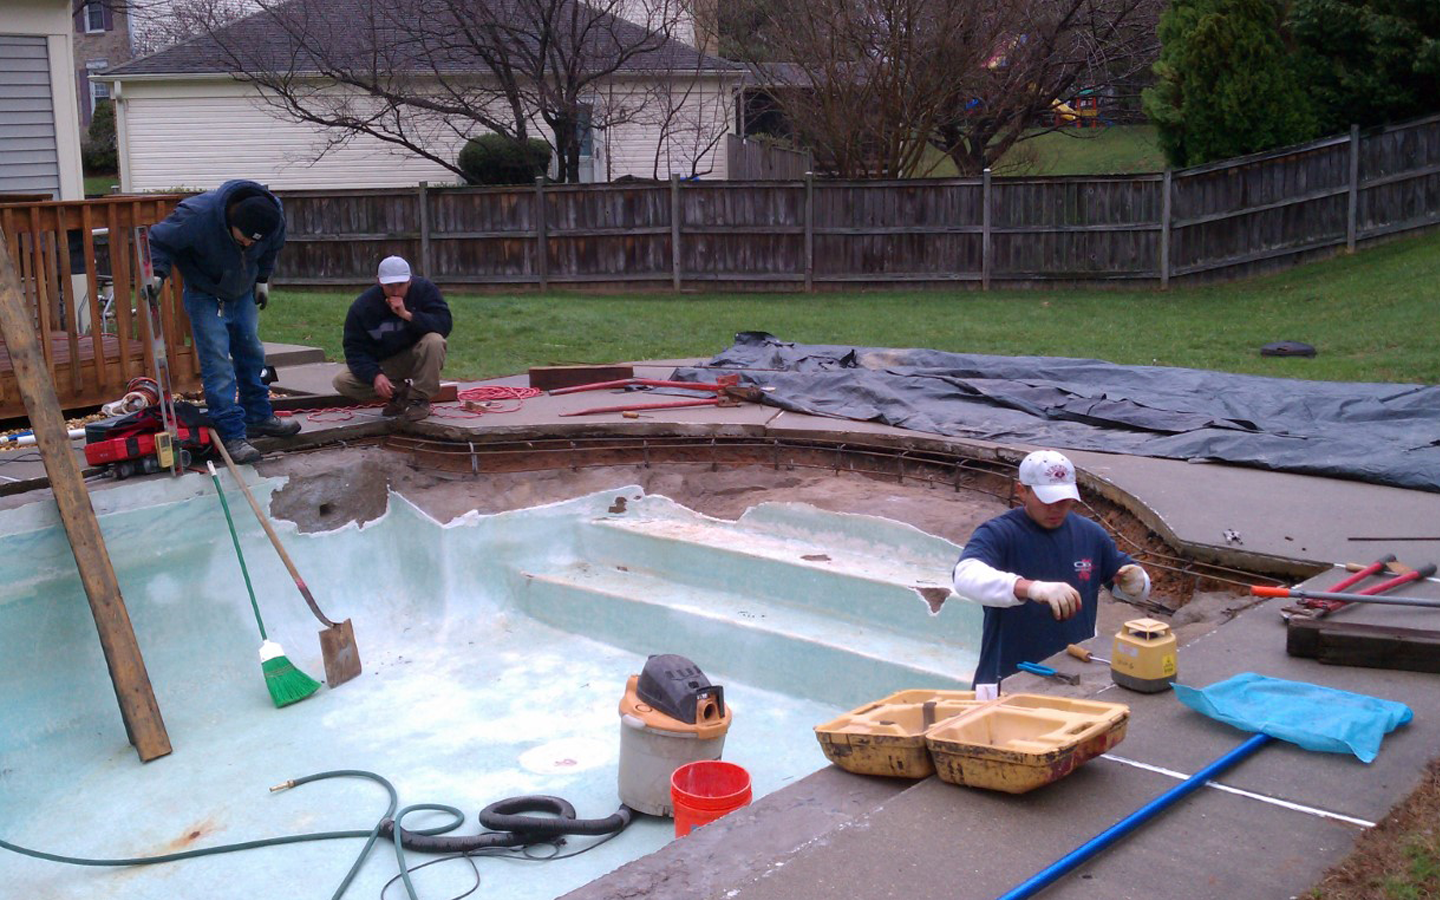
The bond beam has been removed and new steel added.
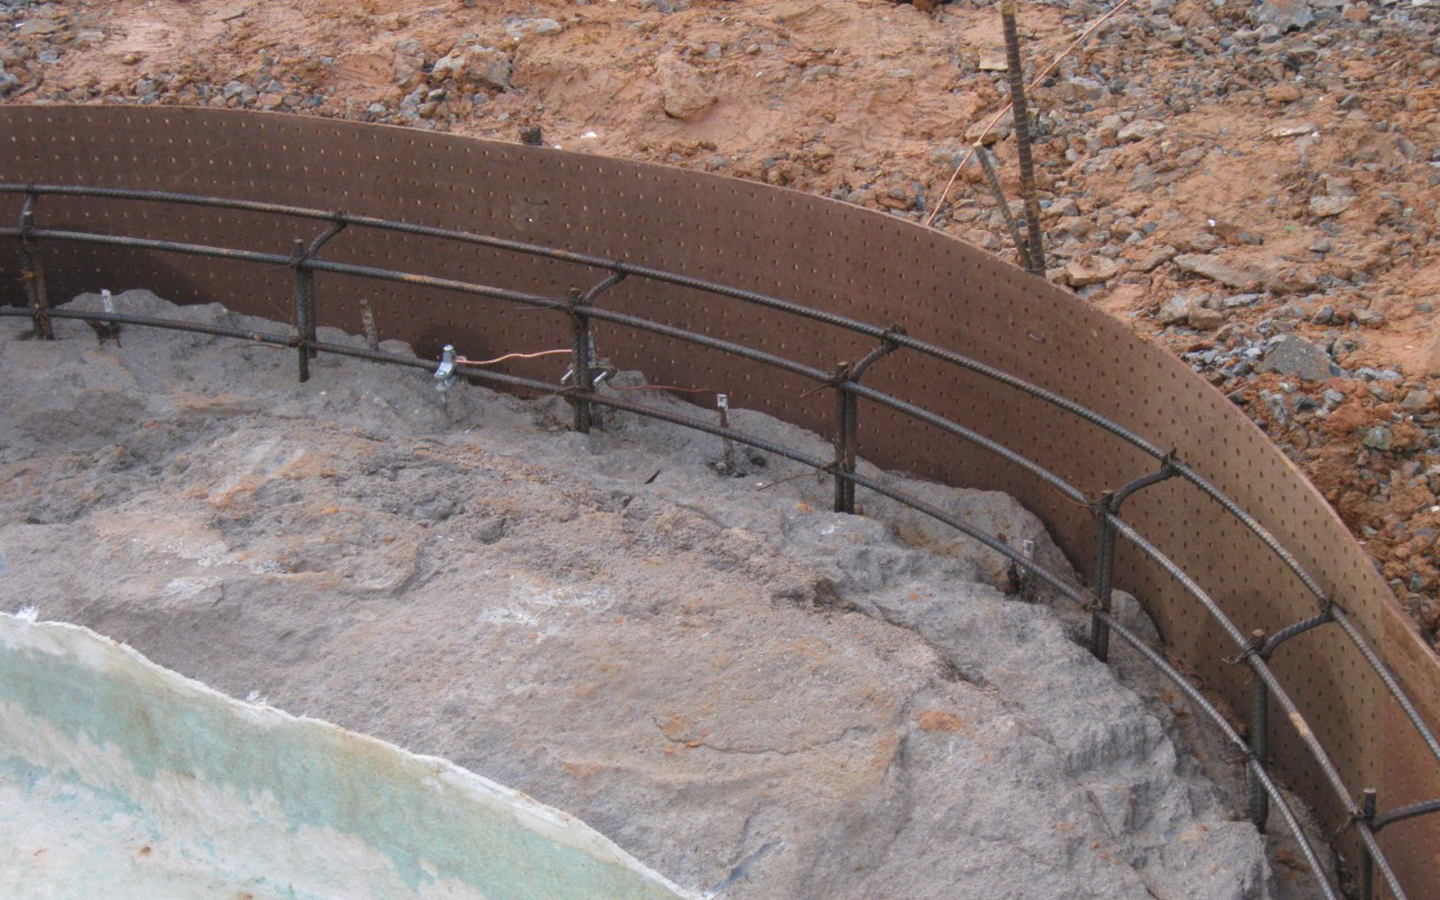
New bond wire and bond bug has been added to the new steel to properly ground the new bond beam.
Electrical grounding of new steel is completed.
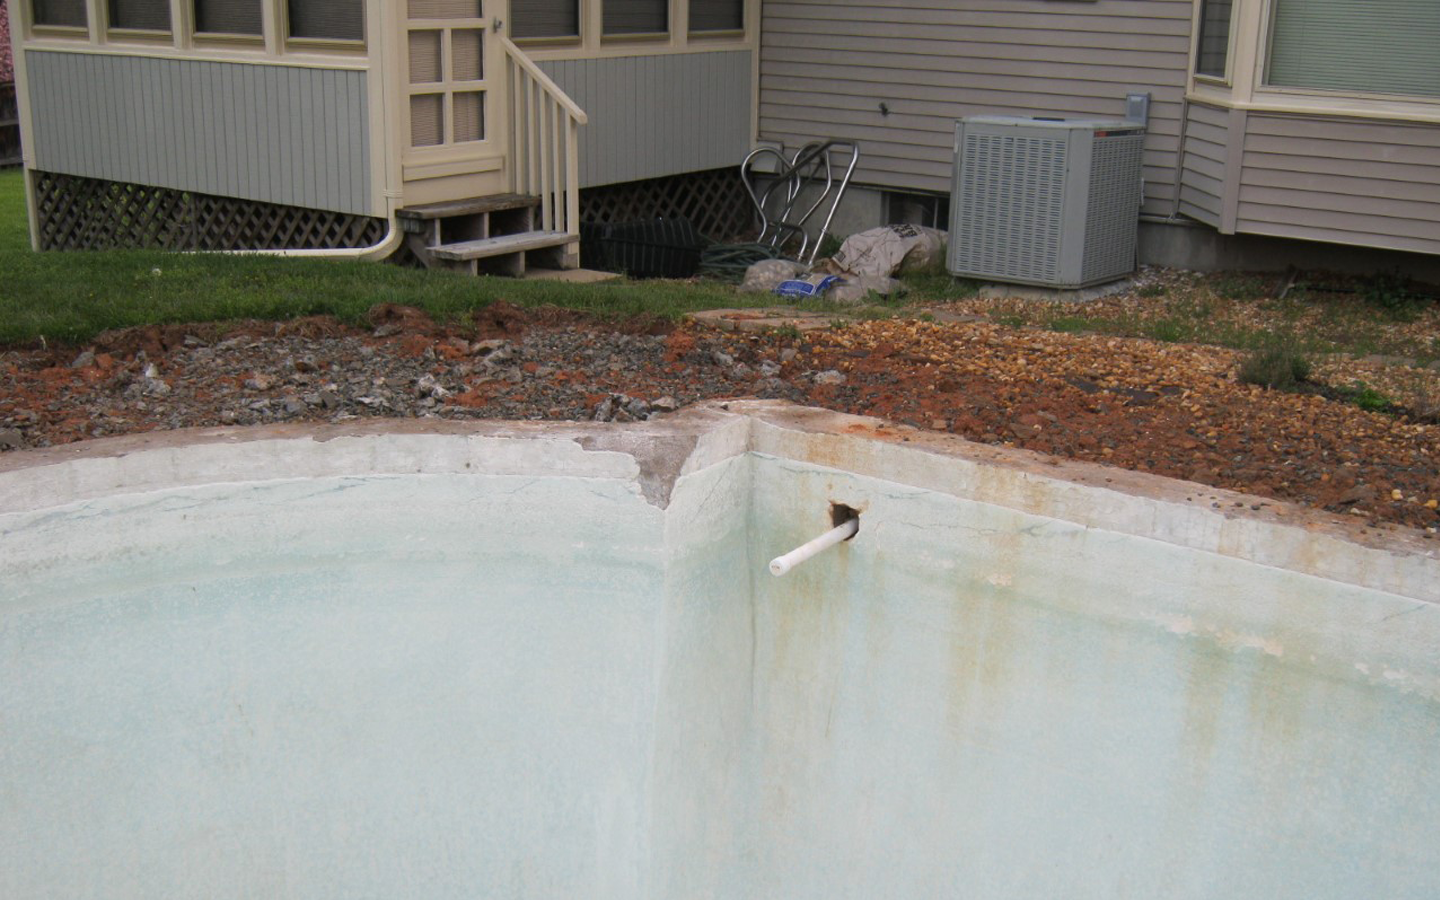
New side wall return added to improve circulation.
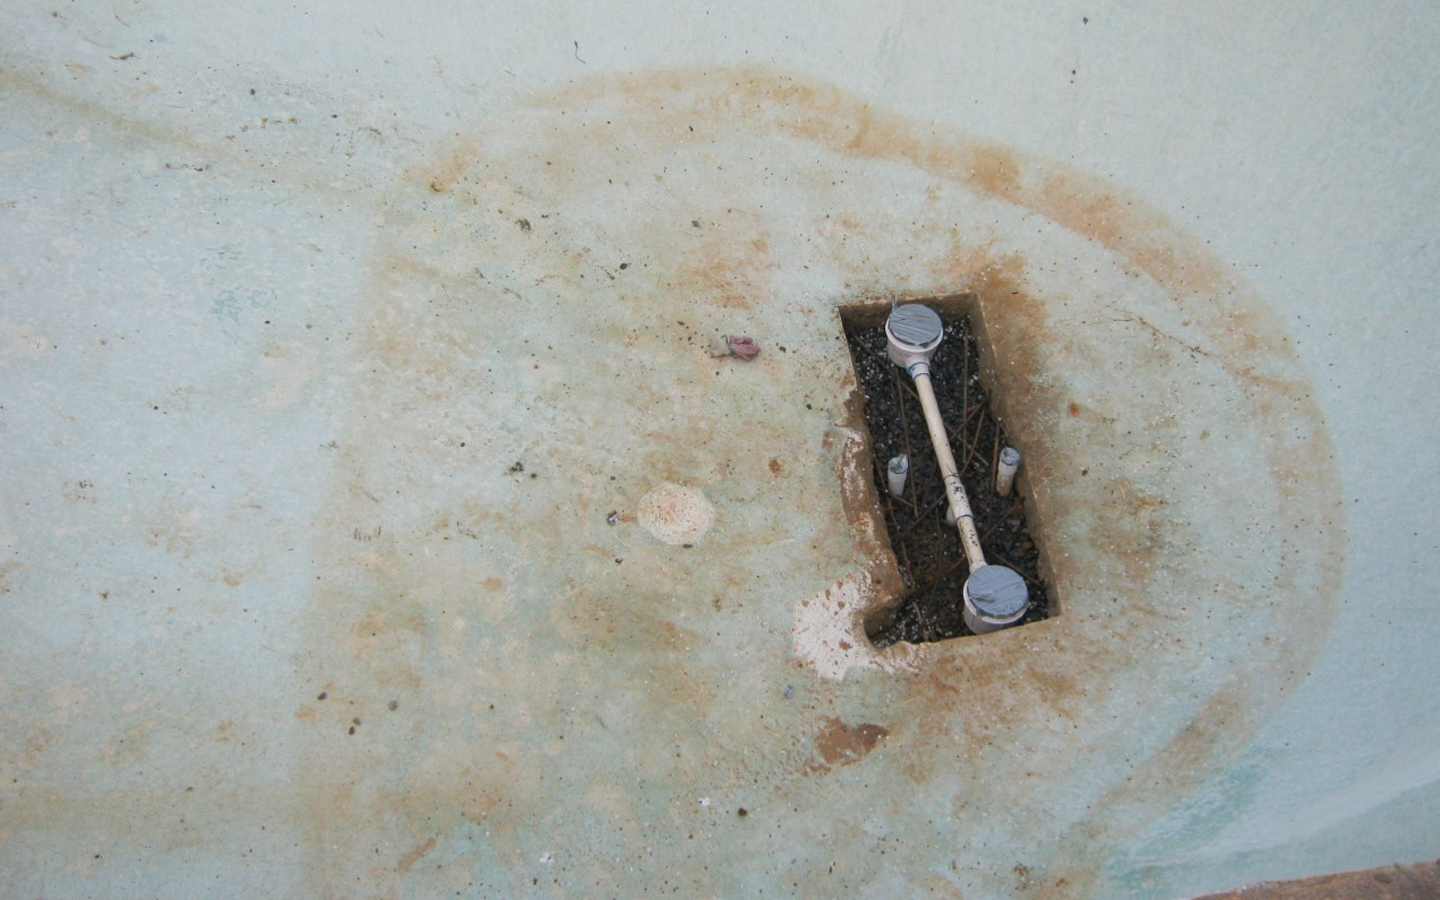
Updated dual main drains are in place.
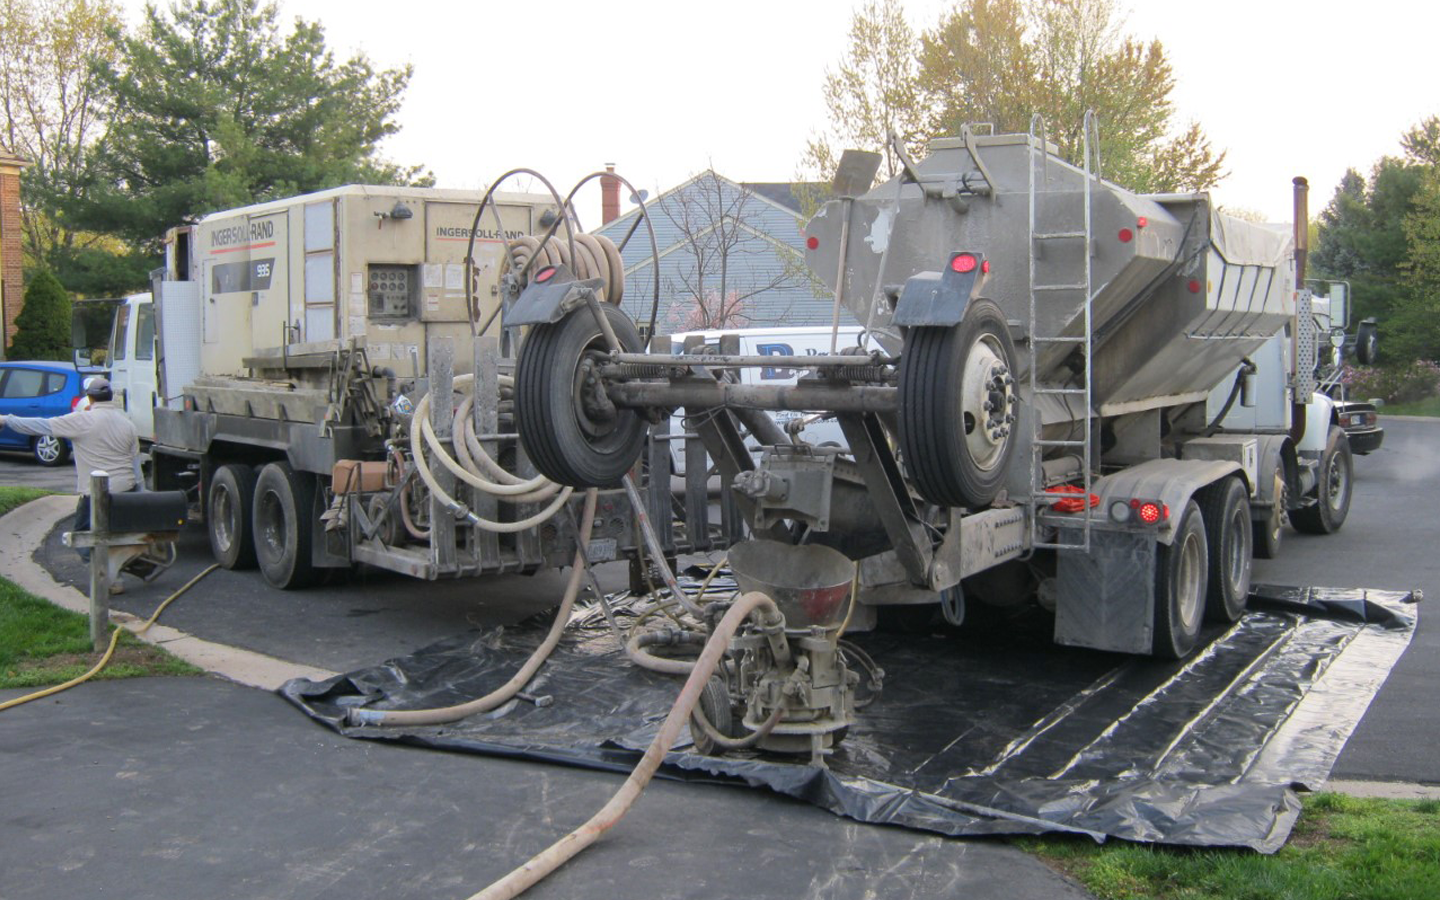
The gunite crew arrives to re-shoot the removed areas of the pool and to lock in the new plumbing fittings. Shown here is the batch truck and compressor truck. Gunite is the raw concrete material pushed through a hose dry, with water added at the nozzle just before striking the area of placement. This type of concrete application creates a very strong product. We specify 4000 psi for our repair applications.
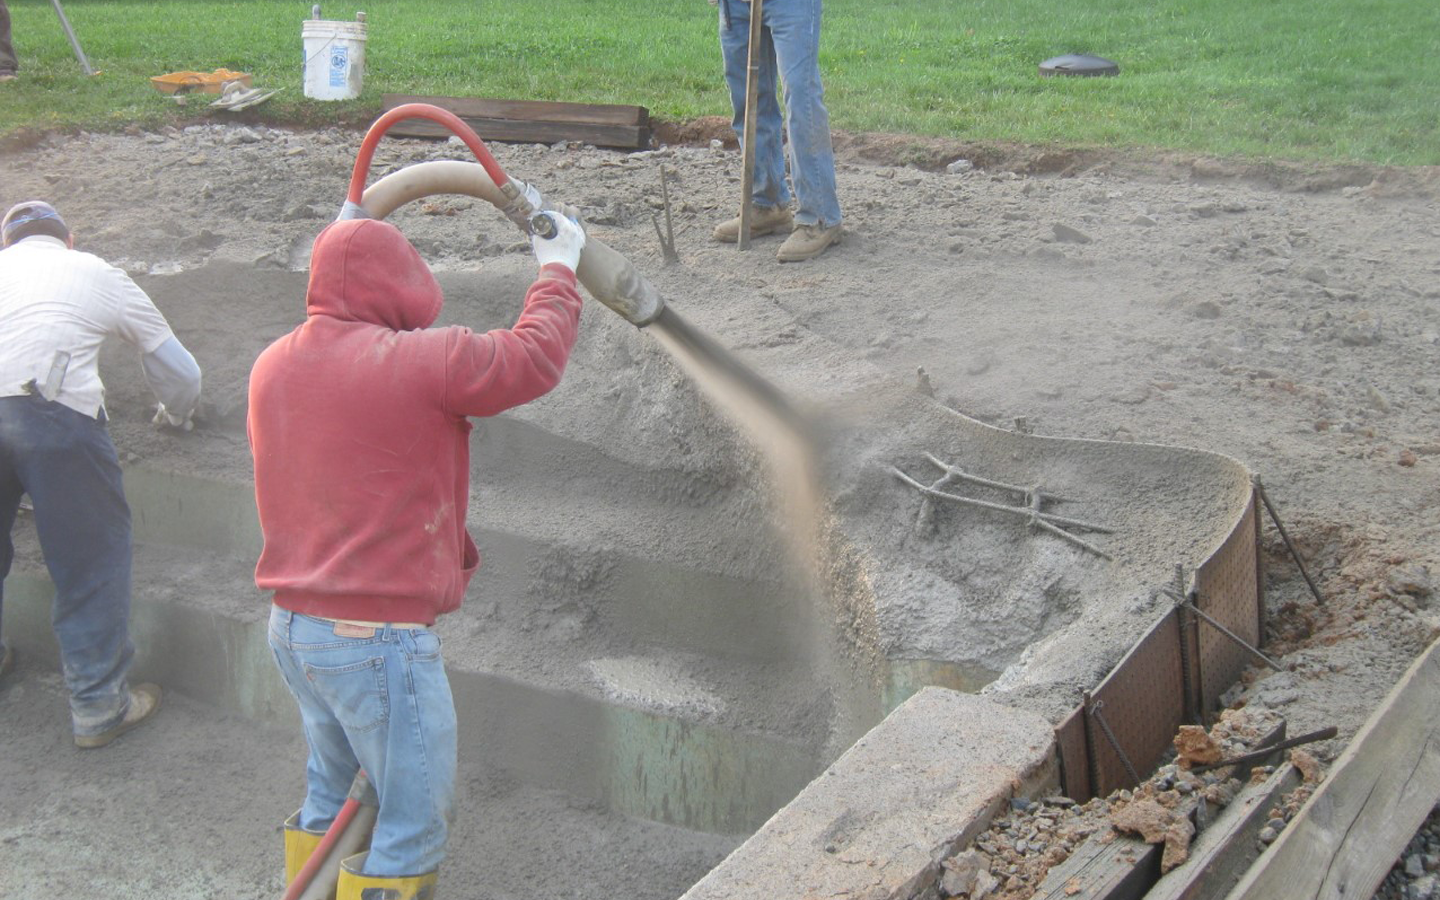
A professional nozzleman hard at work!
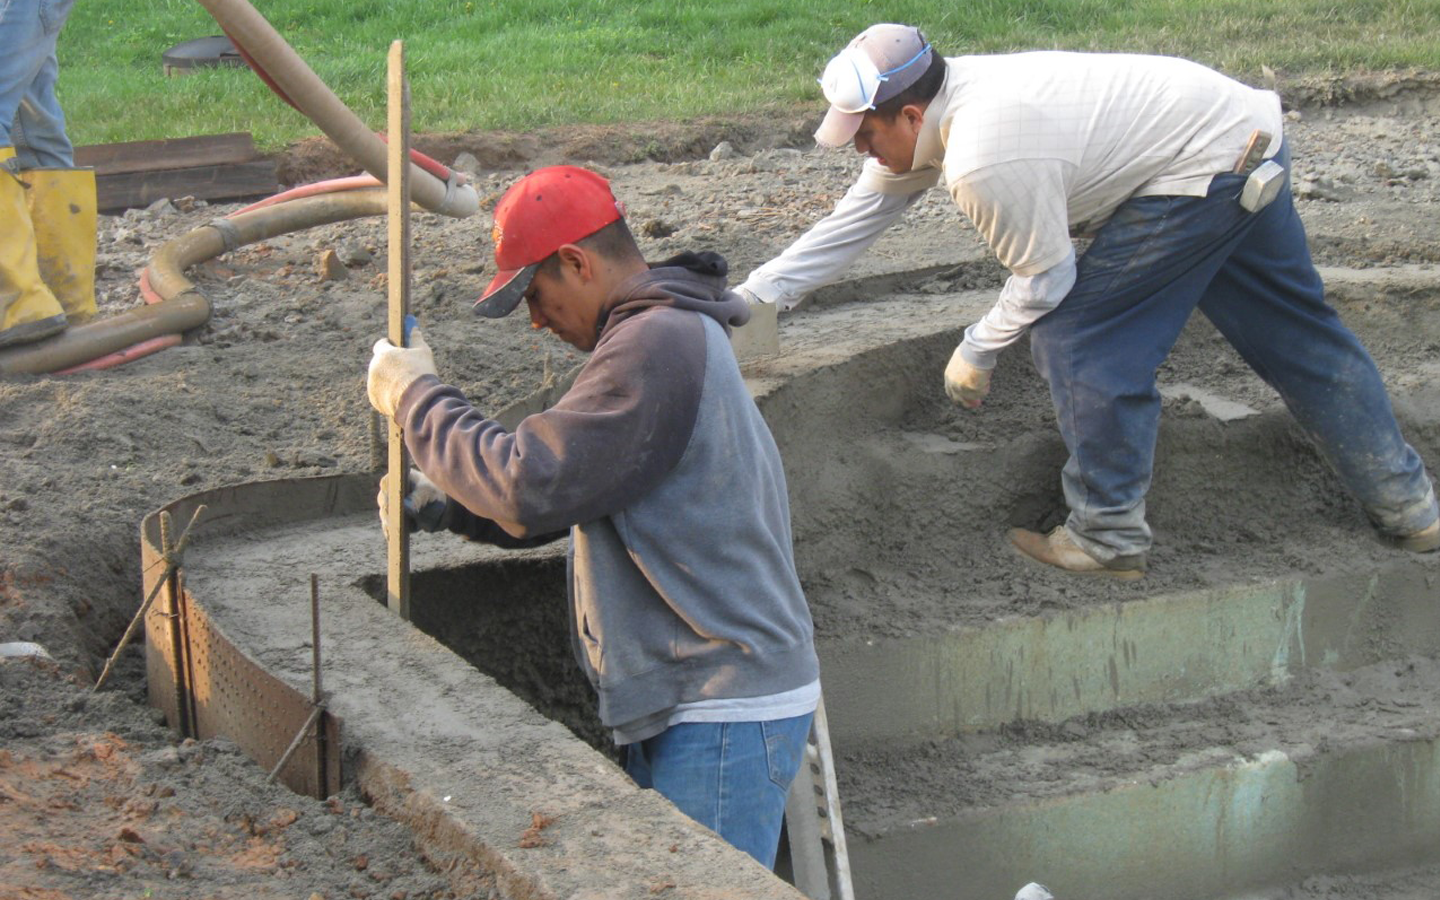
After the new concrete has been built up, it is worked into the desired shape of the pool & step entry.
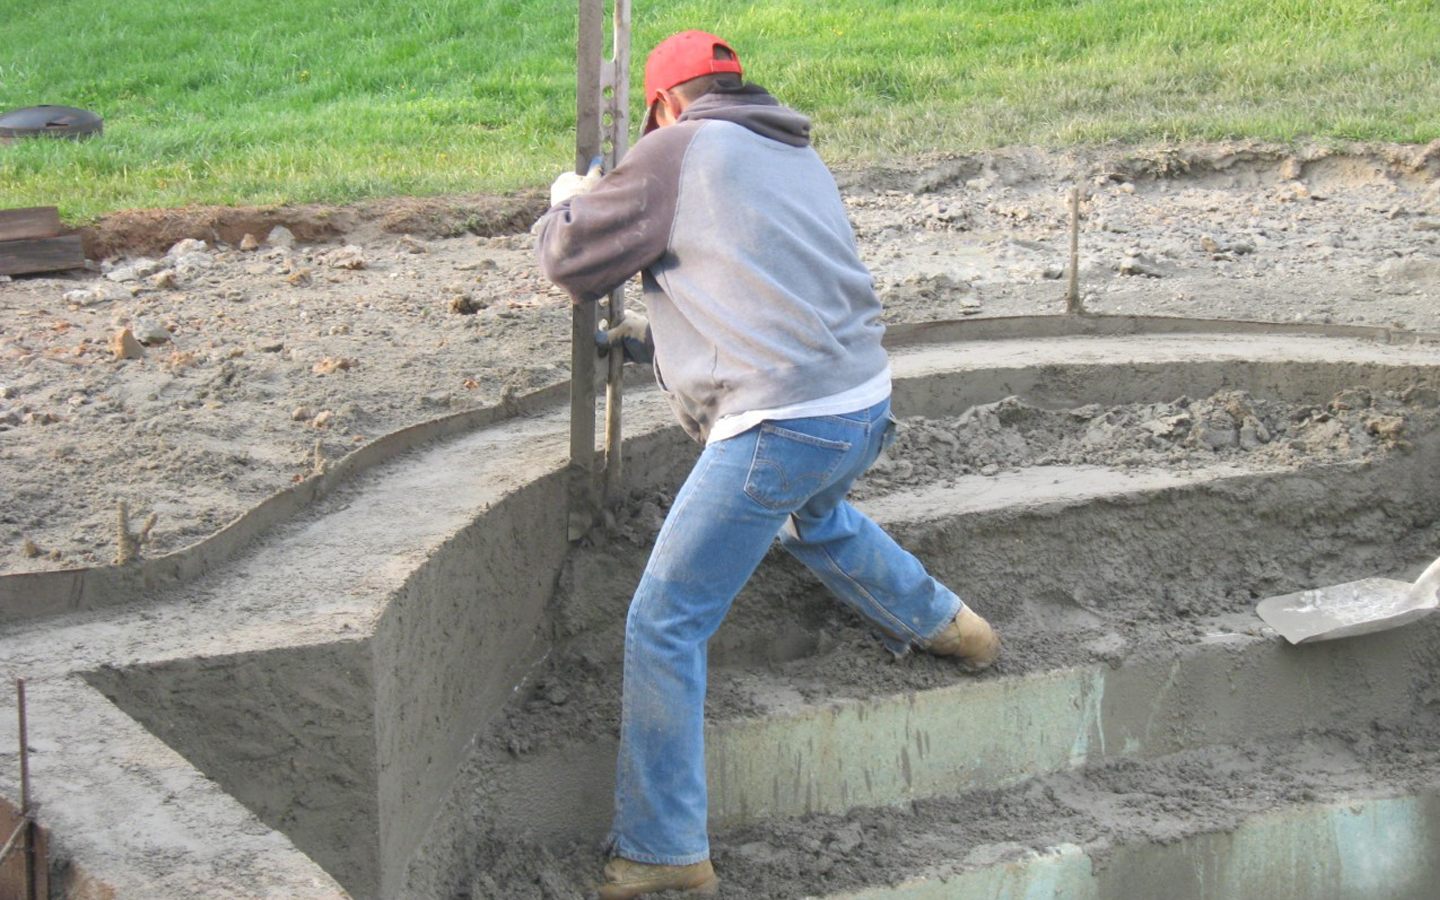
Forming the steps. Detailed craftsmanship makes all the difference.
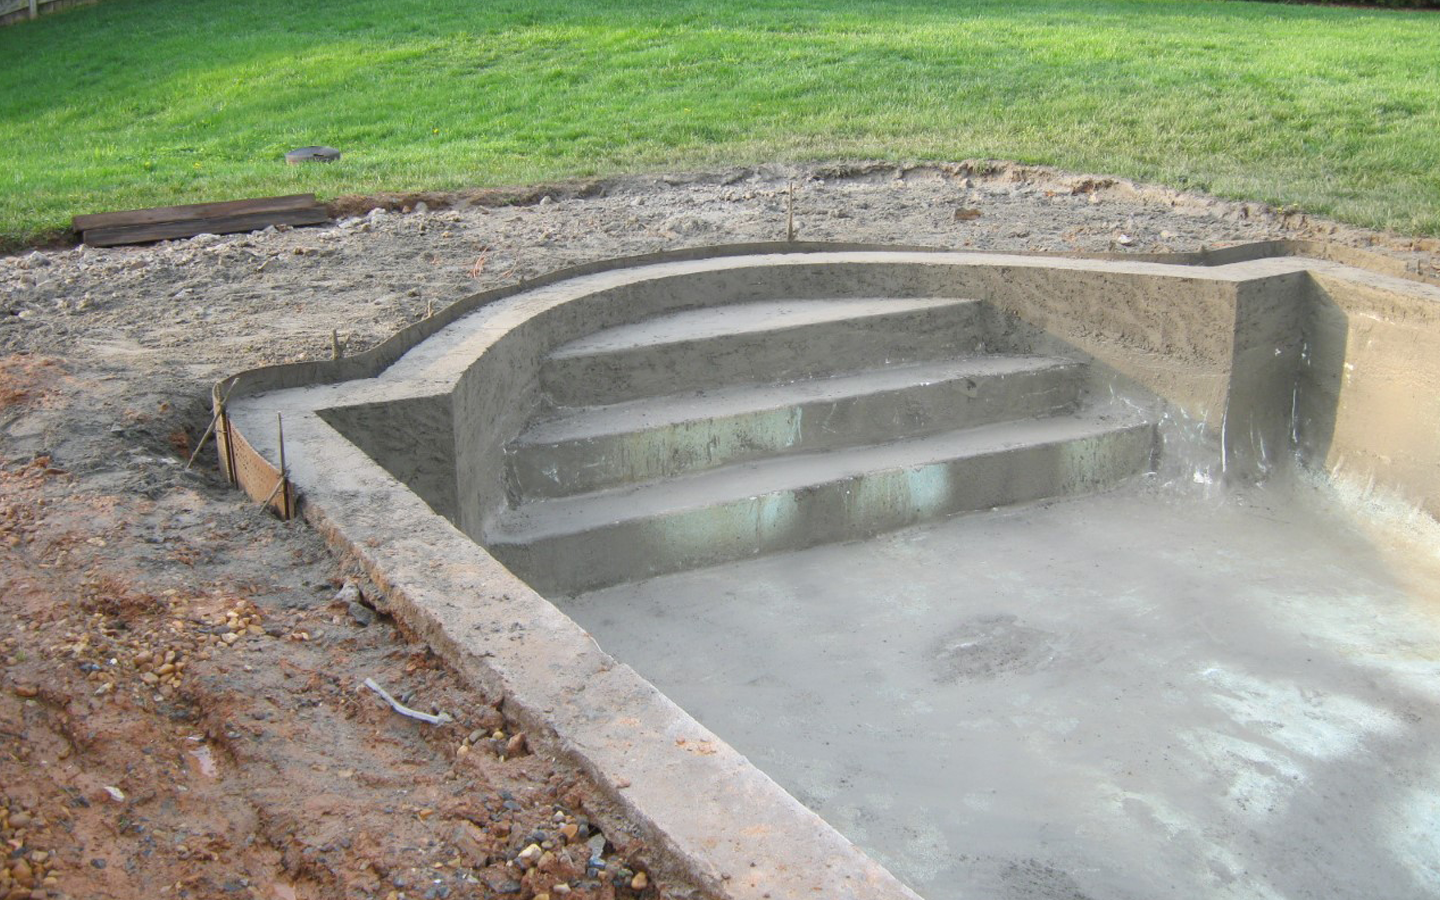
Back to new!
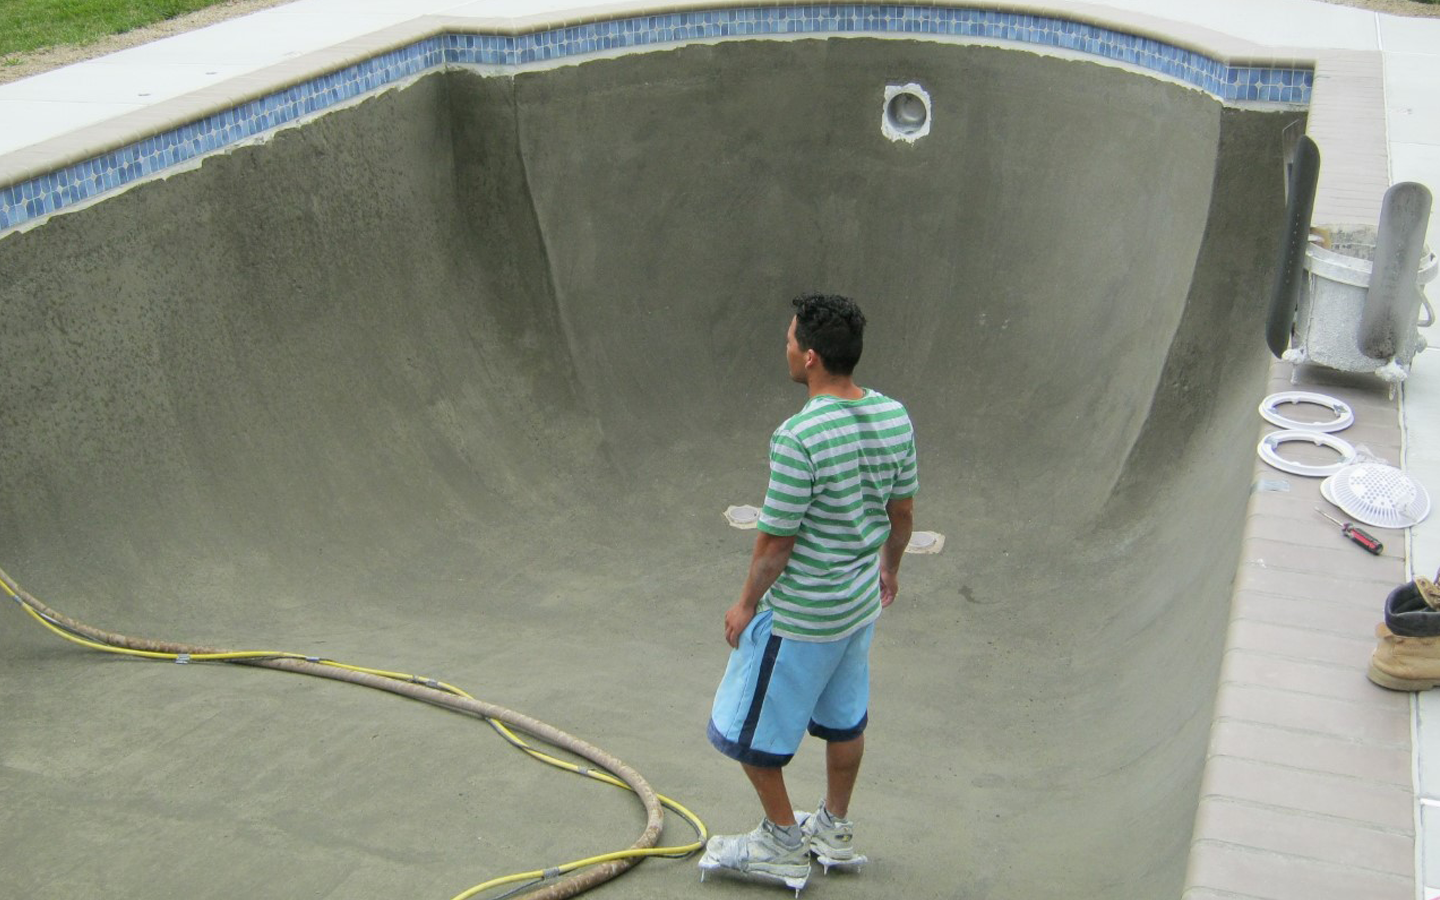
A bond coat has been added to help the new interior adhere.
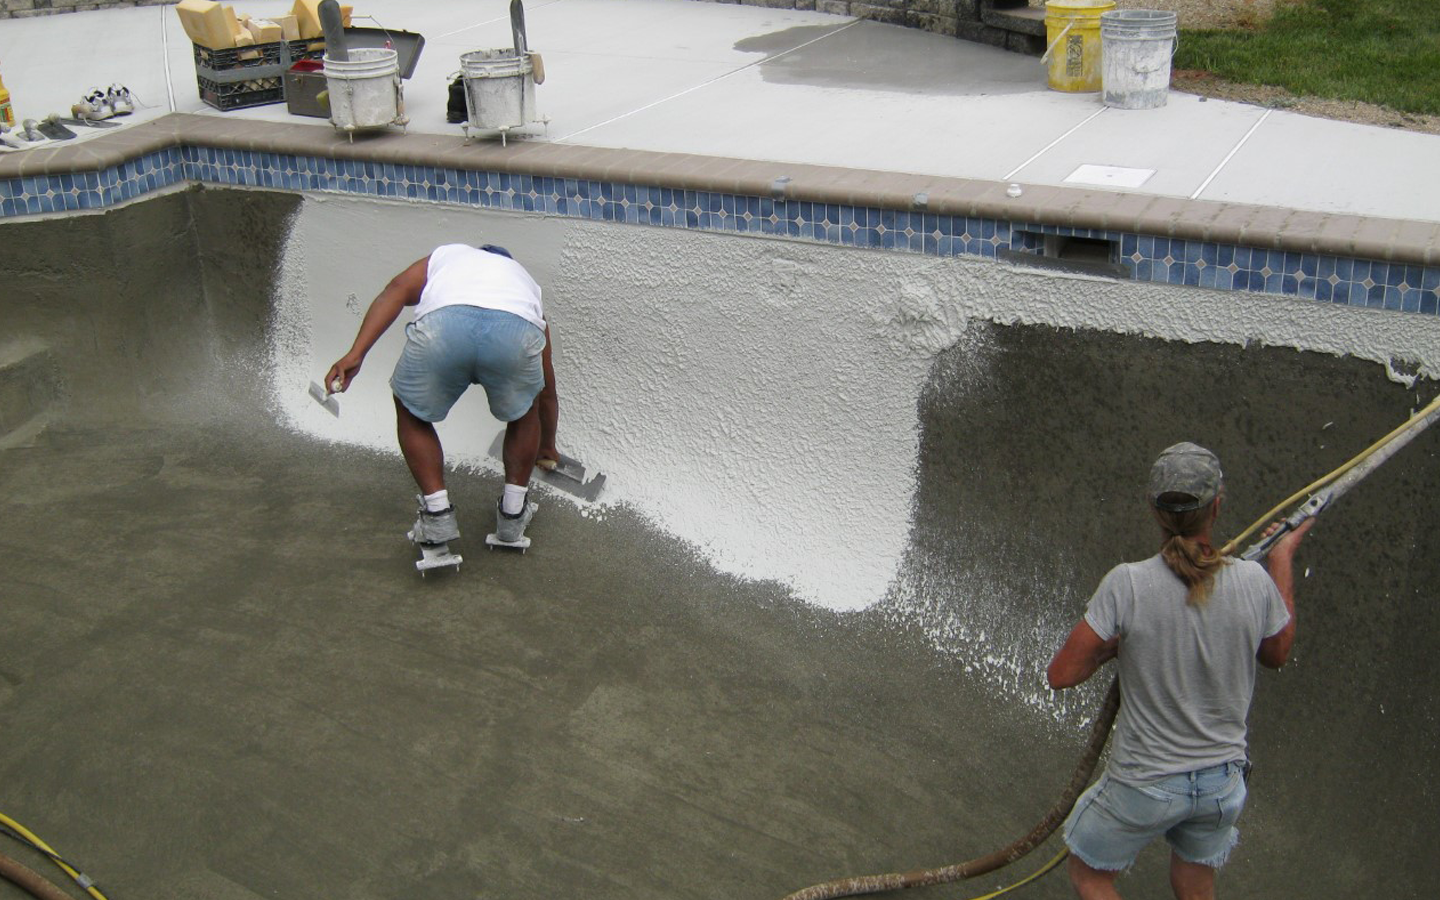
The bond coat is followed by the installation of a pozzolan reinforced marble plaster interior application.
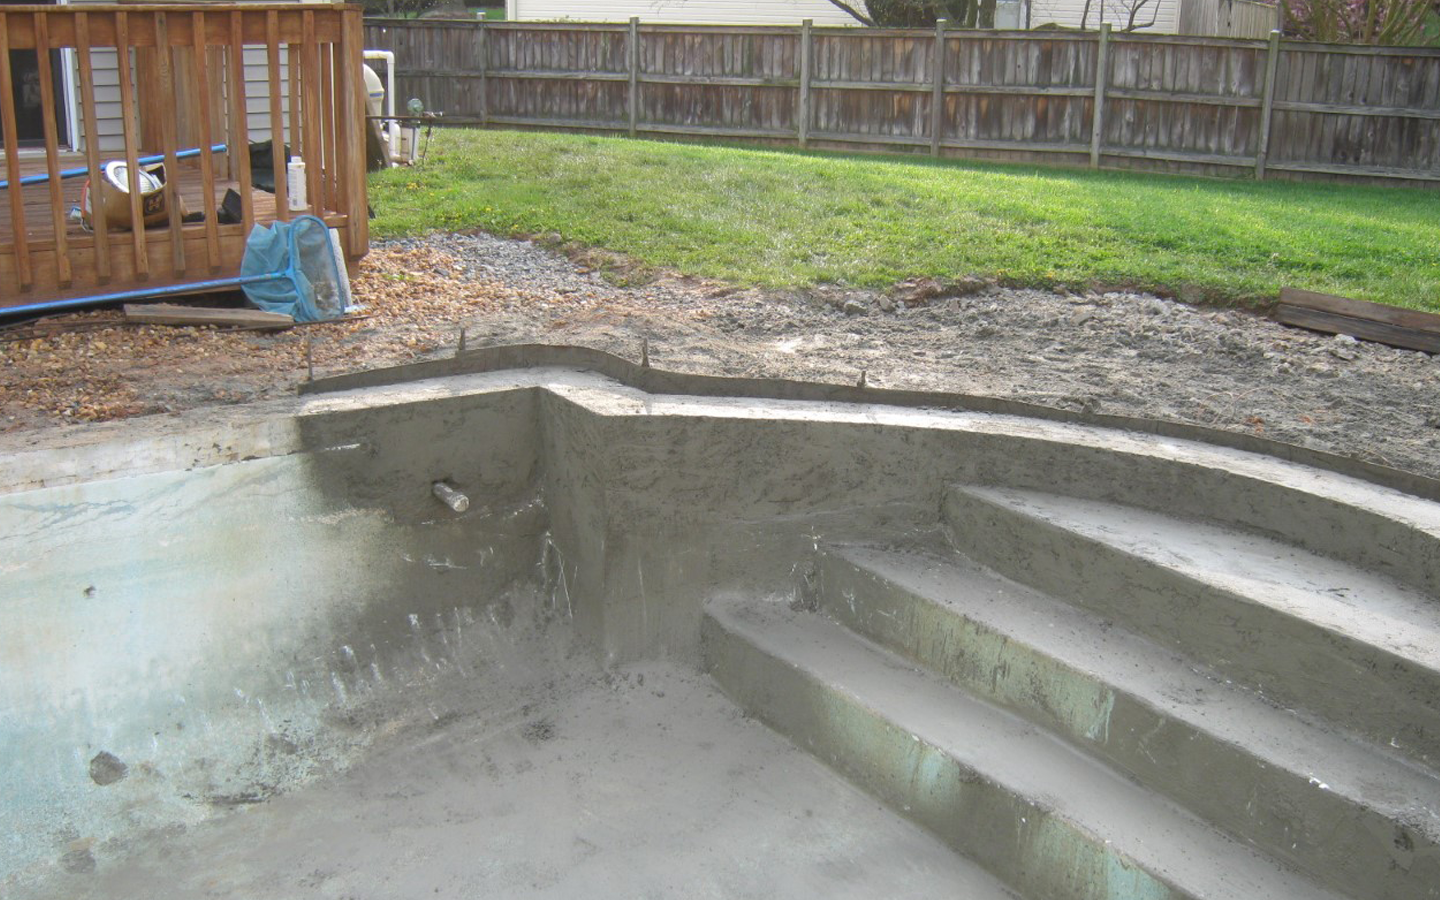
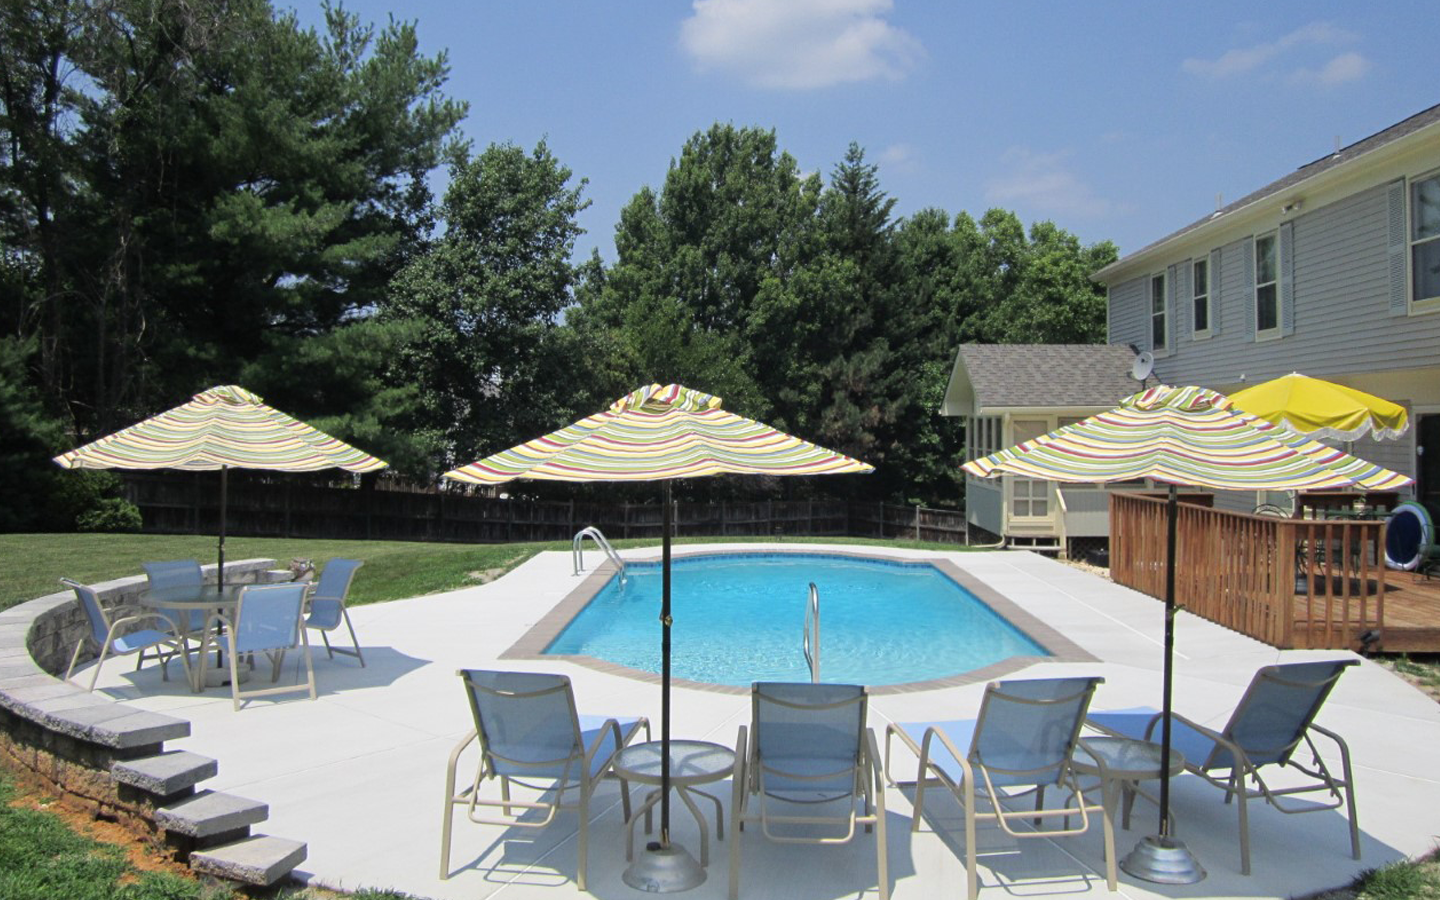
New seat wall per the updated design + a new patio, what a difference!
The pool is much better than new! The patio area is more suited for family entertainment, the dual main drain eliminated a serious safety issue, and the updated selections increase the value. Happy Client.
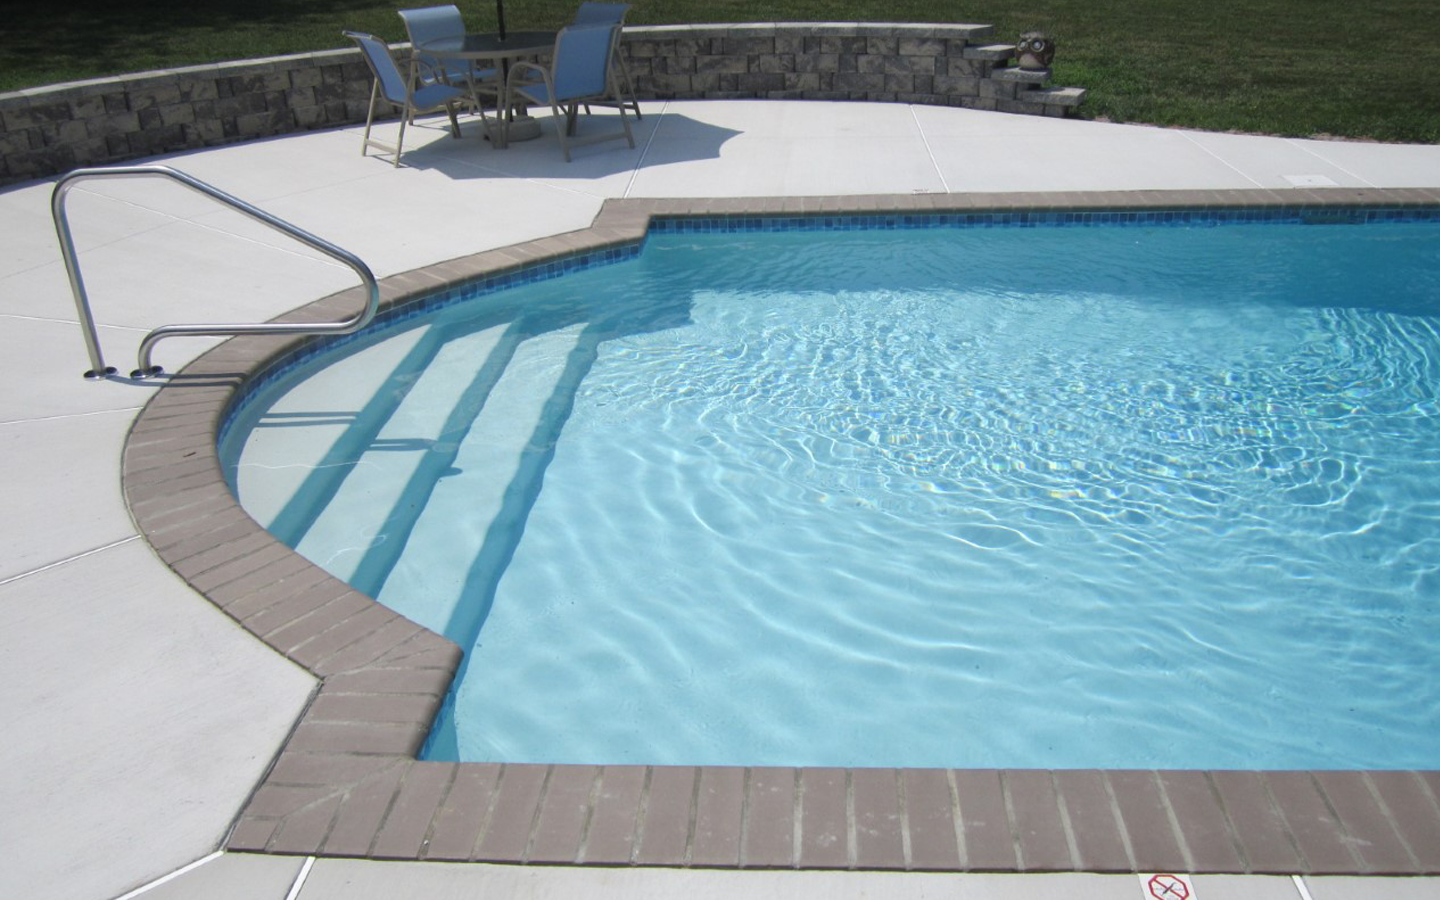
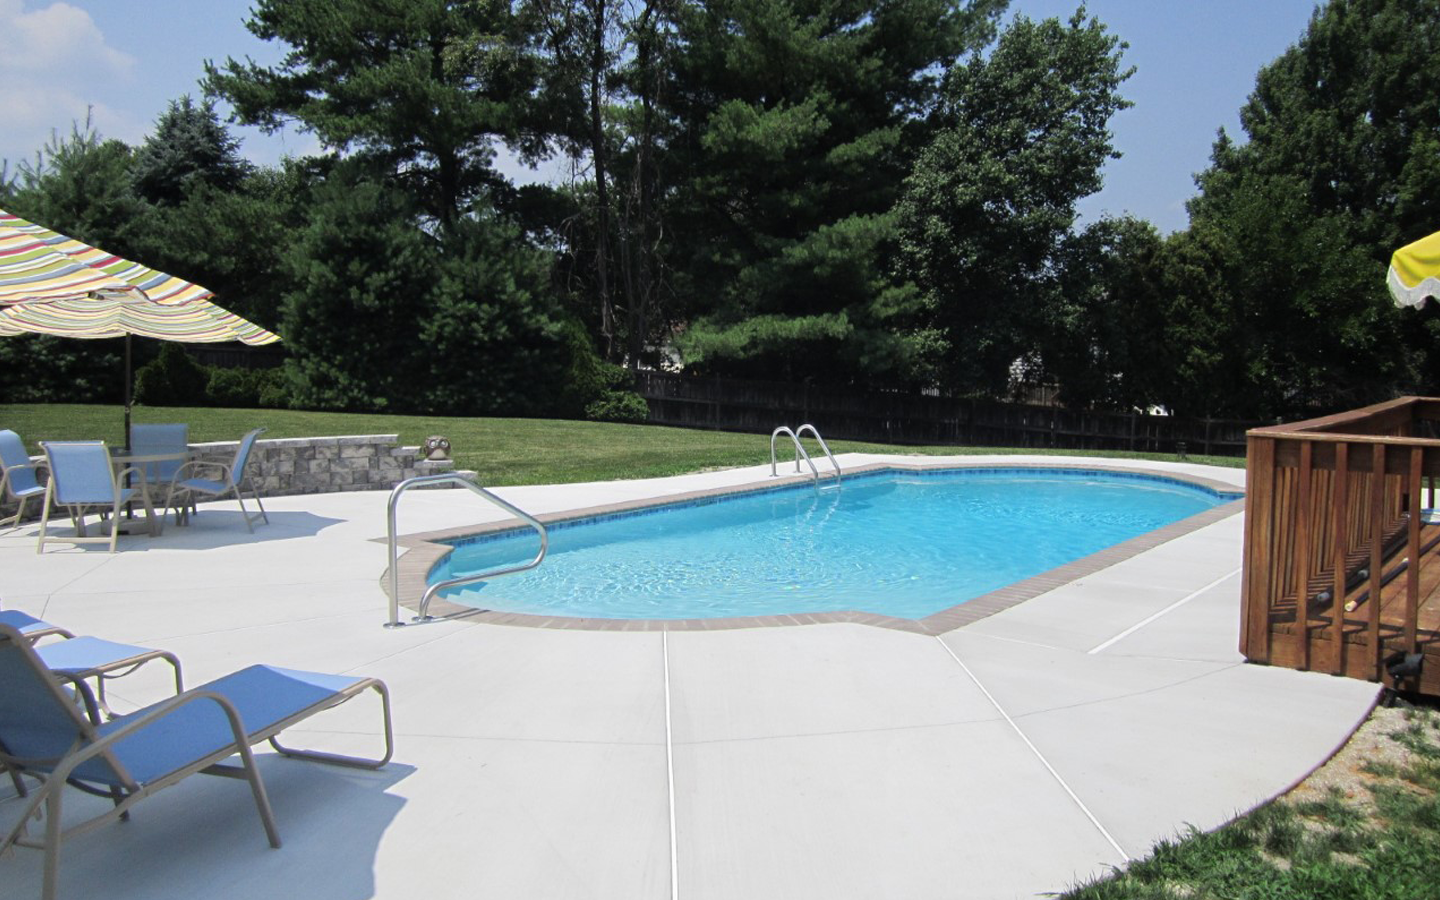
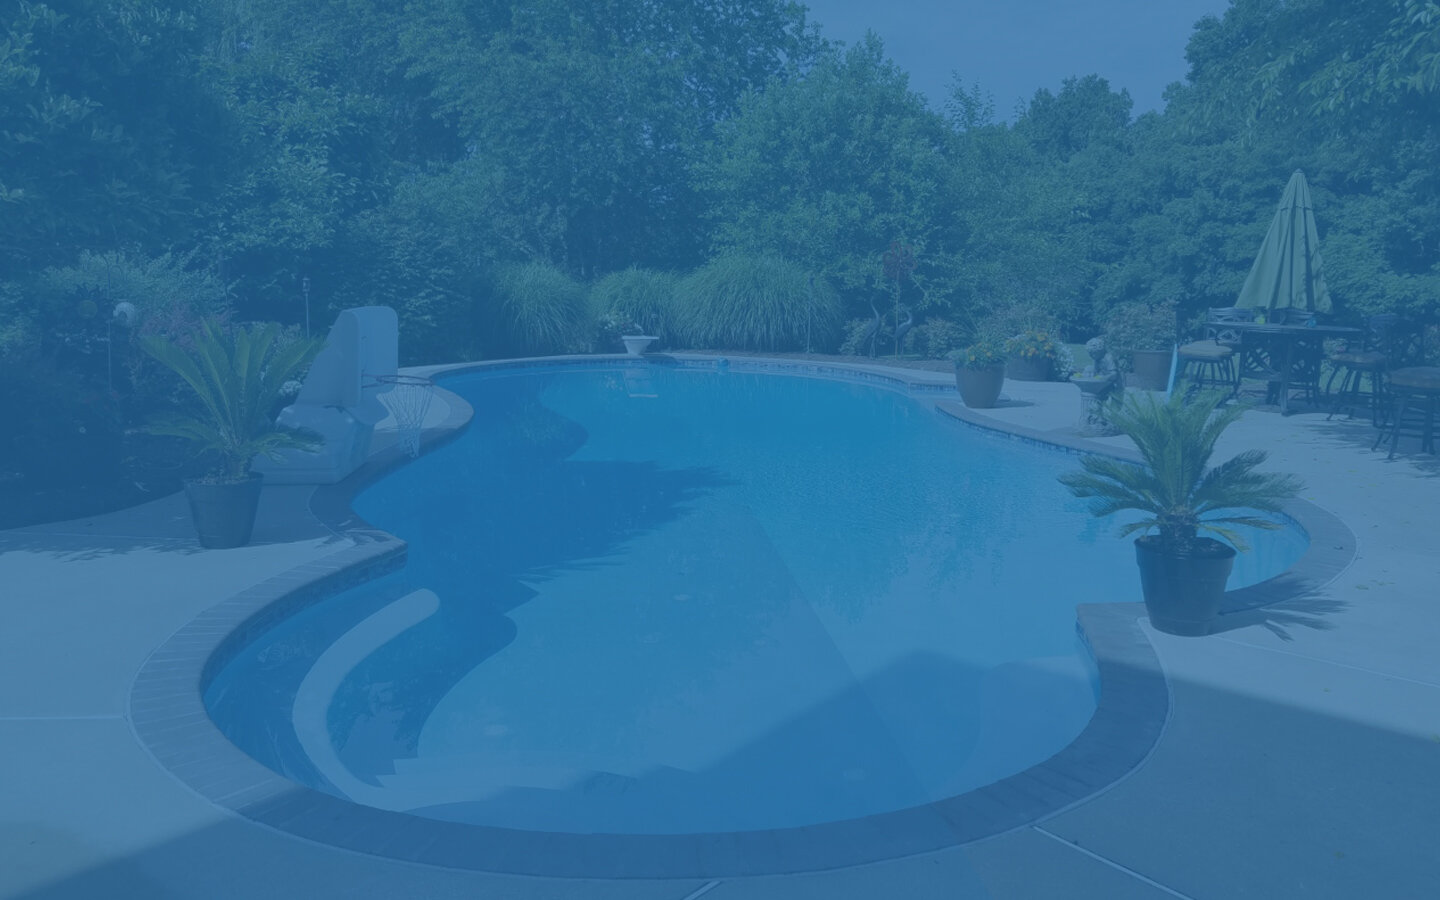
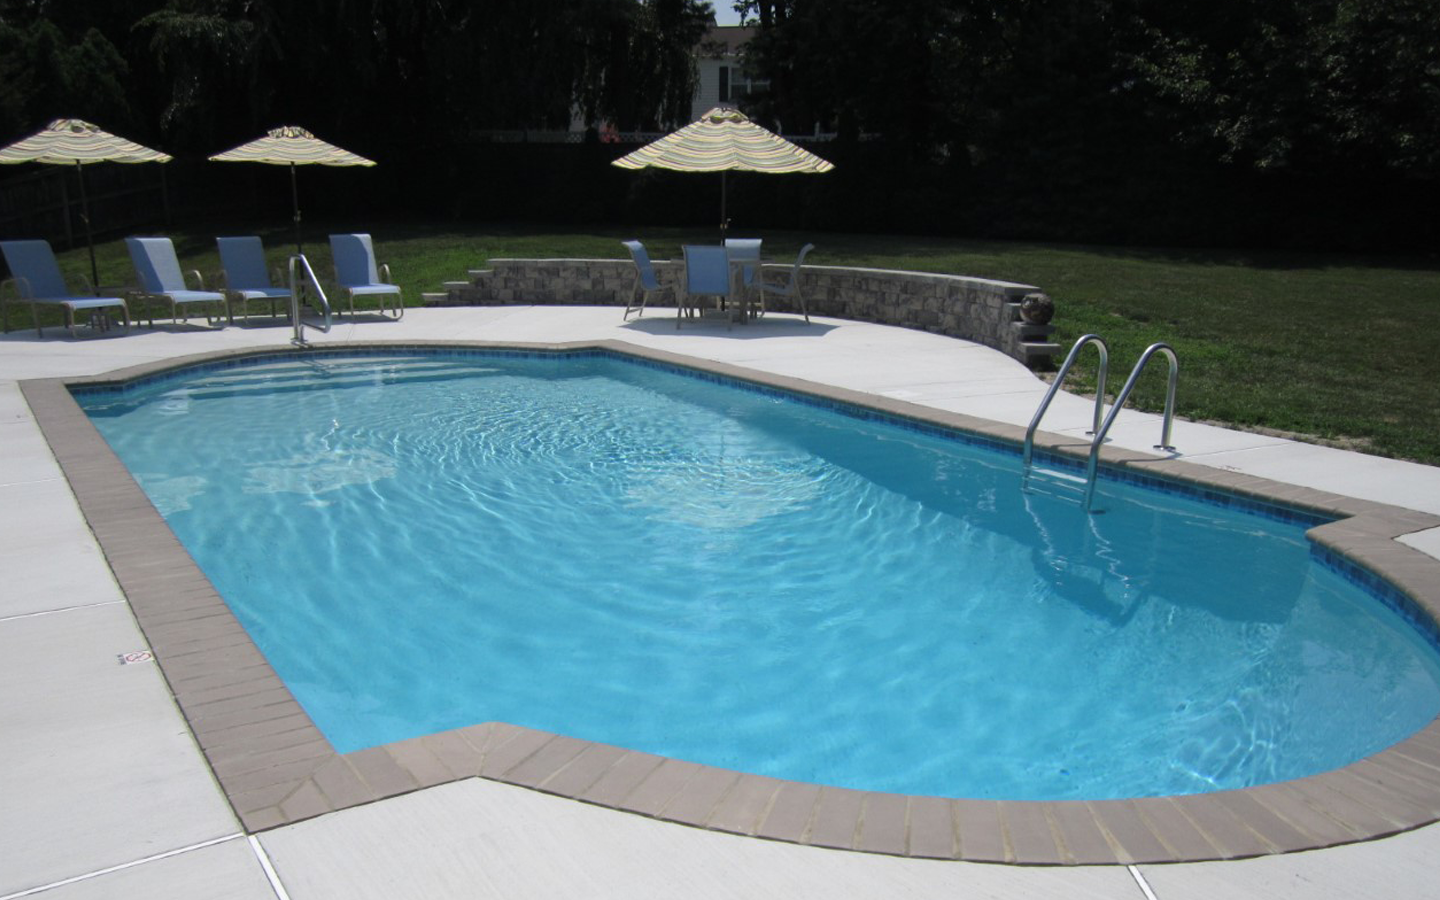
The client has just purchased this house. They were excited about the swimming pool/ spa that came with the property but wanted to personalize it to their taste. They did not like the look of the red brick or the standard white finish. This is where we come in.
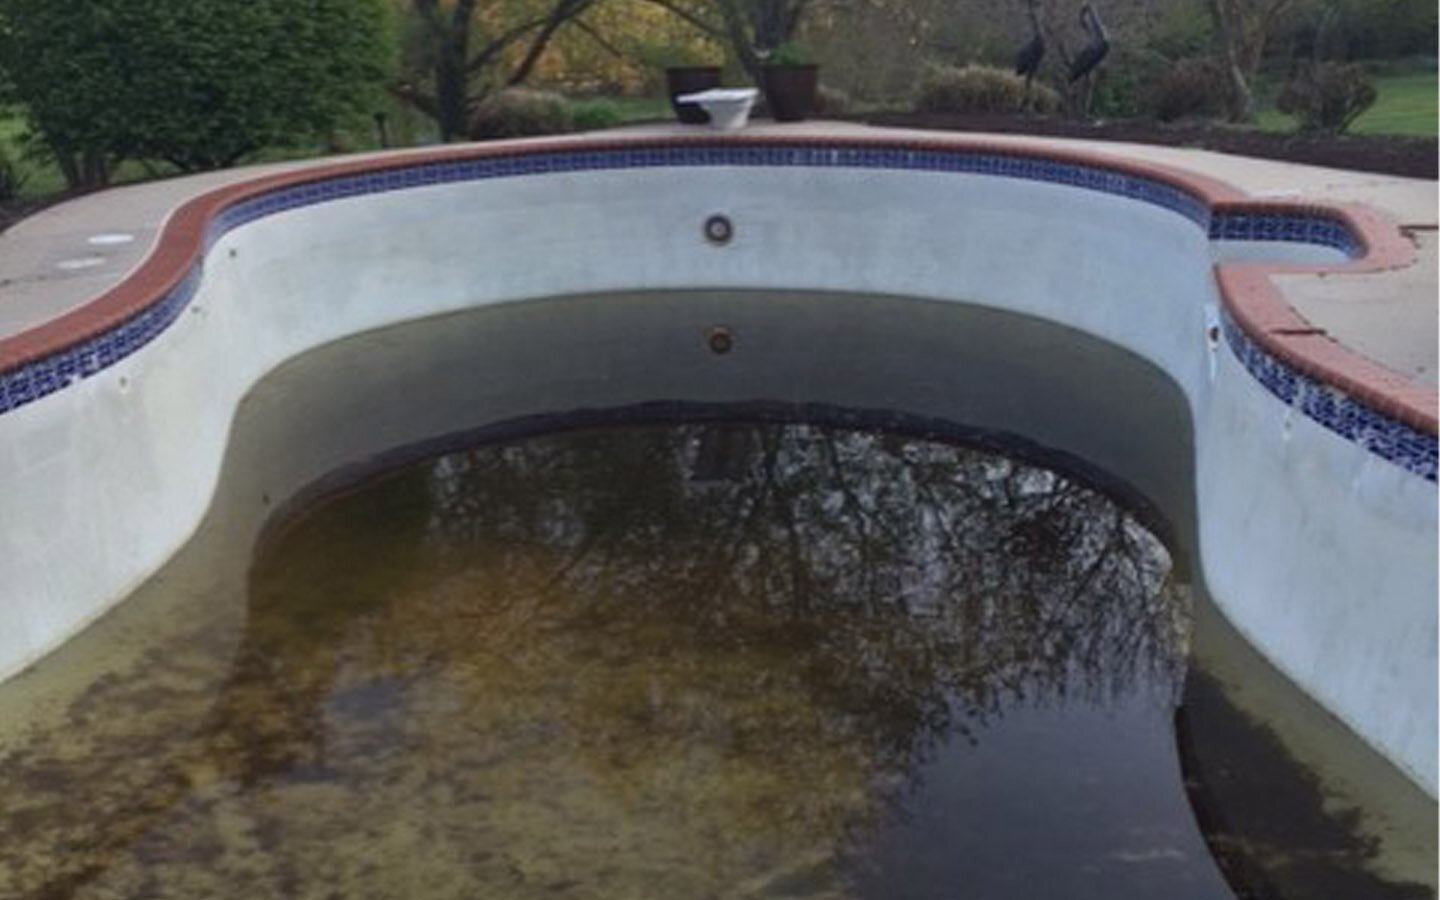
Initial Preparation Process
The Browning team arrives, drains the pool, removes the existing tile, coping, and caulk, which is disposed of off-site. The team then sounds the interior for hollow spots finding 12 sq/ft on the step loveseat, 6 sq/ft of the top step, and another area on the slope that we expect and include. The team then begins to rebuild the 1 1/2" rotted parts on the bond beam, also expected and included in our typical scope of work. A good clean job with no added cost required.
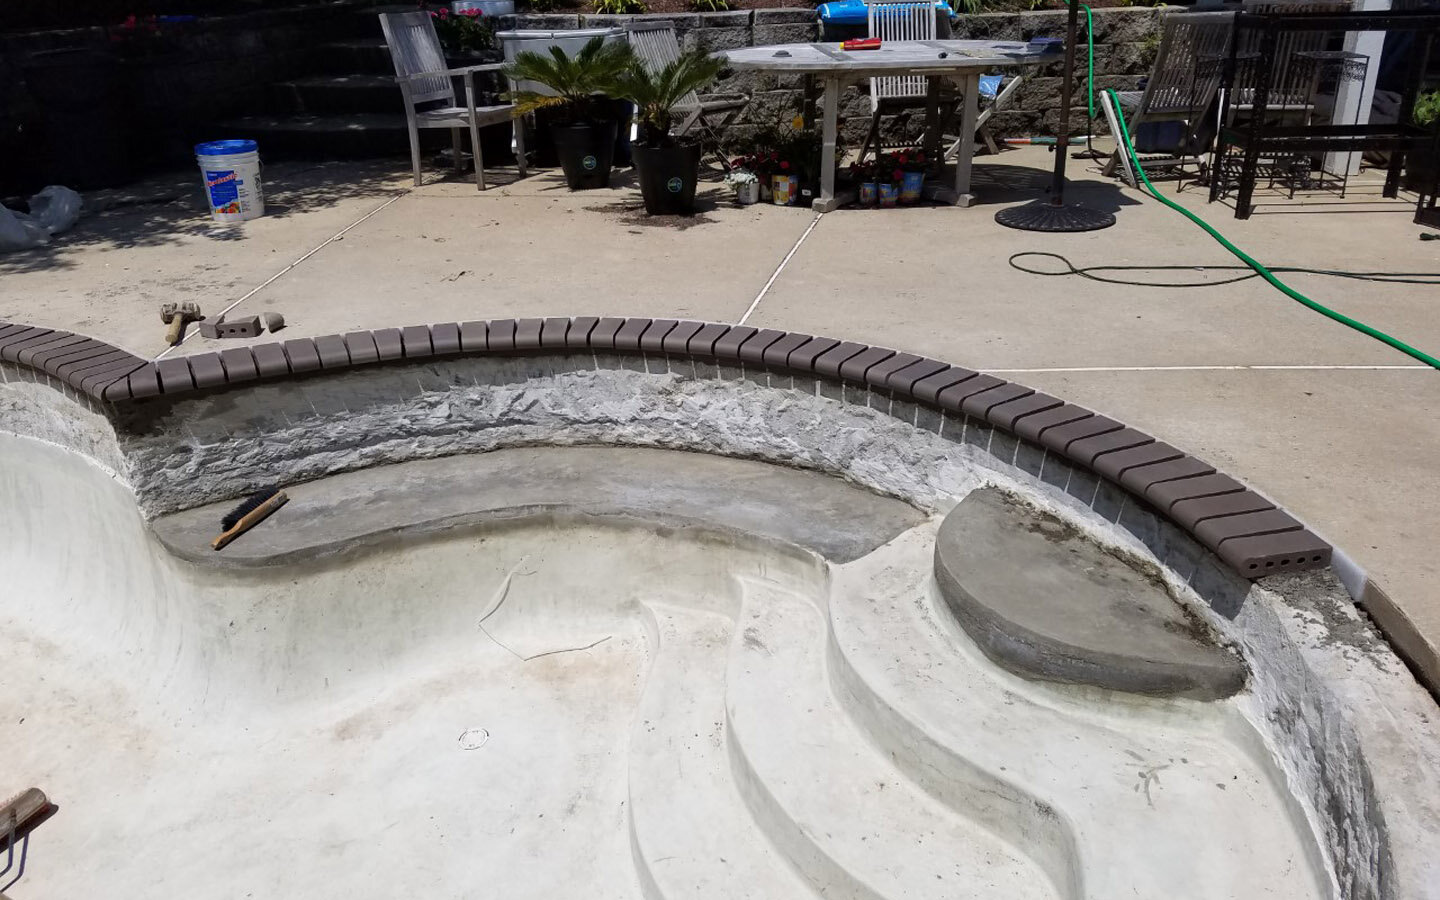
The coping process has begun. Note the foam protection that is separating the backside of the brick coping from the patio. Also, you can see the repaired areas of the step love seat and top step (the dark grey areas).
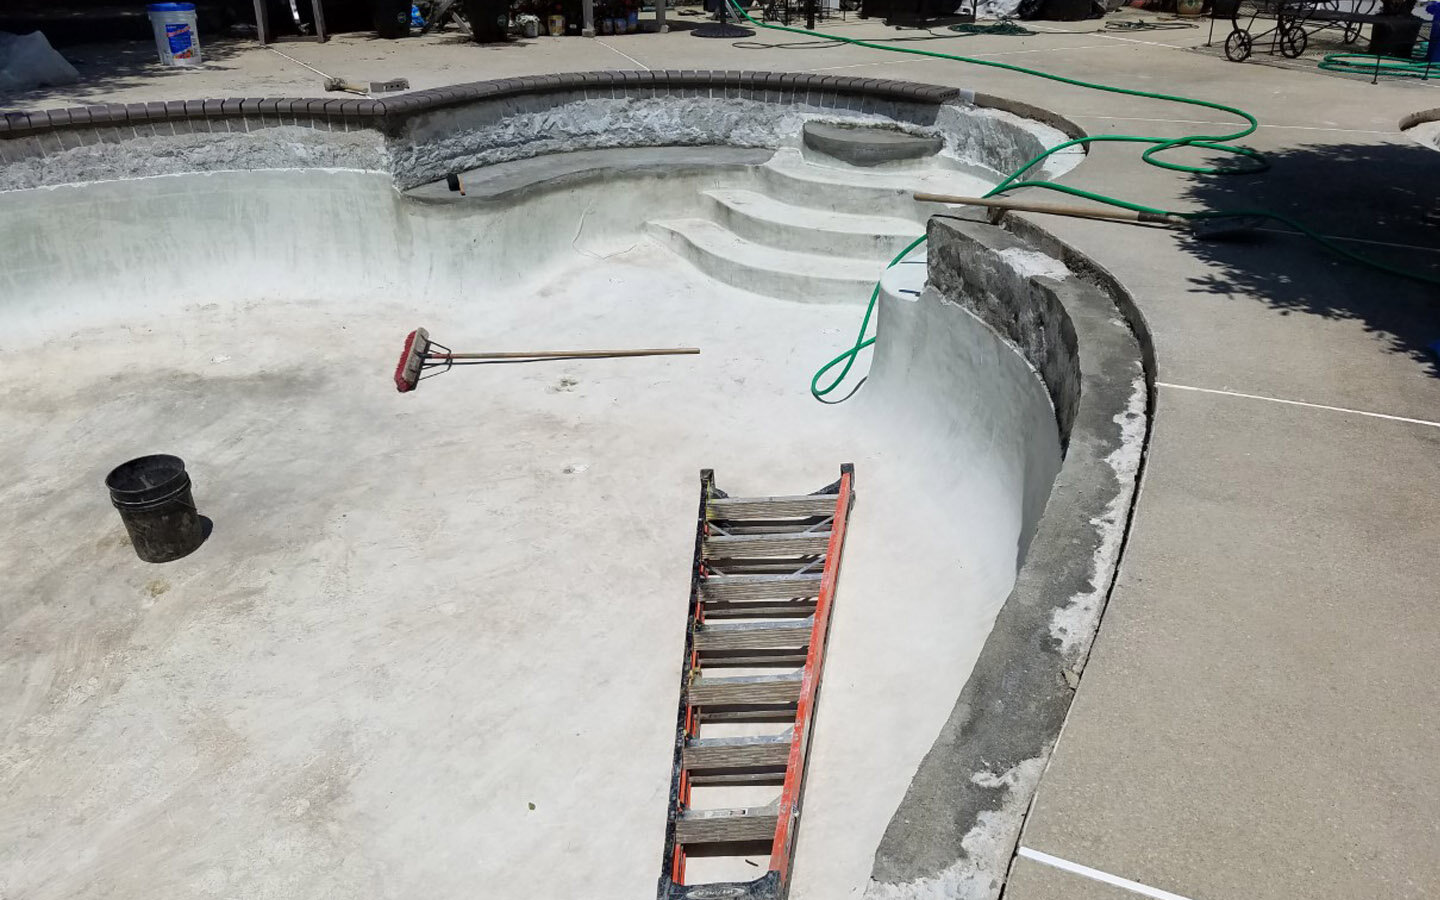
The repaired bond beam.
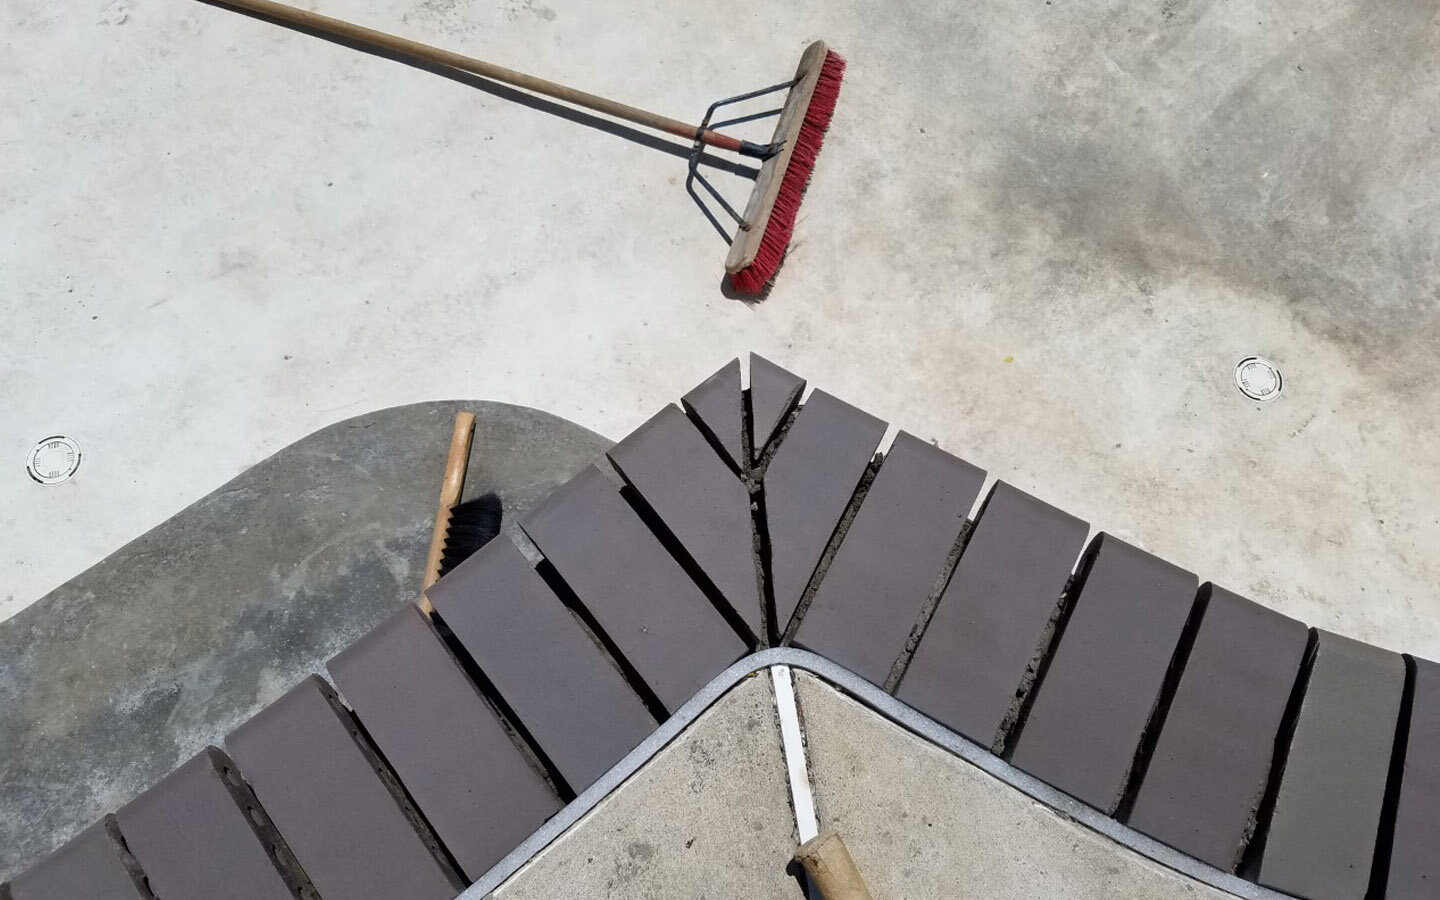
A detail of the mitered corner. Note the foam expansion joint behind the brick coping. We use 5/8" in place of the standard 3/8". It is our experience that the 3/8" is not always adequate to deal with the Maryland winters. The purpose of an expansion joint is to separate the coping from the patio. If and when the patio moves, it will not loosen the coping.
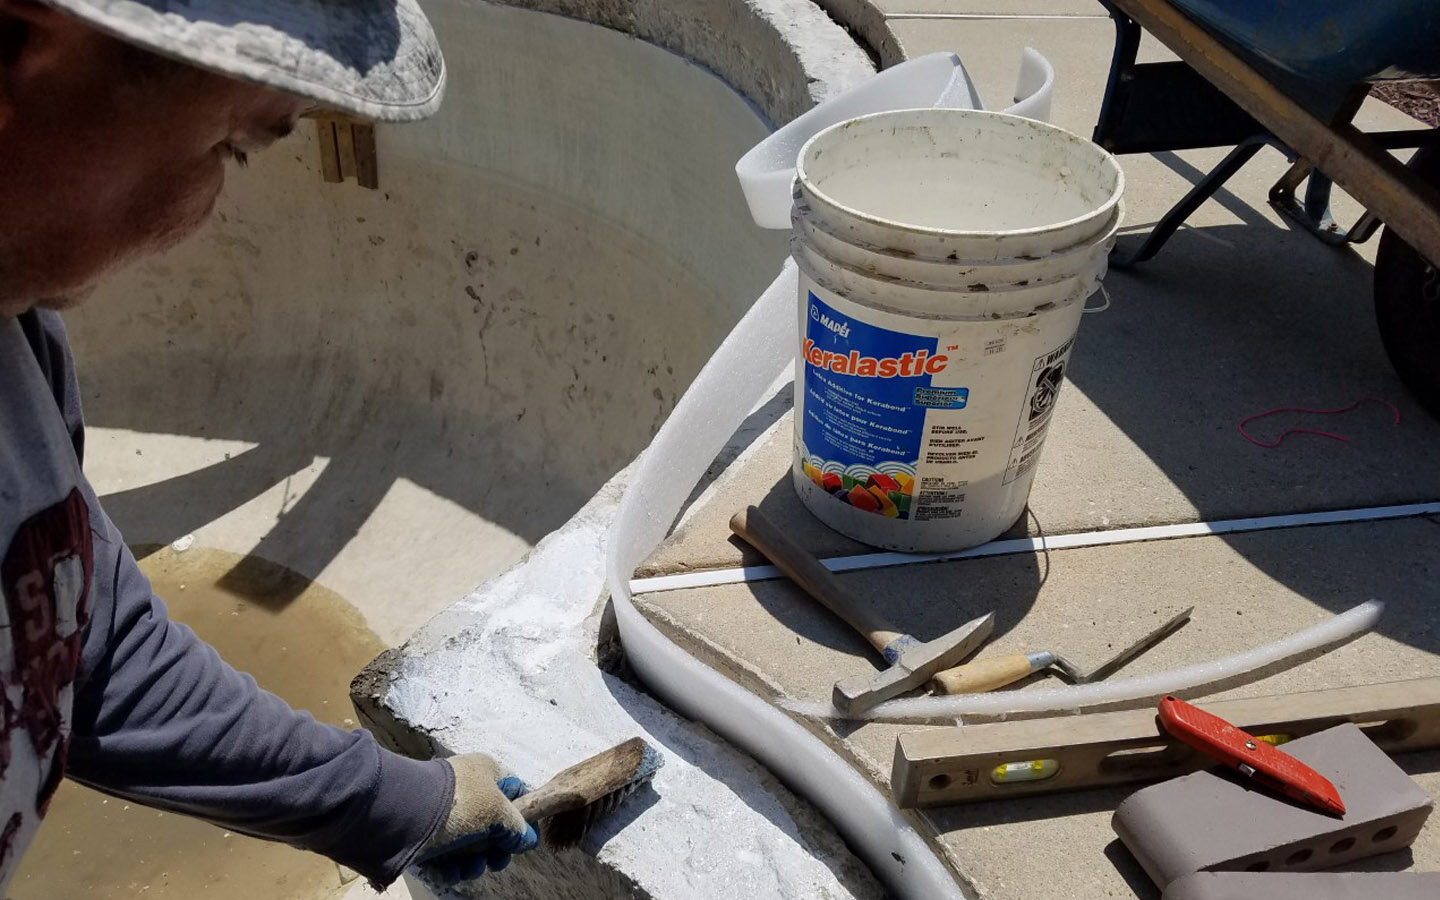
One of the keys to coping installation is to prepare the bond beam surface properly. Here you see an acrylic bonding agent being applied that "glues" the mortar bed to the beam. This process dramatically improves the life of the coping installation.
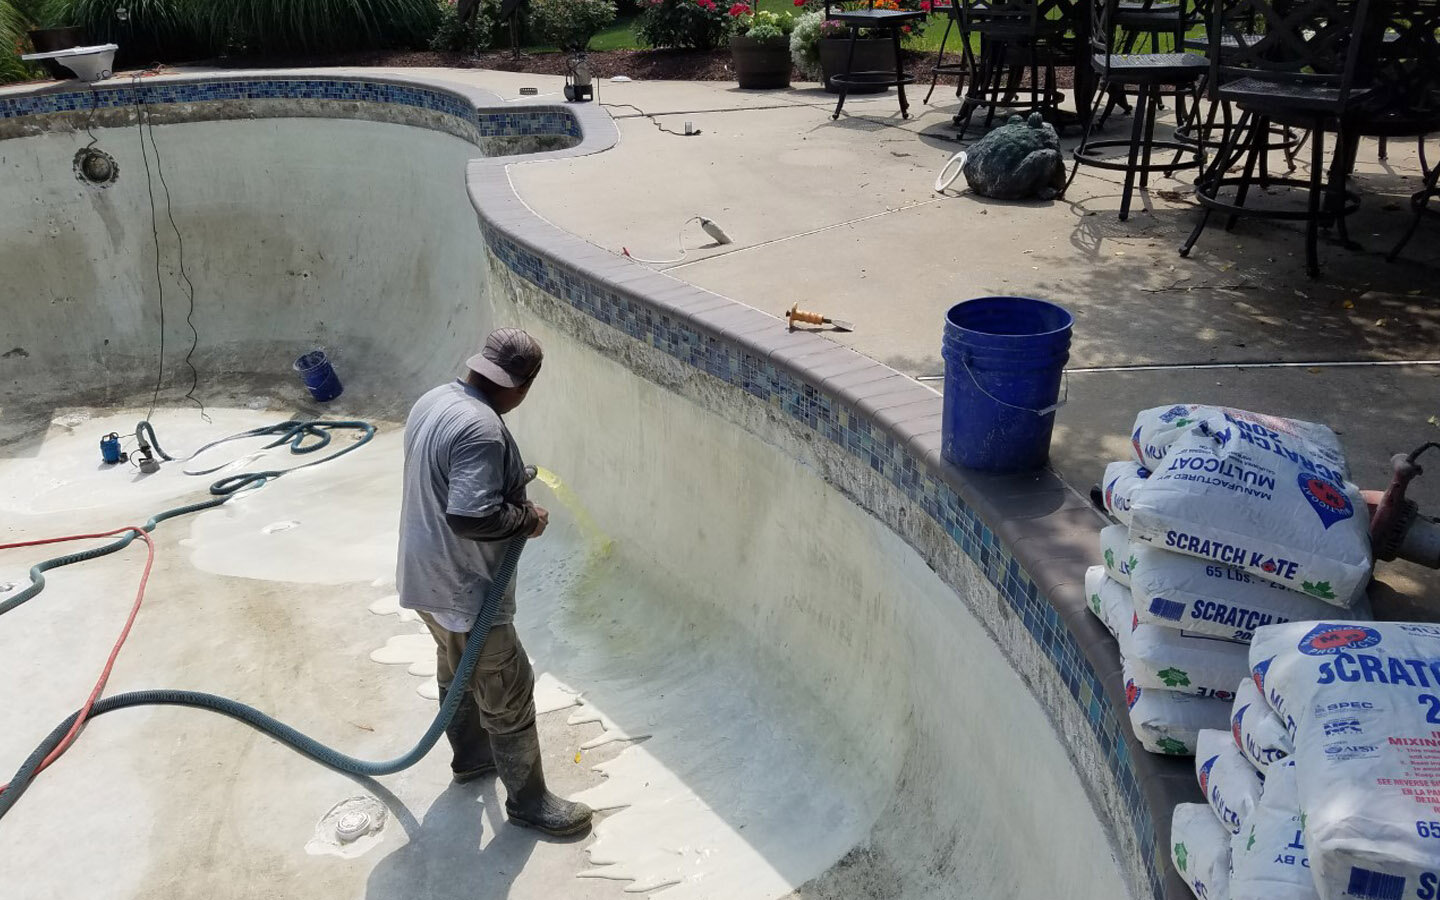
With the tile and coping complete, its time to prepare for the interior application.
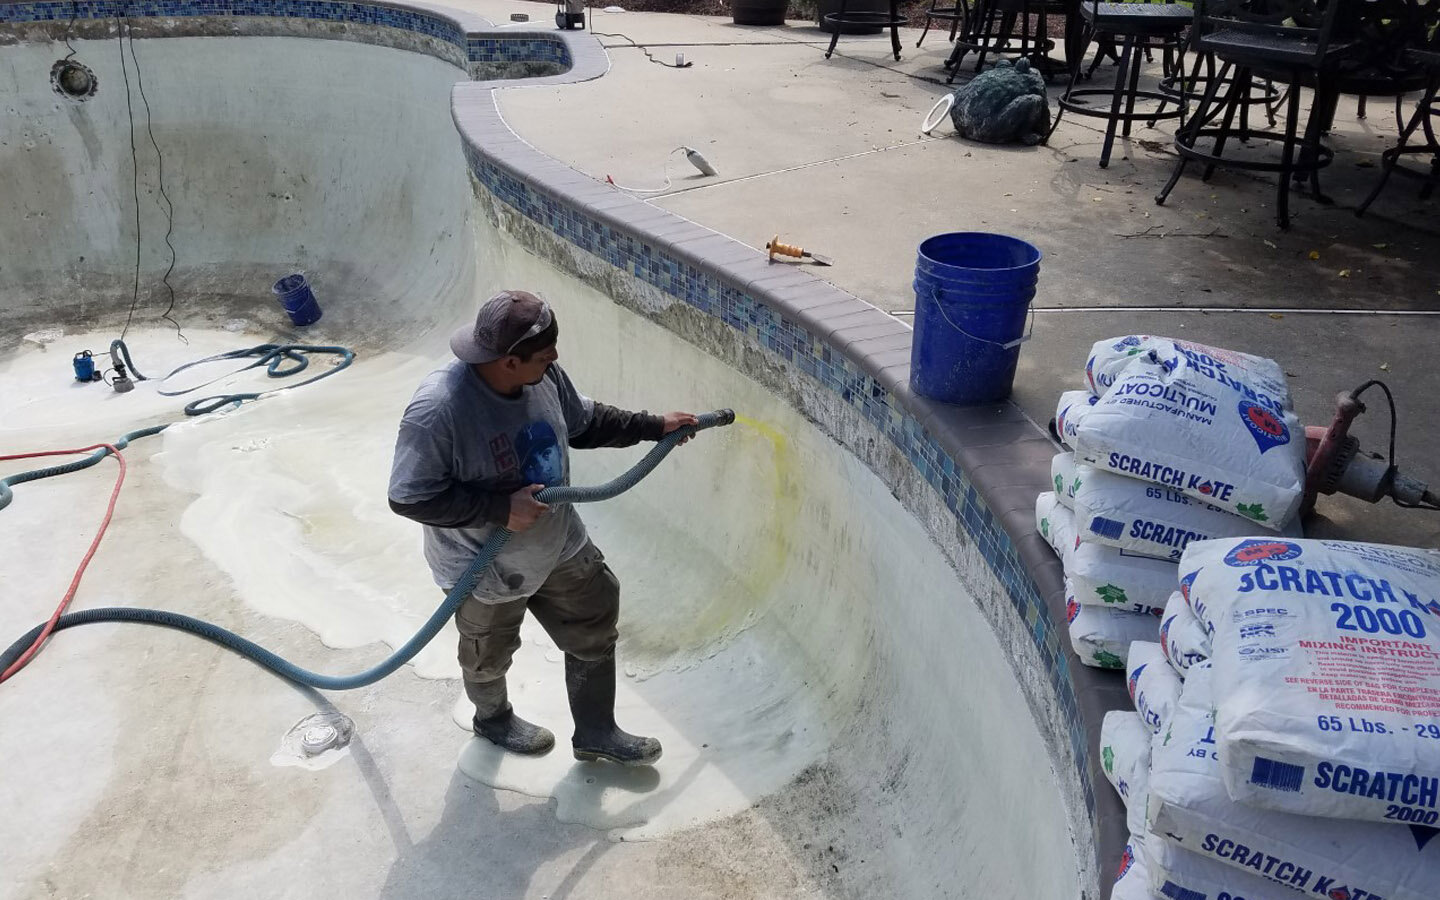
Step One: Acid wash the surface to remove chemical residue.
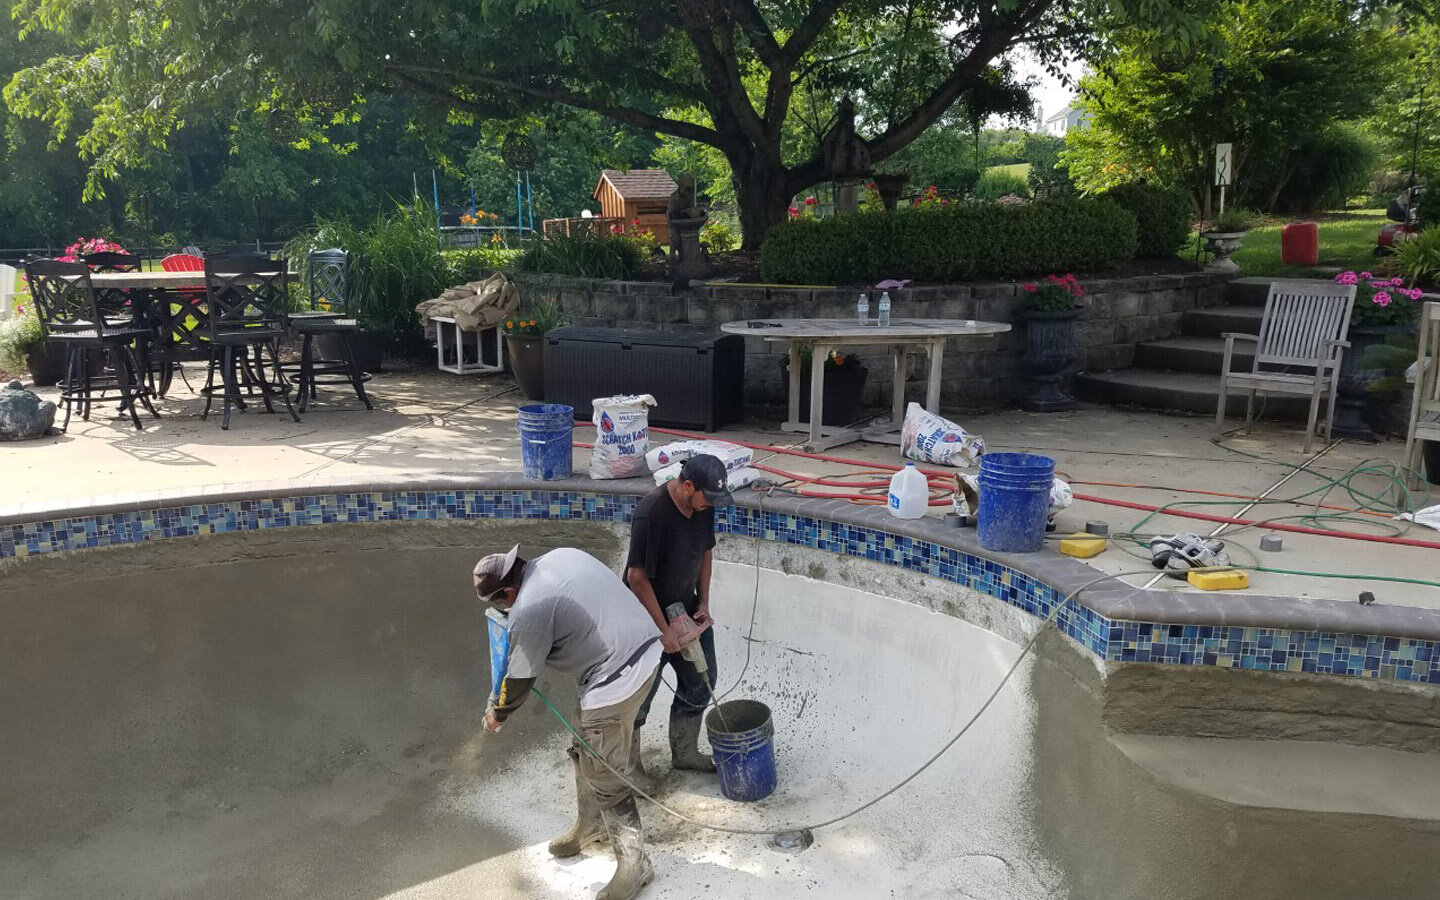
Step Two: Apply the bond coat. A bond coat is a sandy cementitious finish that acts like velcro to the interior. It provides an aggressive bonding surface for the new interior.
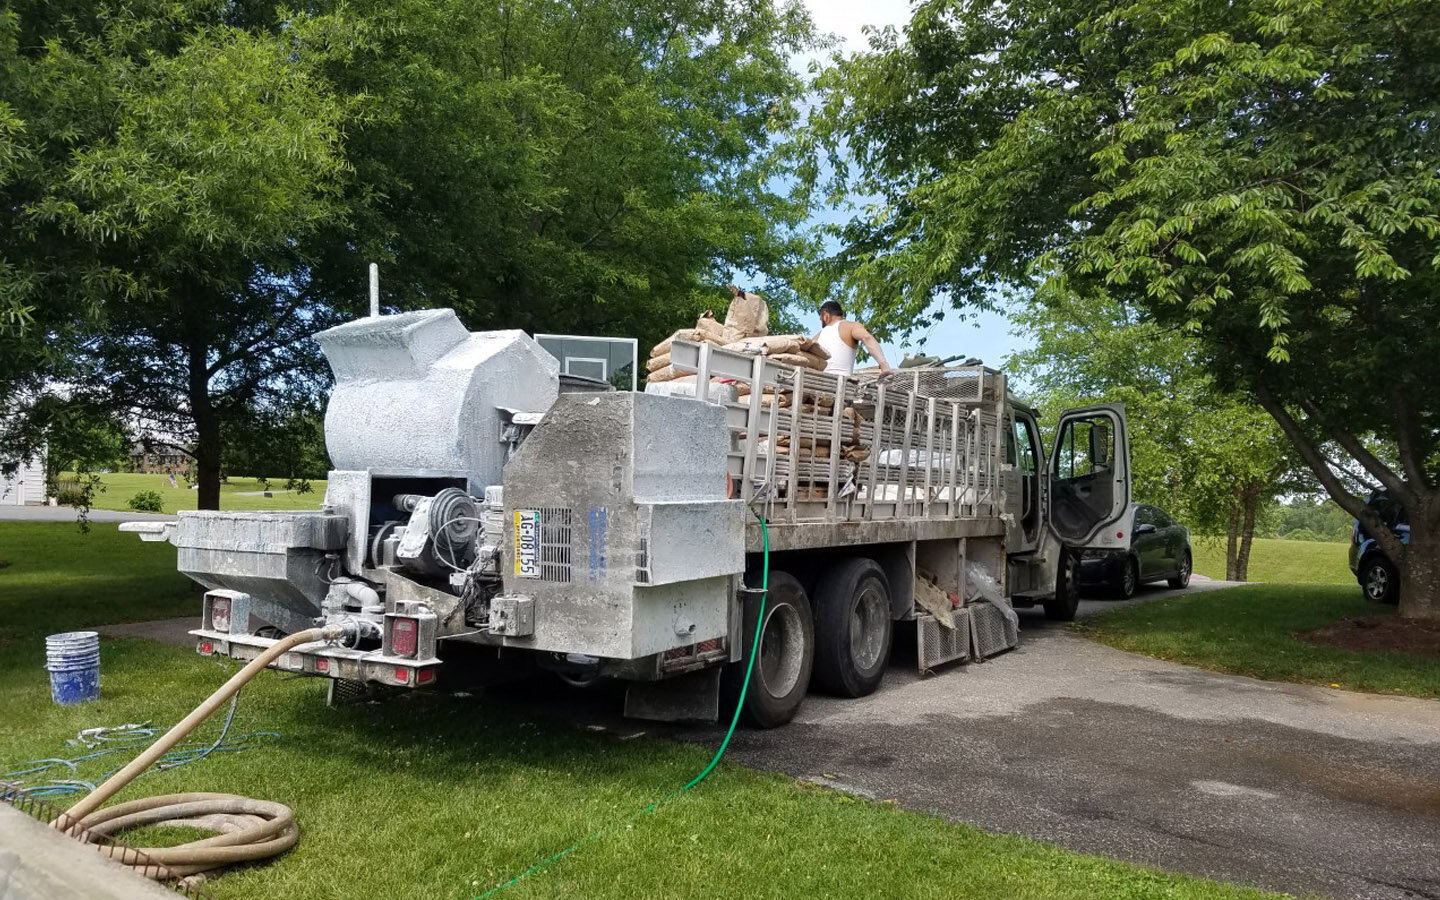
The interior is mixed in batches. Approximately 40 batches per pool!
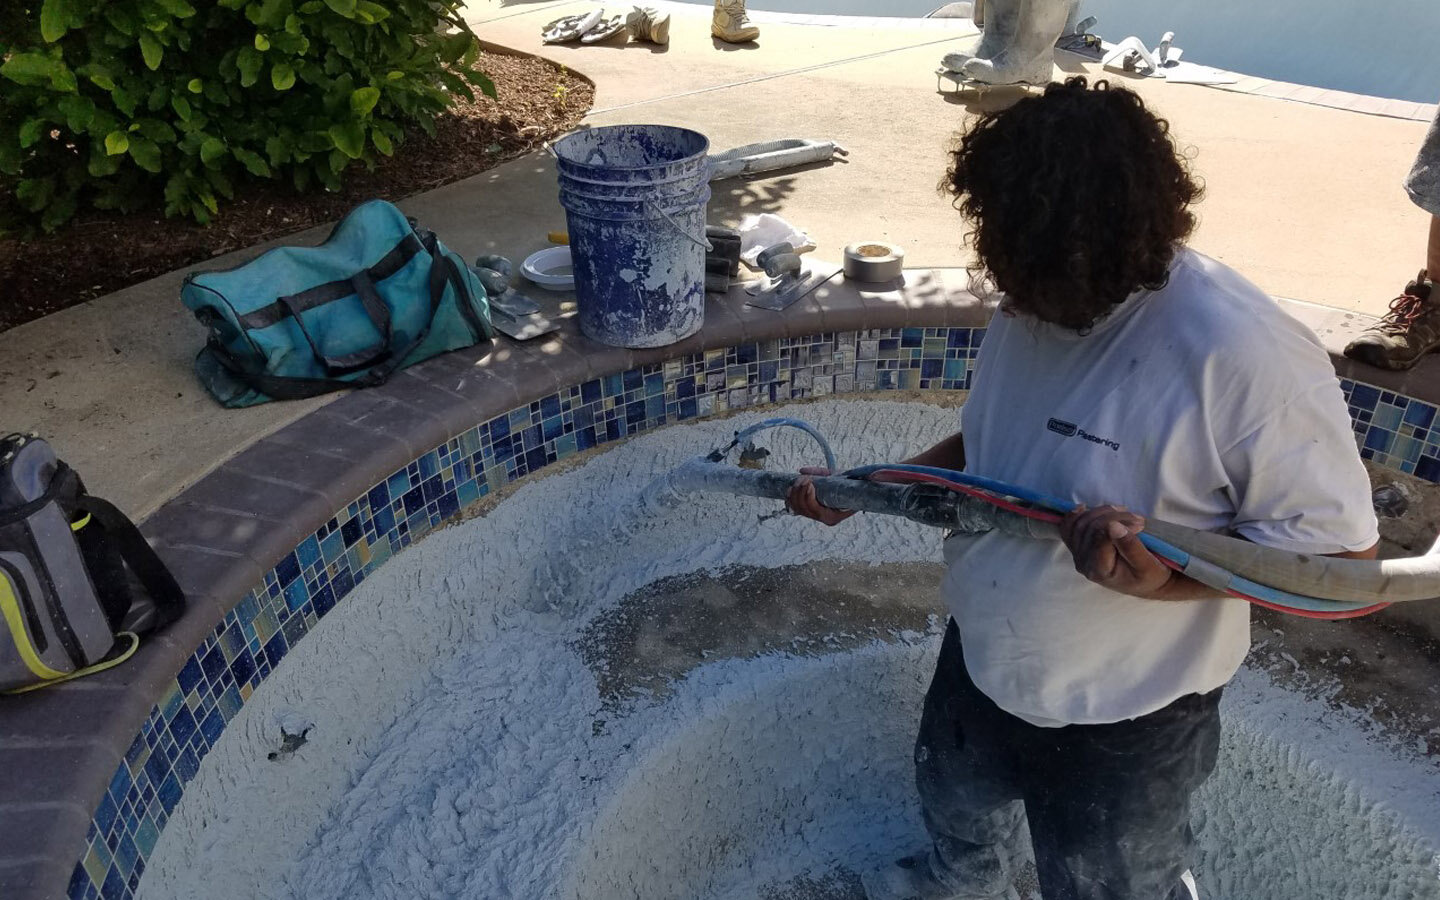
Applying the interior to the detached spa area.
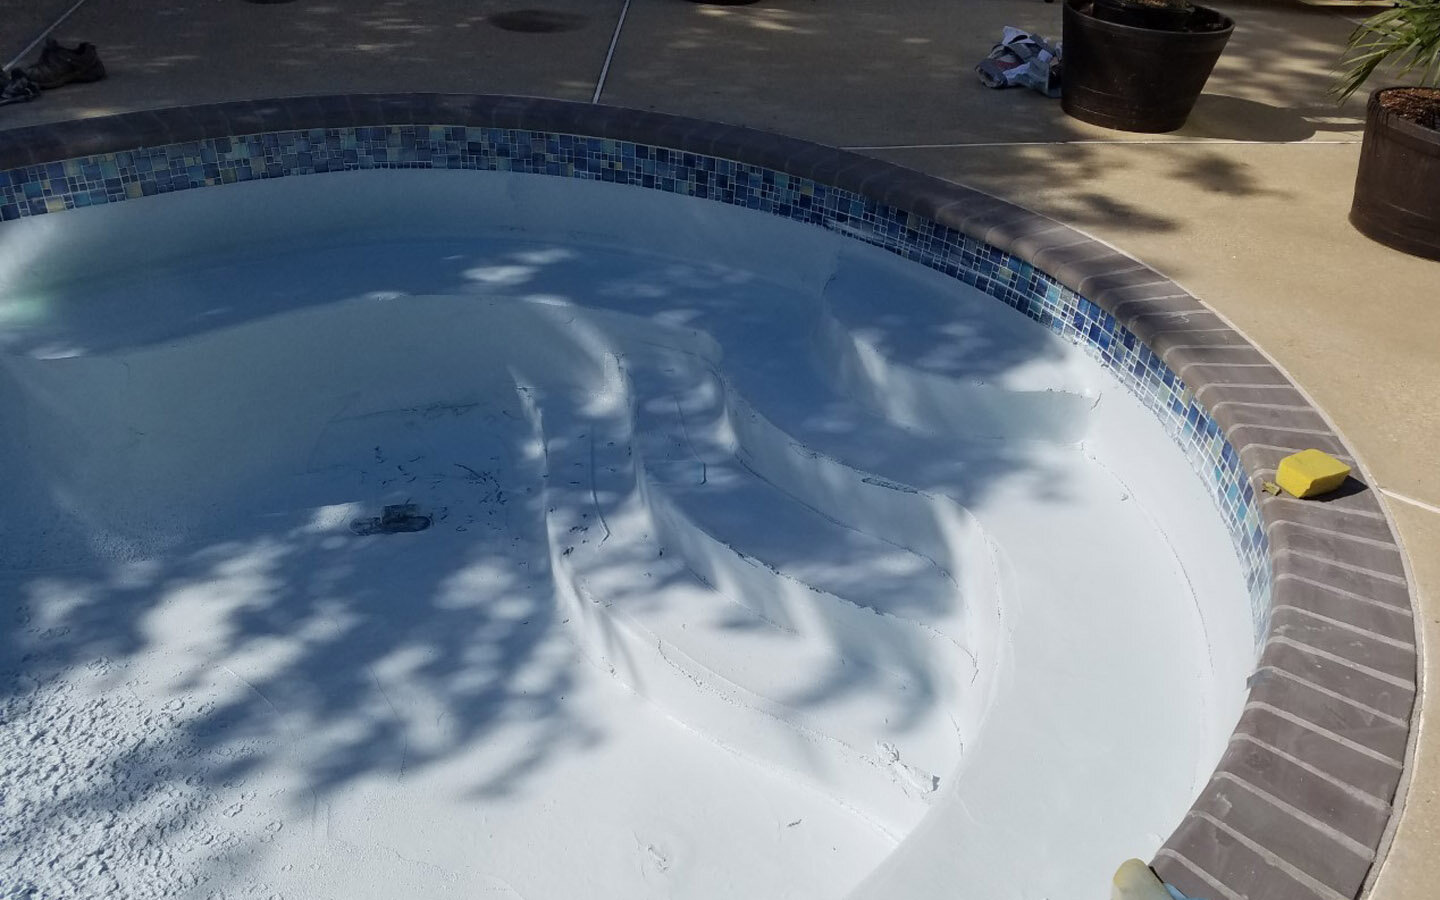
The steps have been coated and troweling has begun.
Wrapping up the interior of the pool.
Completed cozy cove!
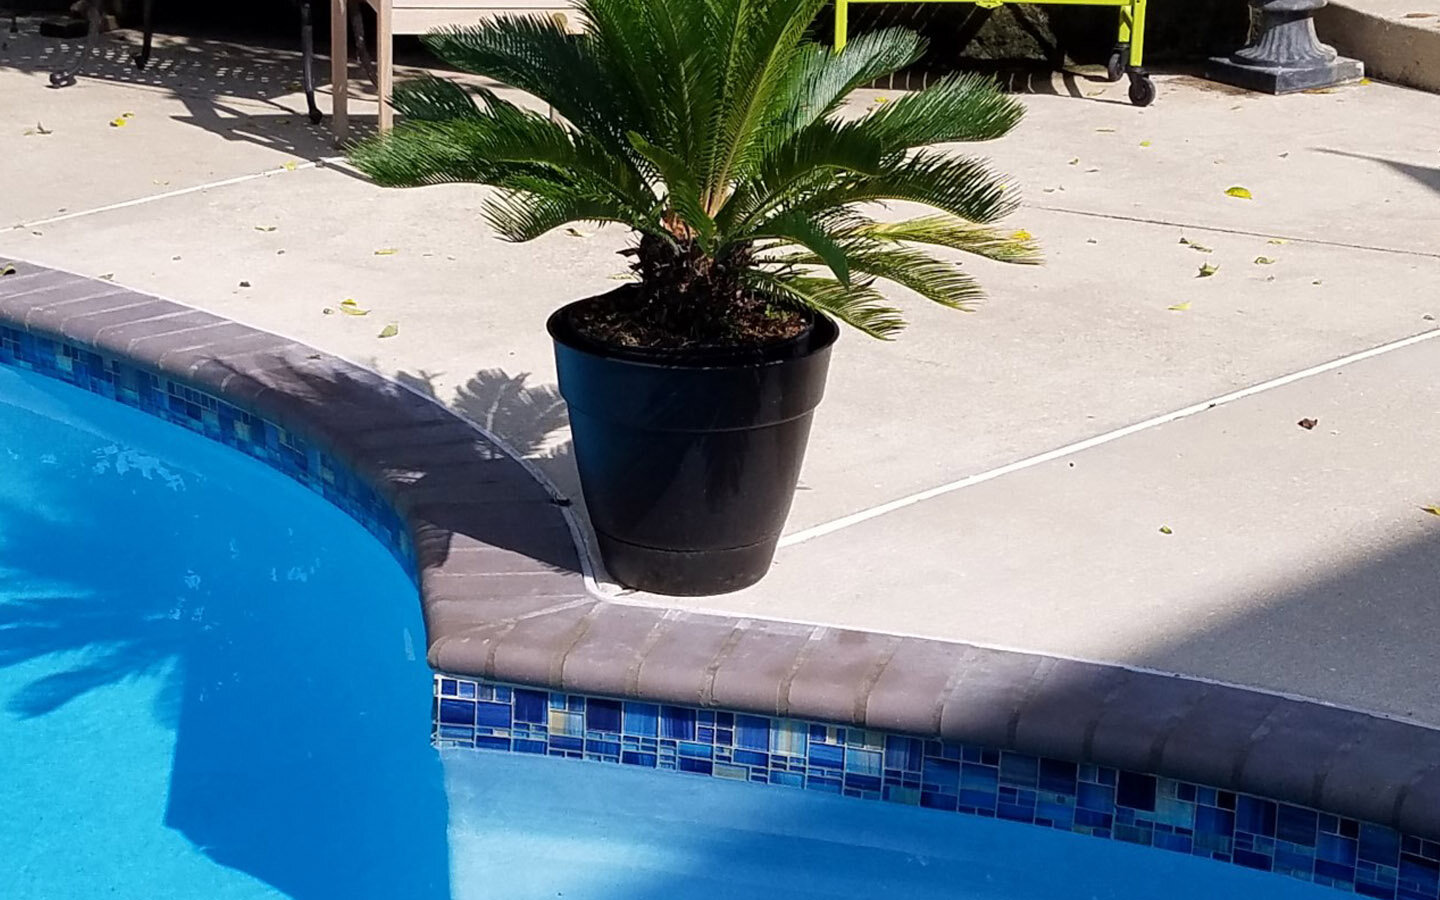
Closeup of the new coping, tile, and interior at a difficult joint area.
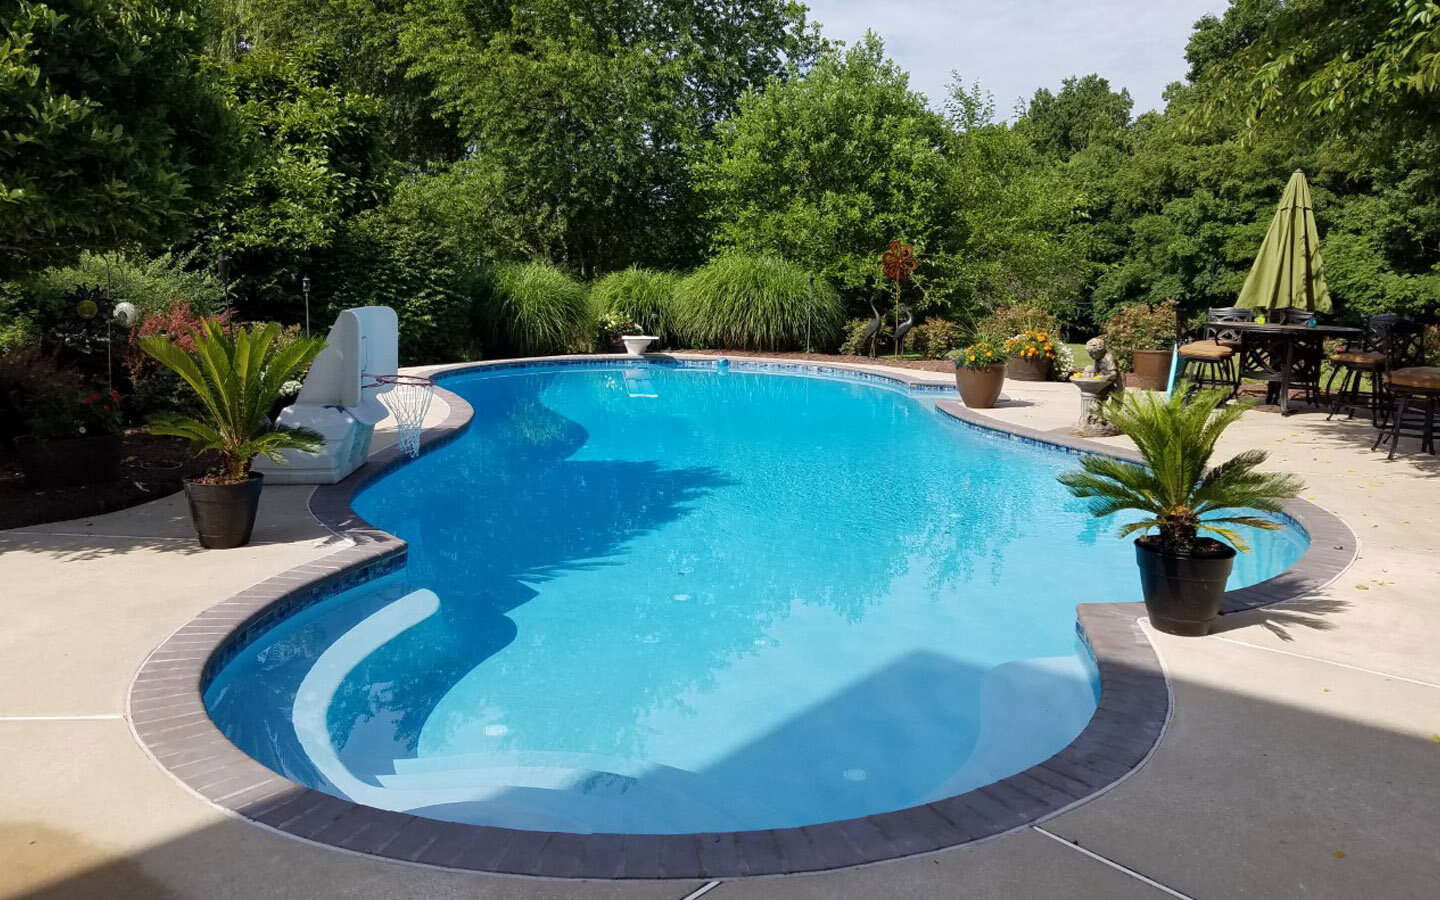
Ready to swim!


Two things are going on here. First, the coping has disbanded from the bond beam likely due to the failure of the caulk joint. Secondly, the waterline tile failed several years ago, saturating the bond beam. Failure is evidenced by the cracks in the shell and the exposed areas without tile.

Hollow nose brick coping. As mortar deteriorates, moisture can get into brick and create this kind of damage. We have found that the hollow variety of brick coping does not do as well in our winter environment.

Here is an excellent example of how a simple tile repair left unchecked caused beam saturation, followed by freezing temperatures, ultimately leading to structural beam failure.

Here is another example of structural beam failure caused by damaged waterline tile. Because the tile was left in disrepair, over time the bond beam became saturated. Once the bond beam is saturated and the winter weather kicks in with freezing temperatures, structural damage is sure to happen.

The use of epoxy repair is evident in this waterline tile failure. It’s the white stuff midway down the tile running horizontally. Use of this is a sign that the tile failed several seasons back and was temporarily repaired with this product. It did not work as indicated by the large section of the pool beam that has delaminated. This is an expensive repair and why it is important to tackle these update tasks in a timely fashion.

With this pool, the tile failure and beam damage occurred only in the area of the pool without patio. The lack of patio in this area allowed surface water to saturate the ground immediately behind the pool. Over time the accumulated water saturated the back of the pool structure causing failure from the outside. This failure damaged the waterline tile becoming fully saturated all the way through to the inside. You can see the extent of the damage going several feet below the tile. A structural repair is required as well as waterproofing the outside of the pool structure to prevent saturation from the outside.

This is why we do not use ceramic-coated tile; see how the ceramic finish has chipped off! This is from winter freeze damage.

This photo shows a rust spot where the steel wire fastener is too near the surface and is now rusting through the interior finish.


